Easy No-Bake Peanut Butter Energy Bites Recipe
No-Bake Peanut Butter Energy Bites are the ultimate snack solution for anyone craving a delicious, guilt-free pick-me-up. Forget the oven mitts and the lengthy baking times; these little powerhouses come together in minutes, making them perfect for those busy days when you need a quick boost of energy. What’s not to love about them? They’re incredibly simple to make, endlessly customizable, and taste absolutely divine, hitting that perfect sweet and salty spot that peanut butter lovers crave. I find myself reaching for these No-Bake Peanut Butter Energy Bites constantly, whether it’s for a pre-workout snack, an afternoon slump buster, or even a healthy dessert option. They’re packed with wholesome ingredients that provide sustained energy, meaning you’ll feel satisfied and fueled without the sugar crash. The magic lies in their simplicity and the satisfying chegrape juicess that makes each bite a delightful experience.
Why You’ll Adore These Bites:
These aren’t just any energy bites; they’re a testament to how easy healthy eating can be. The classic peanut butter and oat combination is a winner for a reason, providing a fantastic base for a truly satisfying treat. We’ll explore how to make them your own, adding in your favorite mix-ins to create your perfect batch of No-Bake Peanut Butter Energy Bites.
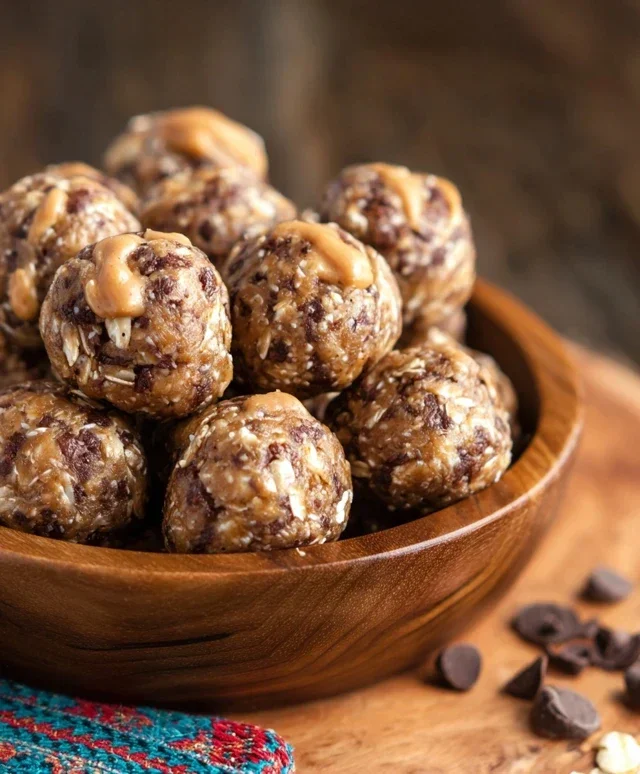
No-Bake Peanut Butter Energy Bites
Are you looking for a quick, healthy, and utterly delicious snack that requires absolutely zero oven time? Look no further! These No-Bake Peanut Butter Energy Bites are a game-changer. Perfect for a pre-workout boost, an afternoon pick-me-up, or even a healthy dessert alternative, these little powerhouses are packed with flavor and goodness. They’re so easy to make, you’ll wonder why you haven’t whipped up a batch already. Plus, the kids will love helping you roll them into balls – it’s a fantastic kitchen activity for the whole family. The beauty of these bites is their versatility. While the base recipe is incredibly satisfying, you can easily customize them with your favorite add-ins. Think shredded coconut, chia seeds, or even a sprinkle of cinnamon for an extra flavor dimension. But for today, we’re sticking to the classic, irresistible combination of peanut butter and chocolate. Get ready to impress yourself with how simple and rewarding homemade energy bites can be!
Ingredients:
Preparation and Mixing
Now, let’s get down to business. The first step is gathering all your ingredients and making sure you have a suitable bowl for mixing. A medium-sized bowl should be perfect for this recipe. We’re going to combine the dry ingredients first to ensure everything is evenly distributed before we introduce the sticky, gooey elements.
In your medium mixing bowl, add the ½ cup of quick oats. Quick oats are essential here because they are smaller and softer than rolled oats, which means they will absorb moisture more readily and create a better texture for our energy bites. If you only have rolled oats on hand, you could pulse them a few times in a food processor to break them down a bit, but quick oats are definitely the easiest route for a smooth consistency. Think of the oats as the sturdy foundation of our energy bites, providing that satisfying chew and sustained energy release.
Next, add the ¼ cup of peanut butter to the bowl with the oats. It’s best to use creamy peanut butter for the smoothest texture, but crunchy also works wonderfully if you prefer a bit more bite. Make sure your peanut butter is at room temperature; if it’s too cold and hard, it will be difficult to mix in. I find that natural peanut butter, which has a more liquid consistency, blends in beautifully. If you’re using a thicker, more processed peanut butter, you might need to stir it well before measuring to ensure it’s easily incorporated. The peanut butter is our binder, holding everything together and adding a rich, nutty flavor that’s simply divine.
Now, drizzle in the 2 tablespoons of honey. Honey acts as another binder and adds a lovely sweetness that balances the savory peanut butter. If you prefer a less sweet bite, you could slightly reduce the honey, but I find this amount is just right. Maple syrup is a fantastic vegan alternative if you’re looking to avoid honey. Warm honey will also mix in more easily, so if yours is a bit stiff, a few seconds in the microwave or gently warming it on the stovetop (being careful not to overheat it) can be helpful. This sticky sweetness is what will help our ingredients cling together, creating those perfectly formed little balls.
Finally, add the ¼ cup of mini chocolate chips to the bowl. These little bursts of chocolate are pure joy! Mini chocolate chips disperse more evenly throughout the mixture than larger ones, ensuring you get a hint of chocolate in almost every bite. If you’re a dark chocolate lover, feel free to use mini dark chocolate chips. For a dairy-free option, ensure your chocolate chips are certified dairy-free. You can also omit the chocolate chips entirely if you’re not a chocolate fan, or replace them with other delicious mix-ins like sunflower seeds or a sprinkle of cinnamon. Stir these in gently; we want them to be distributed but not melted into oblivion.
Once all the ingredients are in the bowl, it’s time to get your hands a little messy! Use a sturdy spoon or a spatula to thoroughly mix everything together until it’s well combined and forms a sticky dough-like consistency. You want to make sure there are no dry pockets of oats and that the peanut butter and honey are fully incorporated. Don’t be afraid to really dig in and mash the ingredients together. If the mixture seems too dry and crum extractbly and isn’t holding together when you try to form a ball, add another teaspoon of peanut butter or honey, a little at a time, until it reaches the right consistency. Conversely, if it’s too wet and sticky, you can add another tablespoon of oats. The goal is a consistency that’s pliable enough to roll into balls but not so sticky that it’s impossible to handle.
Forming and Chilling the Bites
With our delicious mixture ready to go, the next phase is all about transforming it into bite-sized treats. This part is super fun and satisfying, and it’s where the magic really happens.
Now that your mixture is perfectly combined, it’s time to roll! Take about a tablespoon of the mixture at a time and roll it between the palms of your hands to form small balls, about 1-inch in diameter. This is where you can get creative with your size. If you want smaller, more delicate bites, use a bit less mixture. If you want a more substantial snack, use a little more. Try to roll them as evenly as possible for a uniform look, but don’t stress too much about perfection; the taste is what truly matters! If the mixture is sticking to your hands, you can lightly dampen your hands with water or a tiny bit of peanut butter to prevent this.
As you roll each energy bite, place them on a plate, baking sheet, or a container lined with parchment paper. Parchment paper is a great idea as it prevents them from sticking to the surface. Ensure the bites aren’t touching each other too much at this stage, especially if your mixture is on the softer side, to avoid them sticking together while they chill. You should be able to get about 8-10 energy bites from this recipe, depending on the size you make them.
Once all your energy bites are rolled and arranged, it’s time for the crucial chilling step. Place the plate or baking sheet with the energy bites into the refrigerator for at least 15-30 minutes. This chilling time is essential for the bites to firm up and hold their shape. Without this step, they might be a bit too soft to handle and enjoy. The cold will firm up the peanut butter and honey, making them perfectly cohesive. For best results, especially if you live in a warmer climate or your kitchen tends to be warm, give them a good half-hour in the fridge.
Storing and Enjoying
The final step is the most rewarding: enjoying your homemade treats! Proper storage will ensure these delicious energy bites stay fresh and ready to be devoured whenever a craving strikes.
After the chilling period, your No-Bake Peanut Butter Energy Bites are ready to be enjoyed! You can transfer them to an airtight container for storage. They will keep well in the refrigerator for up to a week. The cold air helps maintain their firm texture and prevents them from becoming too soft. If you find you have more than you can eat within a week, these also freeze wonderfully! Simply place them in a freezer-safe bag or container and they’ll last for up to 2-3 months. Just let them thaw at room temperature for about 10-15 minutes before indulgin extractg, or enjoy them straight from the freezer for a super chilled, satisfying treat.
These energy bites are a fantastic way to fuel your day with wholesome ingredients. They’re a testament to the fact that healthy eating can be incredibly delicious and surprisingly simple. Enjoy every guilt-free bite!
Conclusion:
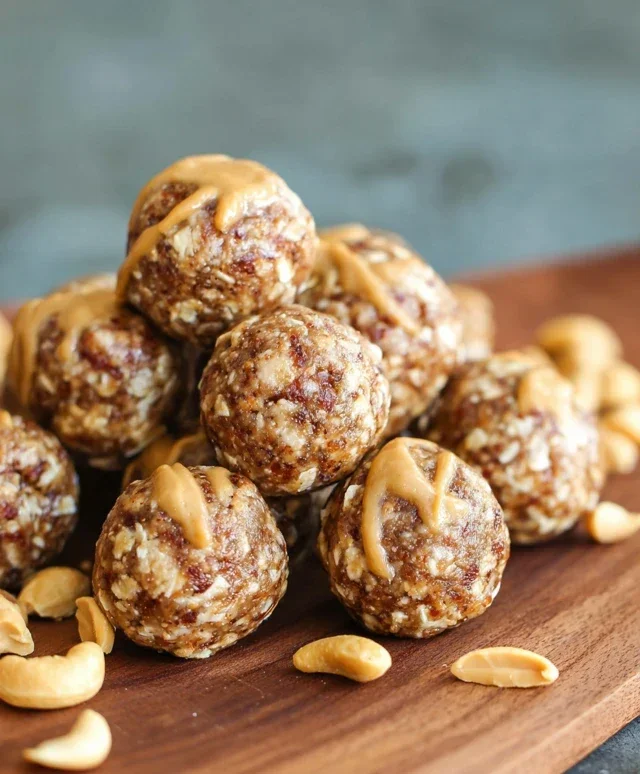
And there you have it! These No-Bake Peanut Butter Energy Bites are your new best friend for busy mornings, post-workout refueling, or just a healthy treat to curb those afternoon cravings. What makes them so fantastic? They’re incredibly easy to whip up with minimal ingredients, require absolutely no oven time, and are packed with wholesome goodness to keep you energized. Plus, they taste like a decadent dessert while secretly being good for you!
I love serving these energy bites straight from the fridge for a satisfying snack. They’re perfect alongside a cup of coffee or tea. For an extra treat, you can even roll them in shredded coconut or a drizzle of melted dark chocolate before they set. Feel free to get creative with variations! Swap out the peanut butter for almond butter or sunflower seed butter for a nut-free option. Add in chia seeds, flax seeds, or even a touch of protein powder for an extra nutritional boost. Don’t be afraid to experiment with different dried fruits like cranberries or raisins. I truly encourage you to give this simple yet delicious No-Bake Peanut Butter Energy Bites recipe a try – I’m confident you’ll love them as much as I do!
Frequently Asked Questions:
How long do these No-Bake Peanut Butter Energy Bites last?
Stored in an airtight container in the refrigerator, these energy bites will stay fresh and delicious for up to two weeks. They might become slightly firmer over time, but they are still wonderfully enjoyable.
Can I make these vegan?
Absolutely! If your oats and chocolate chips are certified vegan, then this recipe is already vegan-friendly. Ensure you’re using maple syrup or agave nectar as your sweetener, and check that any other add-ins are also plant-based.
What if I don’t have rolled oats?
While rolled oats provide the best texture and binding for these bites, you can substitute them with quick oats in a pinch. Keep in mind that quick oats will result in a slightly softer, less chewy texture. Avoid using instant oatmeal, as it is too finely processed and won’t provide the desired structure.
No-Bake Peanut Butter Energy Bites
Quick and easy no-bake energy bites perfect for a healthy snack.
Ingredients
-
½ cup quick oats
-
¼ cup peanut butter
-
2 tablespoons honey
-
¼ cup mini chocolate chips
-
1 tablespoon chia seeds
-
1 teaspoon vanilla extract
Instructions
-
Step 1
In a medium bowl, combine the quick oats, peanut butter, honey, and vanilla extract. -
Step 2
Stir the ingredients together until well combined and a thick mixture forms. -
Step 3
Fold in the mini chocolate chips and chia seeds. -
Step 4
Roll the mixture into small bite-sized balls, about 1 inch in diameter. -
Step 5
Place the energy bites on a plate or baking sheet lined with parchment paper. -
Step 6
Refrigerate for at least 30 minutes to allow the bites to firm up before serving.
Important Information
Nutrition Facts (Per Serving)
It is important to consider this information as approximate and not to use it as definitive health advice.
Allergy Information
Please check ingredients for potential allergens and consult a health professional if in doubt.