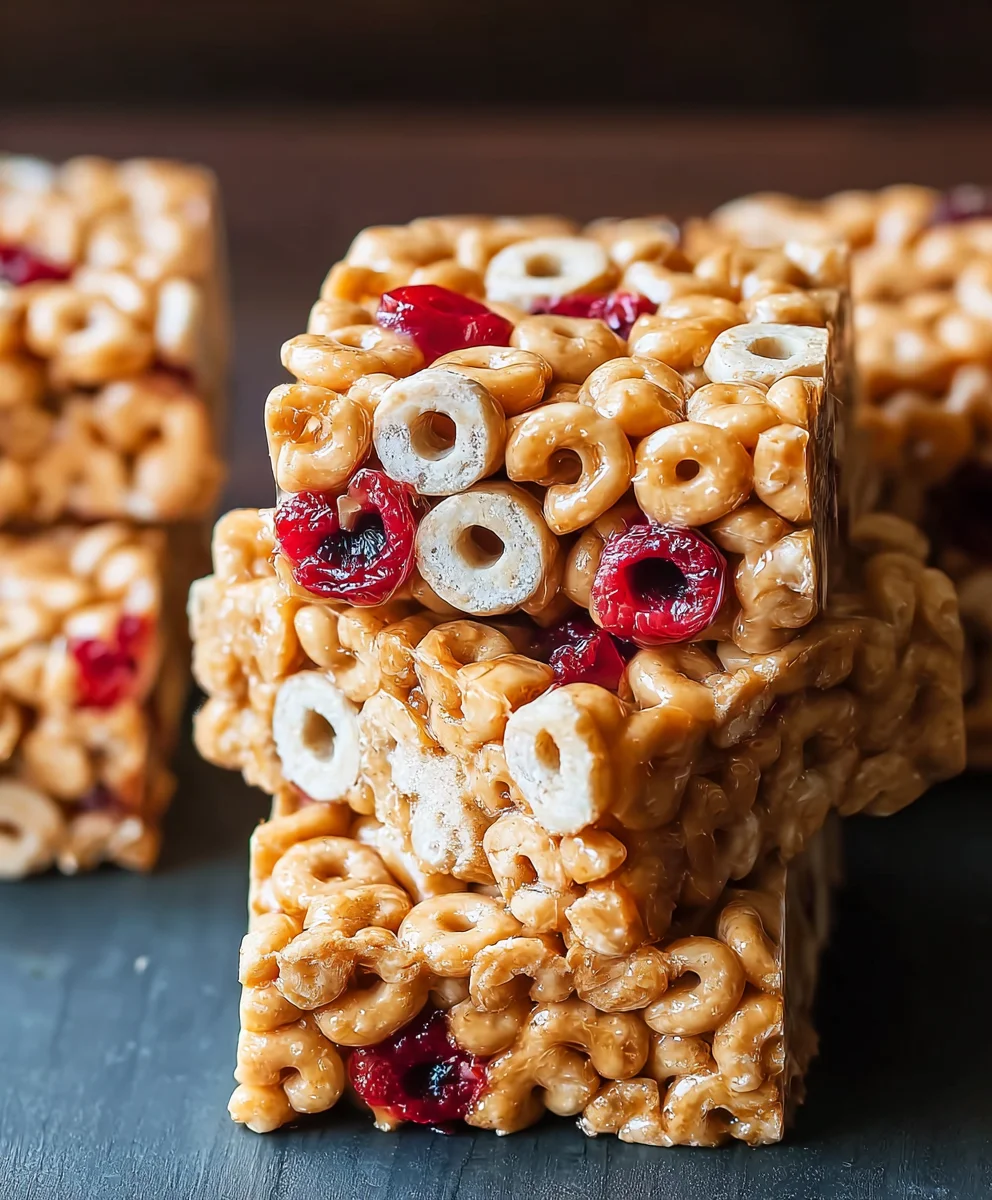
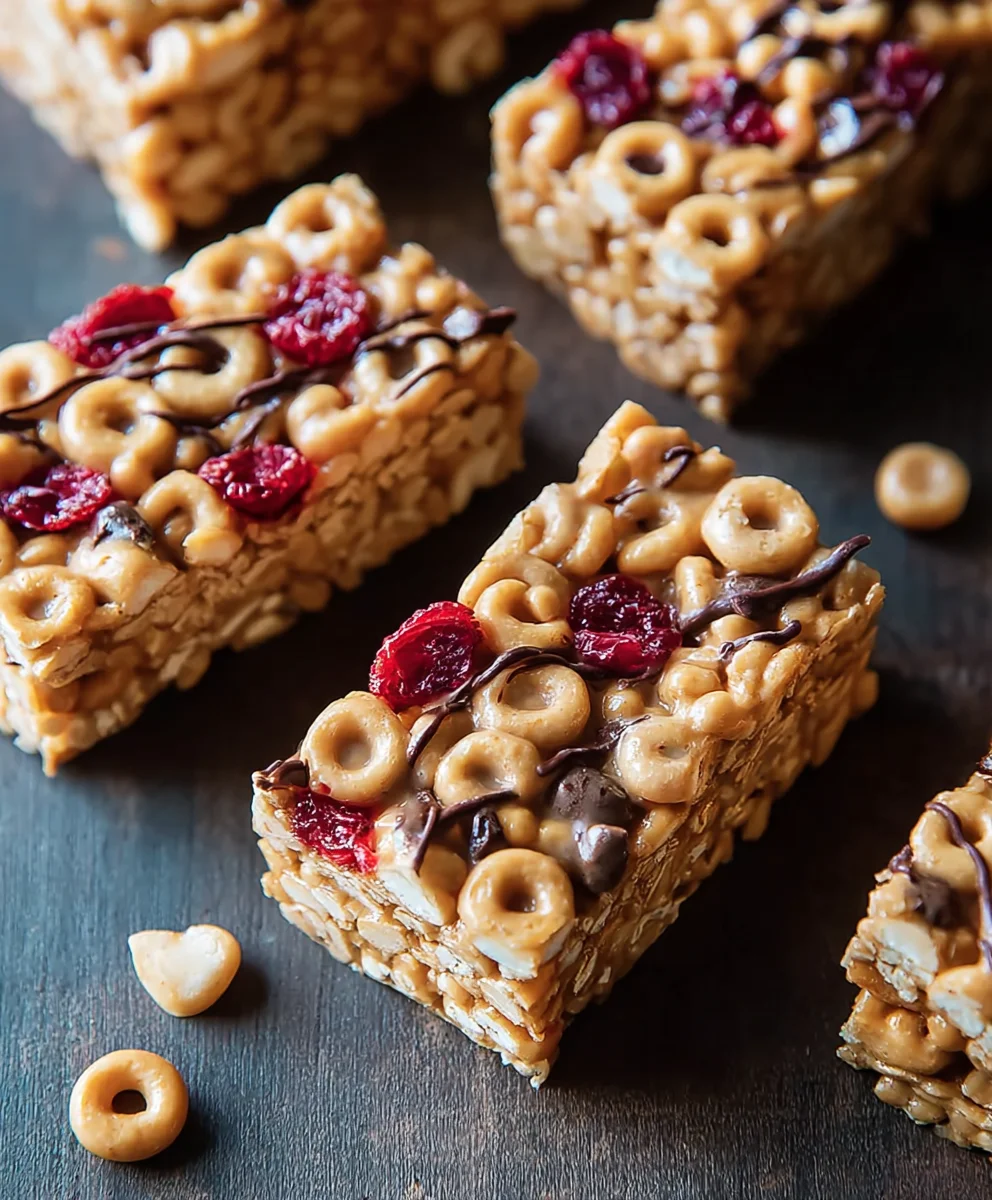
Easy Cereal Bars – Quick No-Bake Snack
Cereal bars are more than just a quick breakfast; they are a comforting hug in edible form, a portable pocket of joy that can rescue a busy morning or satisfy a mid-afternoon craving. We all have that nostalgic connection to them, perhaps from childhood lunchboxes or study sessions fueled by their satisfying crunch. But what truly elevates a good batch of cereal bars to an exceptional one? It’s the perfect balance of chewy and crisp, the symphony of sweet and slightly salty, and the sheer adaptability that allows you to tailor them to your exact preferences. This recipe isn’t just about making a basic snack; it’s about unlocking the potential of simple ingredients to create something truly remarkable. Get ready to discover how to craft the ultimate cereal bars that will have everyone asking for seconds – and maybe even thirds!
Ingredients:
- 3 cups cereal of your choice (think crispy rice, puffed wheat, or even a granola)
- 2/3 cup peanut butter or your favorite nut butter
- 1/2 cup agave nectar, honey, or brown rice syrup
- 1/2 teaspoon salt (this is optional, but can enhance the flavors)
- 3 tablespoons protein powder (also optional, for an extra boost)
Preparing Your Cereal Bars
Step 1: Prepare Your Pan and Gather Ingredients
The very first thing you’ll want to do is prepare your baking pan. I recommend using an 8×8 inch square pan for these cereal bars. Line it with parchment paper, leaving some overhang on the sides. This overhang will act as handles, making it super easy to lift the entire block of cereal bars out of the pan once they’re set. This little trick saves a lot of hassle when it comes time to cut them. While you’re doing this, take a moment to gather all your ingredients and have them measured out and ready to go. This is crucial because once you start mixing, things move quite quickly, and you won’t want to be scrambling for your agave or searching for the salt. Make sure your peanut butter is at room temperature or slightly softened, as this will make it much easier to incorporate into the wet ingredients. If your nut butter is very firm, a quick 15-20 second zap in the microwave can help loosen it up, but be careful not to overheat it.
Step 2: Melt the Binding Agents
Next, we’re going to create the sticky, delicious binder that holds all our cereal together. In a medium saucepan, combine your chosen liquid sweetener (agave, honey, or brown rice syrup) and the peanut butter or nut butter. If you’re using the optional salt, add it now as well. Place the saucepan over medium-low heat. You want to melt these ingredients together gently, stirring constantly. The goal is to create a smooth, cohesive mixture. Don’t let it boil vigorously; just a gentle simmer is enough to encourage everything to meld. Keep stirring until the peanut butter is fully incorporated into the sweetener and the mixture is smooth and glossy. This usually takes about 2-3 minutes. Once it’s smooth, remove the saucepan from the heat. If you’re adding the optional protein powder, now is the time to whisk it into the warm peanut butter and sweetener mixture. Whisk thoroughly to ensure there are no clumps. The warmth of the mixture will help the protein powder blend in smoothly.
Step 3: Combine Cereal with the Binder
Now for the fun part – bringin extractg it all together! Pour your 3 cups of cereal directly into a large mixing bowl. Make sure your bowl is large enough to comfortably hold all the cereal and the binder without overflowing. Pour the warm peanut butter and sweetener mixture from the saucepan over the cereal. Using a sturdy spatula or a wooden spoon, gently fold the cereal into the wet ingredients. The key here is to be thorough but gentle. You want to coat every single piece of cereal with the sticky mixture, but you don’t want to crush the cereal into dust. Take your time and ensure even distribution. It might seem like a lot of mixture at first, but as you fold, it will distribute. Scrape down the sides of the bowl to make sure no dry cereal is left behind. This step is where the magic happens, transforming individual cereal pieces into a cohesive mass.
Step 4: Press the Mixture into the Pan
Once the cereal is evenly coated, it’s time to get it into our prepared pan. Carefully transfer the cereal mixture into the parchment-lined 8×8 inch pan. Now, this is a critical step for achieving nicely formed bars. You need to press the mixture down firmly and evenly into the pan. This compaction is what will make your cereal bars hold their shape and not crum extractble apart. You can use the back of your spatula, or even a flat-bottomed glass or measuring cup, to really pack it down. I find using a piece of parchment paper placed on top of the mixture and then pressing down with my hands or another flat object works wonders. This prevents sticking and allows you to apply consistent pressure across the entire surface. Make sure to get into the corners and edges to create a solid, uniform block. The denser you pack it, the firmer your bars will be.
Step 5: Chill and Cut Your Cereal Bars
The final stage before you can enjoy your delicious homemade cereal bars is chilling. Once the mixture is firmly pressed into the pan, cover the pan tightly with plastic wrap or aluminum foil. Place the pan in the refrigerator for at least 1-2 hours. This chilling period is essential for allowing the binders to set completely, firming up the bars. The colder they get, the easier they will be to cut cleanly. After the chilling time is up, remove the pan from the refrigerator. Use the parchment paper overhang to carefully lift the entire block of cereal bars out of the pan. Place it on a clean cutting board. Now, using a sharp knife, cut the block into your desired bar shapes. Squares or rectangles work well. For clean cuts, you might want to wipe your knife with a damp cloth between cuts. Once cut, you can enjoy them immediately or store them. These bars are best stored in an airtight container in the refrigerator for up to a week.
Conclusion:
We’ve reached the end of our journey creating these delightful Cereal Bars! These bars are a fantastic way to satisfy a sweet craving while providing a bit of sustained energy, making them perfect for breakfast on the go, an after-school snack, or even a light dessert. Their simplicity makes them incredibly rewarding to bake, and the customizable nature means you can tailor them to your personal preferences. Don’t be afraid to experiment with different types of cereal, add-ins like chocolate chips or dried fruit, or even a drizzle of icing for an extra touch of indulgence. So, gather your ingredients, embrace the fun, and enjoy the delicious results of your homemade Cereal Bars!
Frequently Asked Questions:
How can I make these Cereal Bars chewier?
To achieve a chewier texture, you can slightly increase the amount of melted butter or syrup in the recipe. Another trick is to press the mixture firmly into the pan and allow the bars to cool completely in the pan before cutting them. This helps them set and bind together, resulting in a more satisfying chew.
Can I make these Cereal Bars vegan?
Absolutely! To make these Cereal Bars vegan, simply use a plant-based butter alternative and substitute the honey or syrup with agave nectar or maple syrup. Ensure your chosen cereal is also vegan-friendly, as some cereals can contain non-vegan ingredients.
Easy Cereal Bars – Quick No-Bake Snack
Quick and easy no-bake cereal bars, perfect for a healthy and satisfying snack.
Ingredients
-
3 cups cereal of your choice
-
2/3 cup peanut butter or your favorite nut butter
-
1/2 cup agave nectar, honey, or brown rice syrup
-
1/2 teaspoon salt (optional)
-
3 tablespoons protein powder (optional)
-
Parchment paper
Instructions
-
Step 1
Prepare an 8×8 inch pan by lining it with parchment paper, leaving overhang on the sides for easy removal. Gather and measure all ingredients. Ensure peanut butter is at room temperature. -
Step 2
In a medium saucepan, combine agave nectar (or other sweetener), peanut butter, and optional salt. Heat over medium-low heat, stirring constantly, until smooth and glossy (about 2-3 minutes). Remove from heat. Whisk in optional protein powder until smooth. -
Step 3
Pour cereal into a large mixing bowl. Pour the warm peanut butter mixture over the cereal. Gently fold to coat all cereal pieces evenly. -
Step 4
Transfer the cereal mixture into the prepared pan. Press down firmly and evenly into the pan to create a solid, uniform block. Use parchment paper on top to help with pressing and prevent sticking. -
Step 5
Cover the pan tightly and refrigerate for at least 1-2 hours, or until firm. Lift the block out of the pan using the parchment paper overhang. Cut into desired bar shapes with a sharp knife.
Important Information
Nutrition Facts (Per Serving)
It is important to consider this information as approximate and not to use it as definitive health advice.
Allergy Information
Please check ingredients for potential allergens and consult a health professional if in doubt.