Easy Chia Seed Pudding Recipe-Healthy & Delicious
Chia seed pudding recipe has become a sensation, and for good reason! If you’re looking for a delightfully simple, incredibly healthy, and versatile breakfast or dessert, you’ve landed in the right spot. What’s not to love about a dish that’s packed with fiber, omega-3s, and antioxidants, yet tastes like a creamy, indulgent treat? People adore this chia seed pudding recipe because it’s practically foolproof to make. Just a few minutes of prep the night before, and you wake up to a perfectly set, wonderfully satisfying bowl. It’s the kind of dish that makes you feel good about what you’re eating, without sacrificing flavor or texture. Its magic lies in its adaptability – you can customize it with your favorite fruits, nuts, seeds, or even a sprinkle of cocoa powder for a chocolatey twist. This truly is a recipe that nourishes both your body and your soul.
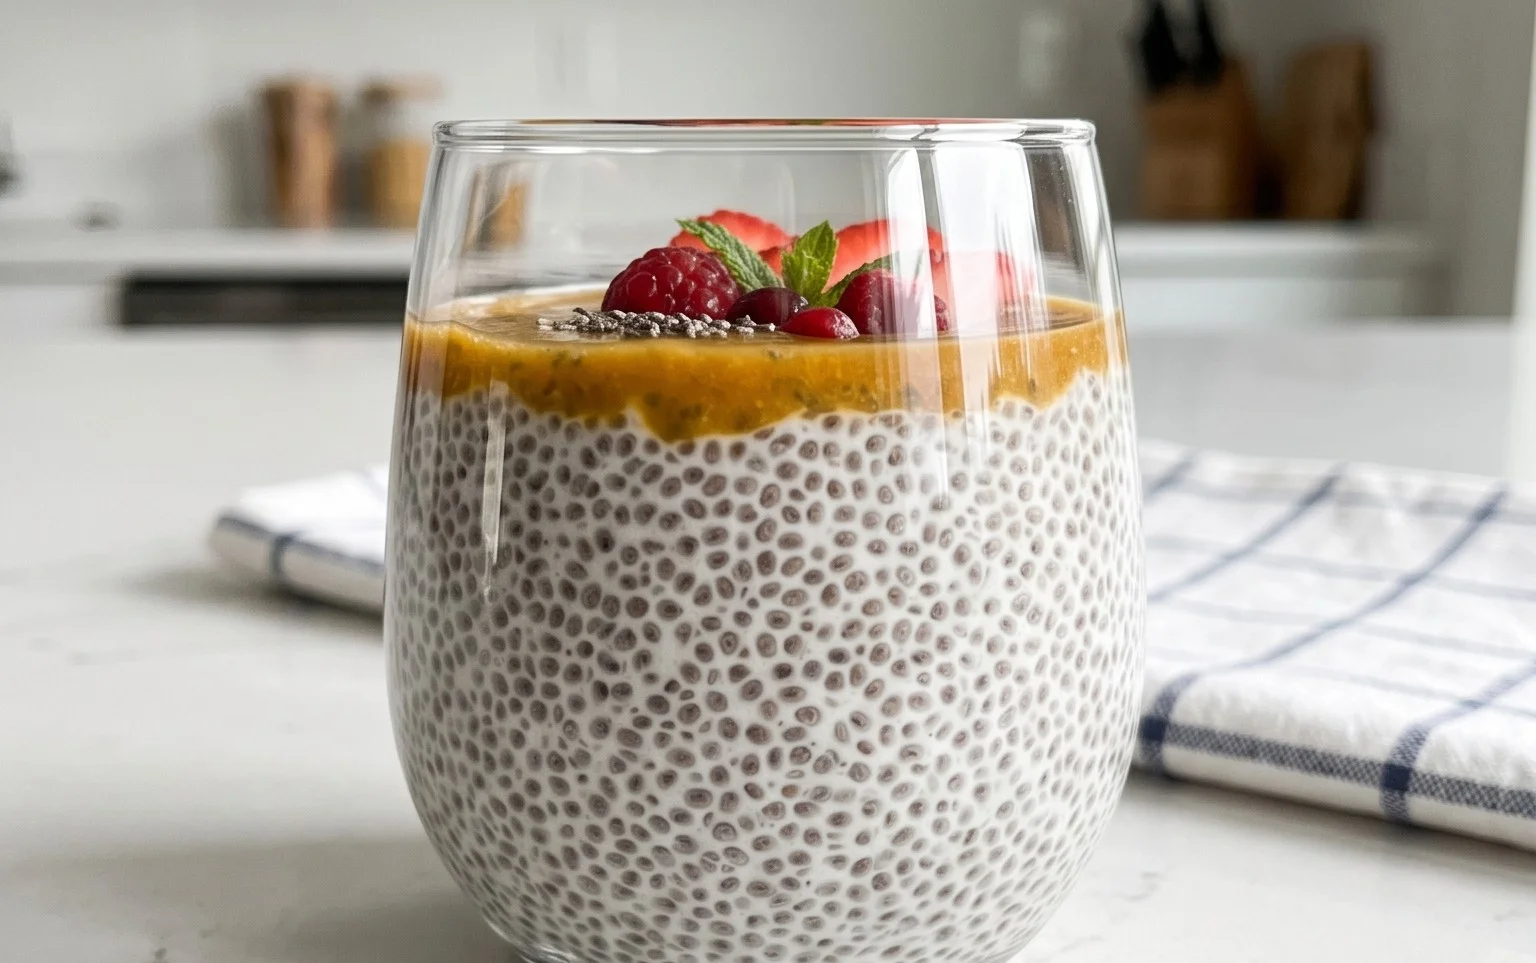
Chia Seed Pudding Recipe
Chia seed pudding is one of my absolute favorite breakfasts. It’s incredibly versatile, healthy, and best of all, it requires almost no effort to make. You literally just mix a few ingredients together and let them work their magic in the fridge overnight. The result is a thick, creamy, and satisfying pudding that feels like a treat but is packed with goodness. It’s the perfect make-ahead option for busy mornings, a light and healthy dessert, or even a mid-afternoon snack. The beauty of chia pudding lies in its simplicity and the endless possibilities for customization. You can flavor it with fruits, spices, cocoa powder, and top it with whatever your heart desires. Let’s dive into the basic recipe, which is the foundation for so many delicious variations!
Ingredients:
The Magic of Chia Seeds
Before we get to the steps, let’s talk about chia seeds themselves. These tiny powerhouses are derived from the Salvia hispanica plant and are a nutritional marvel. They are incredibly rich in fiber, omega-3 fatty acids, protein, calcium, magnesium, and phosphorus. When combined with liquid, chia seeds absorb it and swell up, forming a gel-like consistency. This is what gives the pudding its characteristic pudding-like texture. The fiber content is particularly impressive and contributes to that feeling of fullness, making it a great option for breakfast or a snack to keep you satisfied until your next meal.
Choosing Your Milk
The type of milk you use will significantly impact the flavor and creaminess of your chia pudding. For a richer, more indulgent pudding, full-fat coconut milk (from a can, though you’ll want to shake it well) or whole dairy milk are excellent choices. For a lighter, dairy-free option, unsweetened almond milk or oat milk are fantastic. Oat milk tends to be a bit creamier than almond milk, so it’s a great all-around choice. Soy milk also works well and provides a good source of protein. Don’t be afraid to experiment and find your favorite!
Sweetness Levels
The tablespoon of maple syrup in this recipe provides a subtle sweetness. However, taste is subjective, and you might prefer more or less sweetness. I often find myself adjusting this depending on the toppings I plan to use. If I’m planning on adding a lot of fresh fruit, I might reduce the maple syrup slightly. If I’m going for a richer, dessert-like flavor with berries and chocolate chips, I might stick to the full tablespoon or even add a touch more. Other sweeteners you can try include honey, agave nectar, or even a sugar-free sweetener like stevia or erythritol, adjusting the amount to your preference.
Vanilla – The Flavor Enhancer
Vanilla extract is not just for flavor; it adds a wonderful depth and warmth to the pudding. It complements the natural, slightly nutty flavor of the chia seeds beautifully. Make sure to use a good quality vanilla extract for the best results. You can also experiment with other extracts like almond extract for a different nutty profile, or even a touch of cinnamon or cardamom for a spiced version.
Getting Started: The Mixing Process
This is where the real “cooking” happens, which is more like assembly! It’s so simple, you’ll wonder why you haven’t been making this for years.
1. In a bowl or a jar, combine the 3 tablespoons of chia seeds, 1 tablespoon of maple syrup (or your chosen sweetener), and 1 teaspoon of vanilla extract. Give these dry ingredients a quick stir together to ensure the sweetener and vanilla are somewhat distributed before adding the liquid. This helps prevent clumps from forming.
2. Pour in the 3/4 cup of your milk of choice. Now, whisk or stir everything together thoroughly. Make sure to scrape down the sides and bottom of the bowl or jar to ensure all the chia seeds are submerged in the liquid and there are no dry pockets. This is a crucial step to ensure even gelling and a smooth pudding consistency.
3. Let the mixture sit for about 5-10 minutes. During this time, the chia seeds will start to absorb the liquid and thicken slightly. After this initial waiting period, give the mixture another good stir or whisk. This second stir is essential for preventing the chia seeds from clumping together at the bottom of the container and ensures a uniform, creamy texture throughout the pudding. You’ll notice it’s already starting to get a little thicker.
4. Cover the bowl or jar tightly with a lid, plastic wrap, or beeswax wrap. Place it in the refrigerator and let it chill for at least 4 hours, but ideally overnight. The longer it sits, the thicker and more pudding-like it will become. The refrigerator is the perfect environment for this magical transformation to occur. The cold temperature helps the gelling process along, and the extended time allows the chia seeds to fully hydrate and expand.
5. Before serving, give the chia pudding a final stir. It should be thick and spoonable, resembling a traditional pudding. If it’s too thick for your liking, you can stir in a splash more milk until you reach your desired consistency. If, by chance, it’s not as thick as you’d hoped (this can sometimes happen if your milk is very low in fat or if your chia seeds are older), don’t worry! You can simply stir in another teaspoon or two of chia seeds and let it sit for another 30 minutes to an hour in the fridge.
Serving Suggestions
Once your chia pudding has reached the perfect consistency, it’s time to enjoy it! You can eat it straight from the bowl or jar. For a more appealing presentation and added flavor, transfer it to a small serving bowl or a pretty glass.
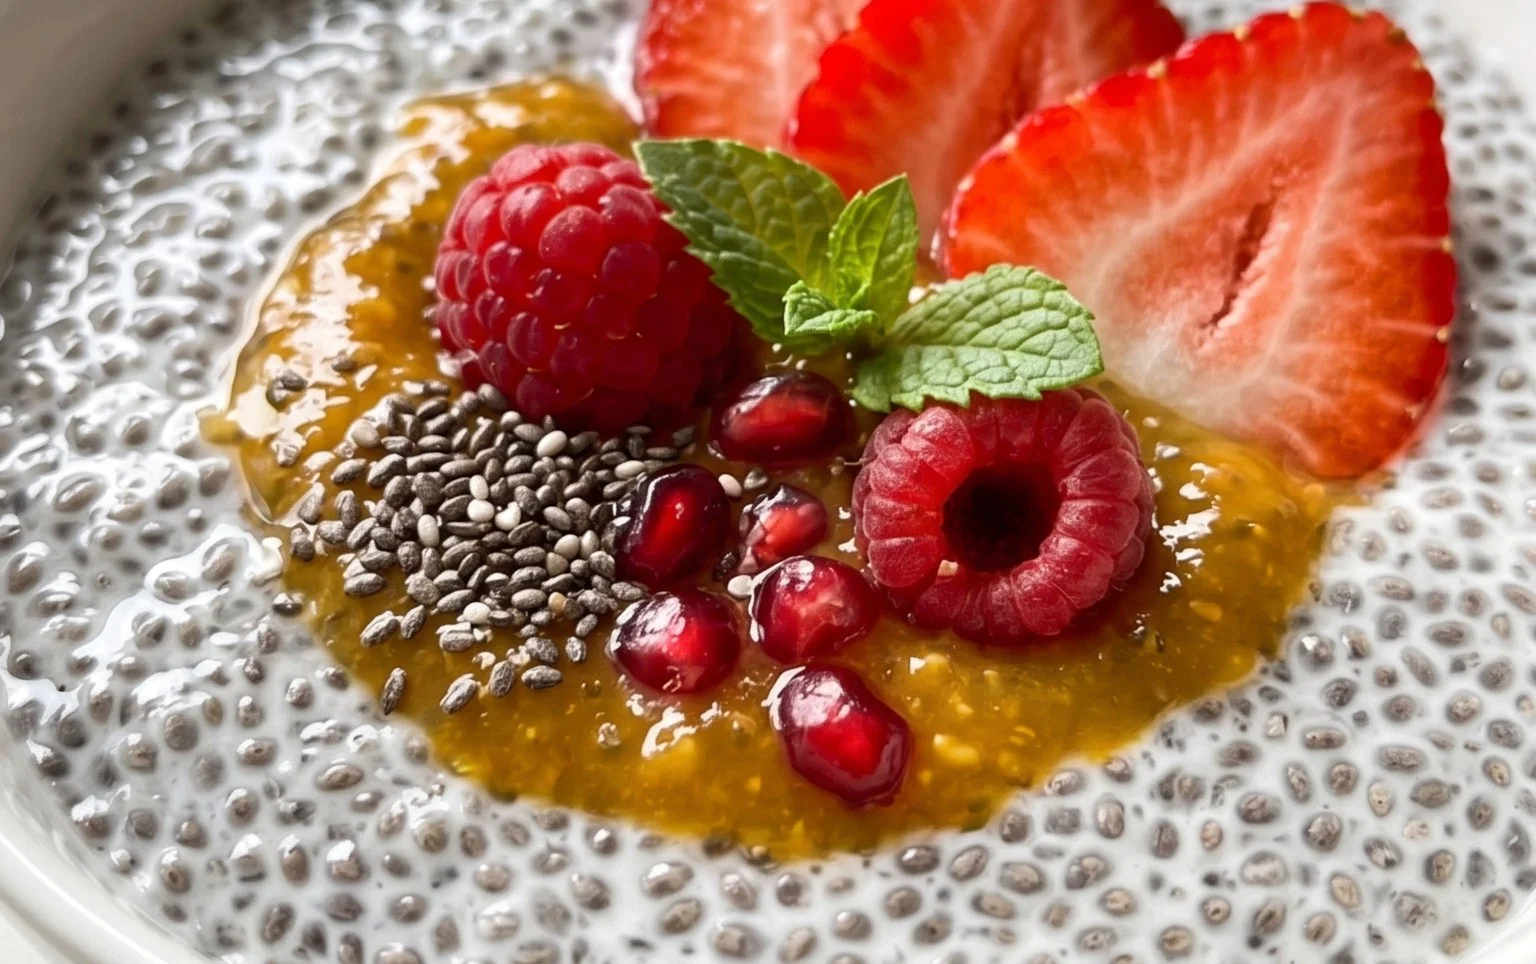
The topping possibilities are truly endless. Fresh berries are a classic and delicious choice, adding natural sweetness and a vibrant color. A sprinkle of granola provides a satisfying crunch. Sliced bananas, a dollop of yogurt, a drizzle of nut butter, or some shredded coconut are also wonderful additions. For a more decadent experience, consider some dark chocolate chips or a dusting of cocoa powder. Don’t be afraid to get creative and mix and match your favorite flavors and textures! This recipe is a fantastic canvas for your culinary imagin extractation.
Conclusion:
As you can see, this Chia Seed Pudding Recipe is an absolute winner! It’s incredibly simple to prepare, requiring minimal effort for maximum deliciousness. The magic lies in the chia seeds themselves, which transform into a wonderfully creamy and satisfying pudding when soaked. It’s a fantastic source of fiber, omega-3 fatty acids, and plant-based protein, making it a healthy and guilt-free treat or breakfast option. I truly encourage you to give this recipe a try; you won’t regret it!
Beyond its health benefits and ease, the versatility of chia seed pudding is what makes it so special. Enjoy it chilled straight from the fridge for a quick breakfast. For a more dessert-like experience, top it generously with fresh berries, a drizzle of honey or maple syrup, a sprinkle of toasted nuts or granola, or even some shredded coconut. Don’t be afraid to experiment with different liquids too! Almond milk, coconut milk, oat milk, or even regular dairy milk all yield slightly different but equally delightful results. You can also add a touch of vanilla extract or a pinch of cinnamon to the base mixture for added flavor complexity.
Frequently Asked Questions:
Q: How long does chia seed pudding last in the refrigerator?
A: Properly stored in an airtight container in the refrigerator, chia seed pudding can last for about 3 to 5 days. The texture might change slightly over time, becoming a bit thicker, but it remains perfectly edible.
Q: Can I make chia seed pudding without a sweetener?
A: Absolutely! While sweeteners like honey or maple syrup add a lovely touch, you can certainly omit them. The natural sweetness from any added fruits or a splash of vanilla extract can be sufficient for many. If you prefer it sweeter, you can always add it just before serving.
Q: What’s the best ratio of chia seeds to liquid for pudding?
A: A common and reliable starting point is a 1:4 ratio of chia seeds to liquid. For example, for 1/4 cup of chia seeds, you would use 1 cup of your chosen liquid. This usually results in a nice, thick, pudding-like consistency. You can adjust this ratio slightly depending on your preferred thickness.
Chia Seed Pudding
A simple and healthy chia seed pudding recipe that’s easy to customize with your favorite flavors and toppings.
Ingredients
-
3 tablespoons chia seeds
-
1 tablespoon maple syrup
-
1 teaspoon vanilla extract
-
3/4 cup almond milk
-
1/4 cup berries (for topping)
-
1 tablespoon chopped nuts (for topping)
Instructions
-
Step 1
In a bowl or jar, combine the chia seeds, maple syrup, and vanilla extract. -
Step 2
Pour in the milk of choice and whisk or stir vigorously until well combined and no clumps of chia seeds remain. -
Step 3
Let the mixture sit for 5-10 minutes, then whisk again to ensure the seeds are evenly distributed and not sticking together. -
Step 4
Cover and refrigerate for at least 2 hours, or preferably overnight, until the pudding has thickened. -
Step 5
Stir the pudding before serving. Top with fresh berries and chopped nuts, or your favorite toppings.
Important Information
Nutrition Facts (Per Serving)
It is important to consider this information as approximate and not to use it as definitive health advice.
Allergy Information
Please check ingredients for potential allergens and consult a health professional if in doubt.