Easy Homemade Fruit Leather Recipe – Healthy Snack
Homemade fruit leather is a delightful and surprisingly simple treat that brings back childhood memories with every chewy bite. If you’ve ever wandered through a store aisle, captivated by those colorful, fruit-packed snacks, you’ve probably wondered if you could recreate that magic at home. The wonderful news is, you absolutely can! What makes this homemade fruit leather so special is its pure, unadulterated fruit flavor, free from the artificial colors and preservatives often found in store-bought versions. It’s a fantastic way to use up a bounty of fresh or frozen fruit, turning it into a healthy, portable snack that kids and adults alike will adore. Imagin extracte the satisfaction of creating your own vibrant, flavorful fruit leather, customized to your family’s favorite fruit combinations. It’s an incredibly rewarding culinary adventure!
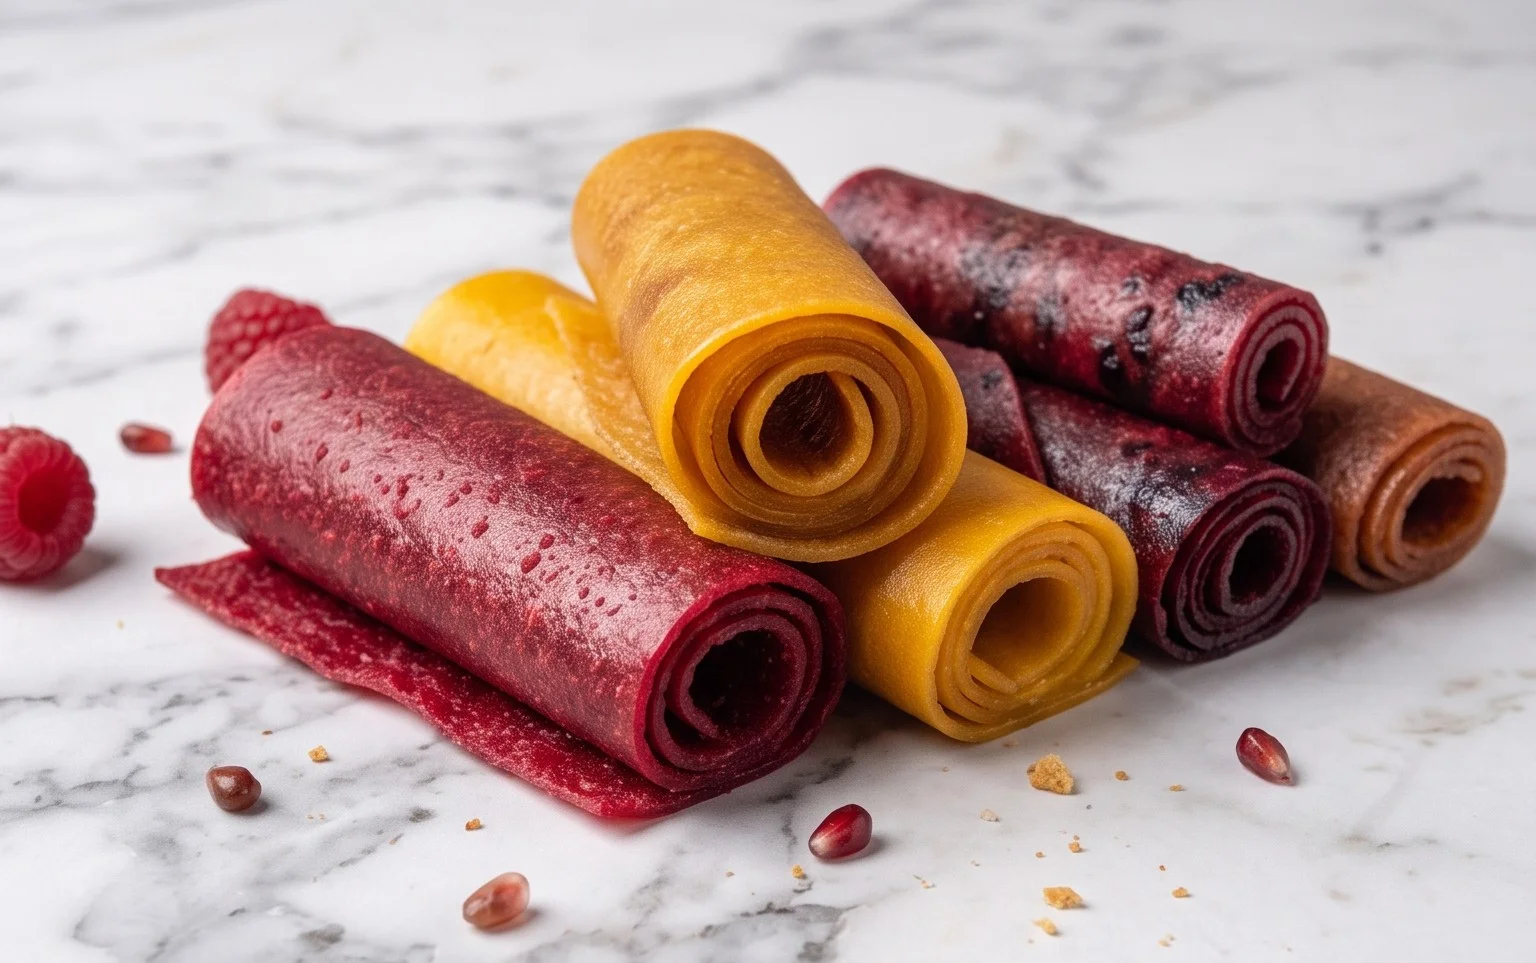
Homemade Fruit Leather: A Burst of Sunshine in Every Bite!
There’s something incredibly satisfying about making your own snacks, and fruit leather is a prime example. It’s a fantastic way to preserve the vibrant flavors of fresh fruit, and the process is surprisingly simple. Plus, you get to control exactly what goes into it – no artificial colors or preservatives here, just pure, fruity goodness! Whether you’re looking for a healthy treat for yourself or a fun project to do with the kids, homemade fruit leather is an absolute winner. Imagin extracte the sweet and slightly tart taste of your favorite fruit, concentrated into a chewy, delightful strip. It’s like sunshine you can eat!
This recipe is incredibly adaptable. While I’m using a base amount of fruit, feel free to double or triple it to make a bigger batch. The key is the ratio of fruit to sugar and lemon juice, which helps with both flavor and preservation. Let’s get started on this wonderfully simple and rewarding culinary adventure!
Ingredients:
Instructions:
Preparing the Fruit Base
The first step is all about getting our fruit ready. You can use almost any fruit you love! Berries like strawberries, raspberries, or blueberries work beautifully. Stone fruits such as peaches, plums, or apricots are also excellent choices. Even apples and pears can be transformed into delicious fruit leather. For this recipe, I’ve chosen a mix of ripe strawberries and sweet peaches. Make sure your fruit is ripe for the best flavor and natural sweetness. Wash your fruit thoroughly, remove any pits or cores, and chop it into roughly 1-inch pieces. Don’t worry about making them perfectly uniform; they’ll be blended smooth later. Having about 2 cups of chopped fruit is a good starting point for a manageable batch.
Cooking and Blending the Fruit
Once your fruit is prepped, it’s time to cook it down. Transfer the chopped fruit to a saucepan. Add the white sugar and the juice of half a lemon. The sugar will help sweeten the mixture and also aids in the drying process, while the lemon juice adds a touch of brightness and helps preserve the fruit’s color. Stir everything together. Place the saucepan over medium heat. You want to bring the fruit mixture to a gentle simmer, stirring occasionally. The goal here is to soften the fruit and release its juices. This usually takes about 10-15 minutes. You’ll notice the fruit starting to break down and become saucy. Be careful not to scorch the bottom of the pan. Once the fruit has softened considerably, remove the saucepan from the heat.
Now, it’s time to create a smooth purée. You can do this using an immersion blender directly in the saucepan, or carefully transfer the mixture to a regular blender or a food processor. Blend until the mixture is completely smooth and free of any chunks. If you prefer a very smooth texture, you can even push the purée through a fine-mesh sieve at this point, but for most fruit leathers, a simple blend is perfectly fine. Taste the purée and adjust sweetness if necessary, though I usually find this amount of sugar to be just right for a balanced, not overly sweet, result.
Spreading and Drying
This is where the magic really happens! Preheat your oven to its lowest setting, typically around 170-200°F (77-93°C). Line a baking sheet with parchment paper or a silicone baking mat. This is crucial to prevent sticking. Pour the fruit purée onto the prepared baking sheet. Using a spatula, spread the purée as thinly and evenly as possible. Aim for a thickness of about 1/8 to 1/4 inch. The thinner you spread it, the faster it will dry. Try to get the edges as smooth as the center. If you’re making multiple flavors or different batches, you can spread them in separate sections on the same baking sheet, or use multiple sheets. Ensure the layer is consistent so it dries evenly.
The Patience Game: Baking the Fruit Leather
Now comes the waiting game, but it’s worth it! Carefully place the baking sheet in the preheated oven. You’ll want to leave the oven door slightly ajar to allow moisture to escape. You can prop it open with a wooden spoon or a small heatproof object. This is vital for the drying process. The fruit leather needs to dehydrate, not bake. Check on the fruit leather periodically, usually every hour or so. The drying time can vary significantly depending on your oven, the thickness of the purée, and the humidity in your kitchen, but it typically takes anywhere from 4 to 8 hours. You’re looking for the fruit leather to be dry to the touch, with no sticky spots. It should peel cleanly away from the parchment paper. If you notice any areas drying out much faster than others, you can gently lift the edges of those spots to expose them to more airflow.
Cooling and Cutting
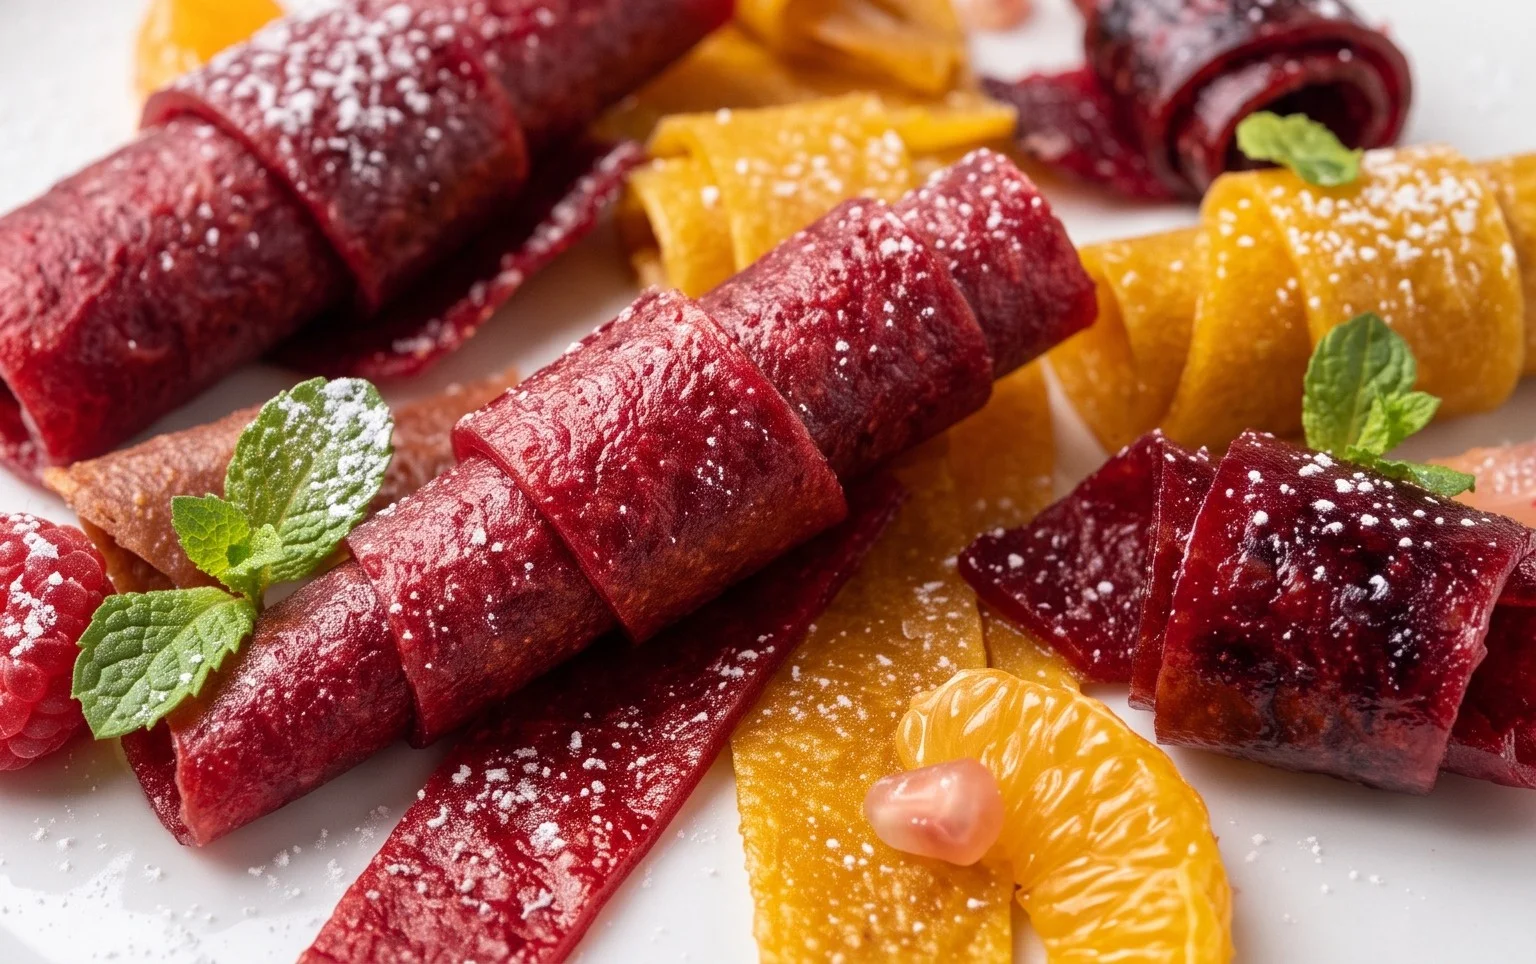
Once the fruit leather is completely dry and no longer sticky, carefully remove the baking sheet from the oven. Let the fruit leather cool completely on the baking sheet. This is important; if you try to peel it off while it’s still warm, it might tear or become gummy. Once it’s cooled, you can carefully peel the entire sheet off the parchment paper. At this point, you can cut it into your desired shapes and sizes. Long strips are traditional, but you can also cut it into squares, rectangles, or use cookie cutters for fun shapes. This is a great activity to do with children – they love helping to create their own snacks! Store the finished fruit leather in an airtight container at room temperature for a few days, or in the refrigerator for longer storage. You can also wrap individual pieces in wax paper for easy grab-and-go snacks. Enjoy your delicious homemade fruit leather!
Conclusion:
Making your own homemade fruit leather is a truly rewarding experience, offering a delicious and healthy alternative to store-bought snacks. It’s incredibly satisfying to transform simple, fresh fruit into these chewy, vibrant treats. The process is surprisingly straightforward, allowing you to control exactly what goes into your fruit leather – no artificial colors or preservatives here! It’s a fantastic way to use up seasonal produce and is perfect for lunchboxes, hiking snacks, or a guilt-free sweet craving. I truly encourage you to give this homemade fruit leather recipe a try; you’ll be amazed at how easy and enjoyable it is to create such a delightful treat.
Serving suggestions abound! Enjoy your fruit leather on its own for a quick energy boost, or cut it into fun shapes for the kids. It pairs wonderfully with cheese for a sweet and savory combination, or can be crum extractbled over yogurt or ice cream for added texture and flavor.
Don’t be afraid to get creative with variations! Experiment with different fruit combinations like strawberry-banana, mango-pineapple, or a tart raspberry-apple blend. You can also add a hint of spice with a pinch of cinnamon or gin extractger, or even a touch of vanilla extract for an extra layer of complexity.
Frequently Asked Questions:
Can I use frozen fruit for this homemade fruit leather recipe?
Absolutely! Frozen fruit works perfectly. Ensure it’s thoroughly thawed and drained of any excess liquid before pureeing. You might need to adjust the cooking time slightly to account for the initial higher moisture content.
How should I store homemade fruit leather?
Once completely cooled and cut into strips or shapes, wrap each piece tightly in parchment paper or plastic wrap, then store them in an airtight container. It will keep well at room temperature for up to a week, or in the refrigerator for longer storage.
What if my fruit leather is too sticky?
If your fruit leather is still a bit sticky after cooling, it likely needs a little more time to dry. You can place it back in a slightly ajar oven on the lowest possible setting for another 30-60 minutes, or leave it out at room temperature for a few more hours to air dry. Ensure it’s completely dry and no longer tacky before wrapping.
Homemade Fruit Leather Recipe
A simple and delicious recipe for making fruit leather at home with your favorite fruits.
Ingredients
-
2 cups fruit, chopped
-
3 tbsp white sugar
-
½ whole lemon, just the juice
-
1 cup apple sauce
-
½ cup plain yogurt
-
1 tsp vanilla extract
Instructions
-
Step 1
Preheat oven to 170°F (77°C). -
Step 2
In a blender or food processor, combine the chopped fruit, white sugar, and lemon juice. Blend until smooth. -
Step 3
Stir in the apple sauce, plain yogurt, and vanilla extract until well combined. -
Step 4
Line a baking sheet with parchment paper or a silicone baking mat. -
Step 5
Pour the fruit mixture onto the prepared baking sheet and spread it into a thin, even layer (about ¼ inch thick). -
Step 6
Bake for 3-6 hours, or until the fruit leather is no longer sticky to the touch. The baking time will vary depending on your oven and the thickness of the fruit leather. -
Step 7
Once baked, let it cool completely on the baking sheet before peeling it off. -
Step 8
Cut into strips or desired shapes.
Important Information
Nutrition Facts (Per Serving)
It is important to consider this information as approximate and not to use it as definitive health advice.
Allergy Information
Please check ingredients for potential allergens and consult a health professional if in doubt.