Easy Keto Cheesecake Mug Recipe- Quick Dessert
Keto Cheesecake In a Mug is about to become your new favorite obsession! Are you craving that rich, creamy, decadent cheesecake experience but trying to keep your carbs in check? I’ve got you covered. This isn’t just a dessert; it’s a sweet triumph for anyone following a ketogenic lifestyle. The beauty of this Keto Cheesecake In a Mug lies in its incredible simplicity and its ability to satisfy those intense sweet cravings without derailing your progress. Imagin extracte, in just a few minutes, you can have a warm, gooey, individual-sized portion of heaven ready to be devoured. It’s the perfect solution for a solo treat, a midnight indulgence, or a quick sweet fix after a long day. Forget complicated crusts and endless baking times; this recipe is all about instant gratification and pure, unadulterated cheesecake bliss, made entirely keto-friendly.
Keto Cheesecake In a Mug
Are you craving that decadent, creamy cheesecake flavor but sticking to your keto lifestyle? Or maybe you’re just looking for a quick, single-serving dessert that won’t derail your efforts? Well, you’re in luck! This Keto Cheesecake In a Mug is the answer to your prayers. It’s incredibly easy to make, requires minimal ingredients, and comes together in just minutes. Perfect for satisfying those sweet cravings without the guilt or the fuss of a full-sized cheesecake. Let’s dive into how you can whip up this delightful treat in your own kitchen.
Ingredients:
Instructions:
This recipe is designed for simplicity and speed, making it ideal for those moments when only cheesecake will do. The key to achieving that perfect, smooth cheesecake texture is to ensure your cream cheese is properly softened. This will prevent any lumps and make mixing a breeze. I like to leave my cream cheese out on the counter for about an hour before I plan to make the mug cake, or you can quickly soften it in the microwave in short bursts (10-15 seconds at a time), being careful not to melt it.
Mixing the Base
1. In a microwave-safe mug (about 10-12 oz capacity is ideal), combine the softened cream cheese and sour cream. Using a fork, vigorously mash and whisk these two ingredients together until they are as smooth and creamy as possible. We’re aiming for a completely lump-free base here. This initial mixing is crucial for the final texture of your cheesecake. If you see any stubborn lumps of cream cheese, continue to work them out with your fork. The sour cream adds a wonderful tang and helps to create that signature cheesecake richness.
2. Next, add the powdered monkfruit sweetener to the mug. Gradually whisk it into the cream cheese and sour cream mixture. Powdered sweetener dissolves much better than granulated varieties, which is why it’s preferred for smooth desserts. Continue to mix until the sweetener is fully incorporated and you no longer see any gritty particles. Taste a tiny bit (if you dare!) to ensure it’s sweet enough for your liking. You can adjust the amount of sweetener up or down slightly based on your personal preference, but remember that monkfruit can be quite potent.
Incorporating the Egg and Vanilla
3. Now, it’s time to add the egg. Make sure your egg is at room temperature. A cold egg can cause the cream cheese mixture to seize up or become lumpy, and we definitely don’t want that. Crack the egg directly into the mug with the other ingredients. Add the vanilla extract at this stage as well. The vanilla is essential for that classic cheesecake aroma and flavor. Whisk everything together thoroughly until the egg is fully integrated and the mixture is uniformly smooth and pnon-alcoholic ale yellow. Again, ensure there are no streaks of egg yolk or white visible. A well-mixed batter is key to an even bake and a delightful texture.
Microwaving Your Cheesecake
4. Once your batter is perfectly smooth, it’s time to microwave! Place the mug in the microwave and cook on HIGH power for approximately 60 to 90 seconds. The exact cooking time will vary depending on the wattage of your microwave. Start with 60 seconds and then check the cheesecake. It should be mostly set around the edges but might still have a slight wobble in the center. If it’s still very liquidy, microwave in additional 10-second intervals until it’s just set. Be very careful not to overcook it, as this will result in a dry, rubbery cheesecake. The goal is a moist, creamy dessert, not a baked cake.
Cooling and Enjoying
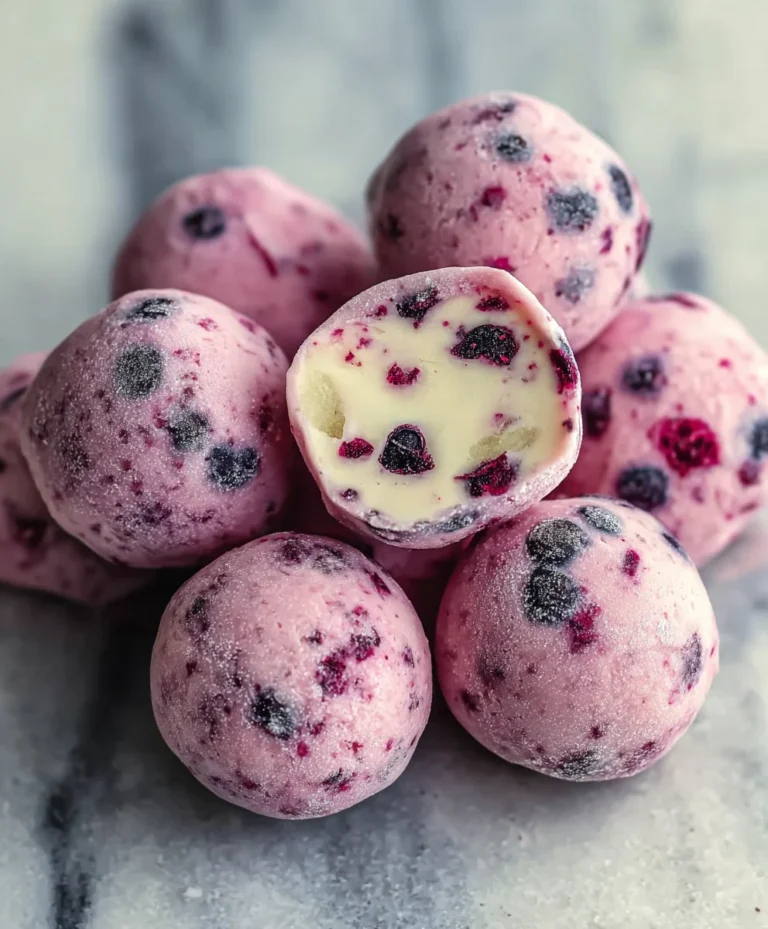
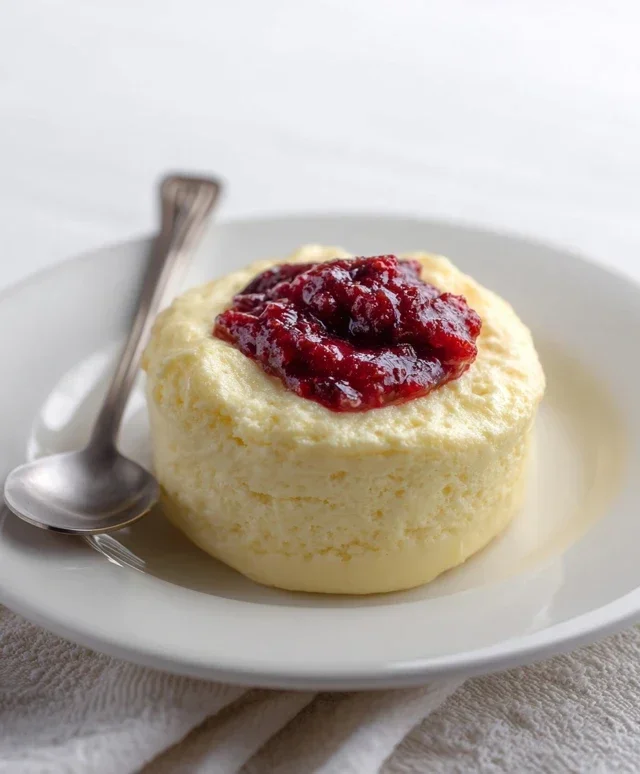
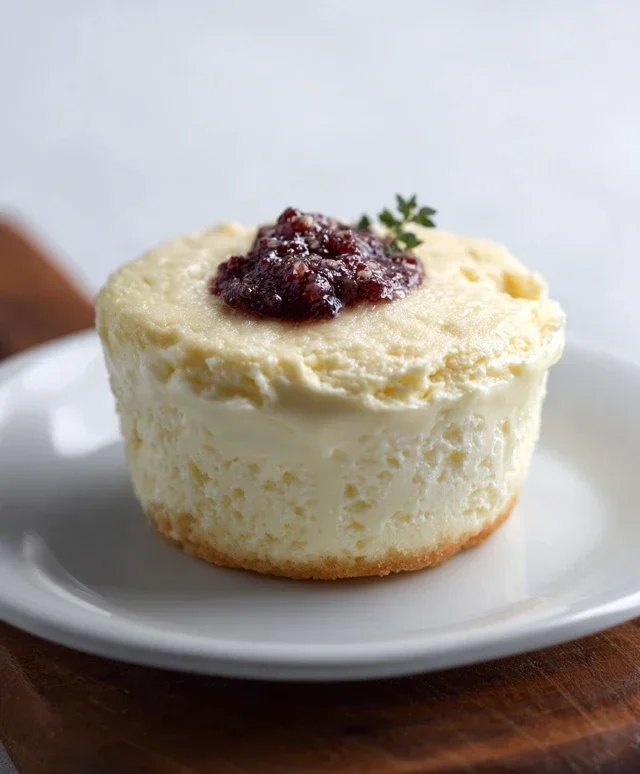
5. After microwaving, carefully remove the hot mug from the microwave. Let the Keto Cheesecake In a Mug cool for at least 5 minutes before diggin extractg in. This cooling period is important as the cheesecake will continue to set as it cools, and you don’t want to burn your mouth! You can enjoy it directly from the mug. For an extra touch of indulgence, consider topping it with a few fresh berries (like raspberries or blueberries, which are lower in carbs), a dollop of whipped cream, or even a sprinkle of chopped nuts. This simple yet satisfying dessert is a keto dream come true, delivering all the rich flavor of traditional cheesecake in a convenient, single-serving package. Enjoy your quick, delicious, and guilt-free treat!
Conclusion:
And there you have it – your perfect Keto Cheesecake In a Mug, ready to satisfy those dessert cravings without derailing your low-carb journey! This recipe is truly a game-changer because it’s incredibly quick, requires minimal ingredients, and delivers that rich, creamy cheesecake flavor we all love in just minutes. It’s the ultimate treat for when you need a single-serving indulgence that feels decadent yet adheres to your ketogenic lifestyle.
I love serving this warm straight from the mug, but it’s also fantastic chilled. For an extra special touch, consider topping it with a dollop of whipped cream, a sprinkle of chopped nuts, or some fresh berries like raspberries or blueberries. If you’re feeling adventurous, you can also experiment with different extracts like almond or a hint of lemon zest for a unique twist on this classic Keto Cheesecake In a Mug. The possibilities are nearly endless, and the simplicity makes it approachable for even the most novice bakers. I truly encourage you to give this recipe a try – I’m confident it will become a go-to in your dessert rotation!
Frequently Asked Questions:
Can I make this keto cheesecake recipe ahead of time?
While this recipe is designed for quick, single-serving enjoyment, you can absolutely prepare the batter ahead of time and store it in the refrigerator for up to a day. Just give it a good stir before microwaving. For the best texture, however, I recommend enjoying it fresh from the microwave.
What can I use if I don’t have cream cheese?
Cream cheese is pretty central to the cheesecake flavor and texture, so it’s difficult to substitute without significantly altering the outcome. If you absolutely cannot find cream cheese, a very thick mascarpone might work in a pinch, but the results could vary.
Is this keto cheesecake truly low-carb?
Yes, when made with the suggested ingredients and sweeteners, this Keto Cheesecake In a Mug is designed to be very low in carbohydrates, making it an excellent choice for those following a ketogenic diet. Always check your specific ingredient labels to ensure they fit your macro goals.
Keto Cheesecake In a Mug
A quick and easy keto-friendly cheesecake made in a mug. Perfect for a single-serving dessert craving.
Ingredients
-
3 1/2 tbsp cream cheese (softened, 52g)
-
1/2 tbsp sour cream (7g)
-
2 tbsp powdered monkfruit sweetener (20g)
-
1 egg (room temperature)
-
1/4 tsp vanilla extract
Instructions
-
Step 1
In a microwave-safe mug, combine the softened cream cheese and sour cream. Mix until smooth, either with a fork or a mini whisk. -
Step 2
Add the powdered monkfruit sweetener and vanilla extract to the mug. Stir well to incorporate. -
Step 3
Crack the egg into the mug. Whisk everything together until the mixture is well combined and has a smooth consistency. -
Step 4
Microwave on high for 60-90 seconds. Cooking time may vary depending on your microwave’s wattage. The cheesecake should be set but still slightly soft in the center. -
Step 5
Let the cheesecake cool in the mug for a few minutes before enjoying. It will continue to set as it cools. -
Step 6
Optional: Top with berries or sugar-free whipped cream once cooled.
Important Information
Nutrition Facts (Per Serving)
It is important to consider this information as approximate and not to use it as definitive health advice.
Allergy Information
Please check ingredients for potential allergens and consult a health professional if in doubt.