Easy Dill Dip Recipe – Delicious & Quick Appetizer
Dill Dip is the sunshine in a bowl, isn’t it? There’s just something undeniably cheerful and utterly irresistible about this creamy, herbaceous delight. Whether you’re hosting a game day gathering, a casual get-together with friends, or simply looking for a way to elevate your everyday snack game, a perfectly executed Dill Dip is guaranteed to be a crowd-pleaser. What is it about this simple combination that captures our hearts and palates? It’s that bright, refreshing burst of fresh dill, perfectly balanced with a cool, tangy base that just screams ‘dip me in this!’. People love it because it’s incredibly versatile – it’s the perfect companion for crunchy vegetables, warm pita bread, potato chips, and so much more. It’s that secret weapon that takes simple ingredients and transforms them into something truly special, a testament to the power of fresh flavors and a few key ingredients coming together in perfect harmony.
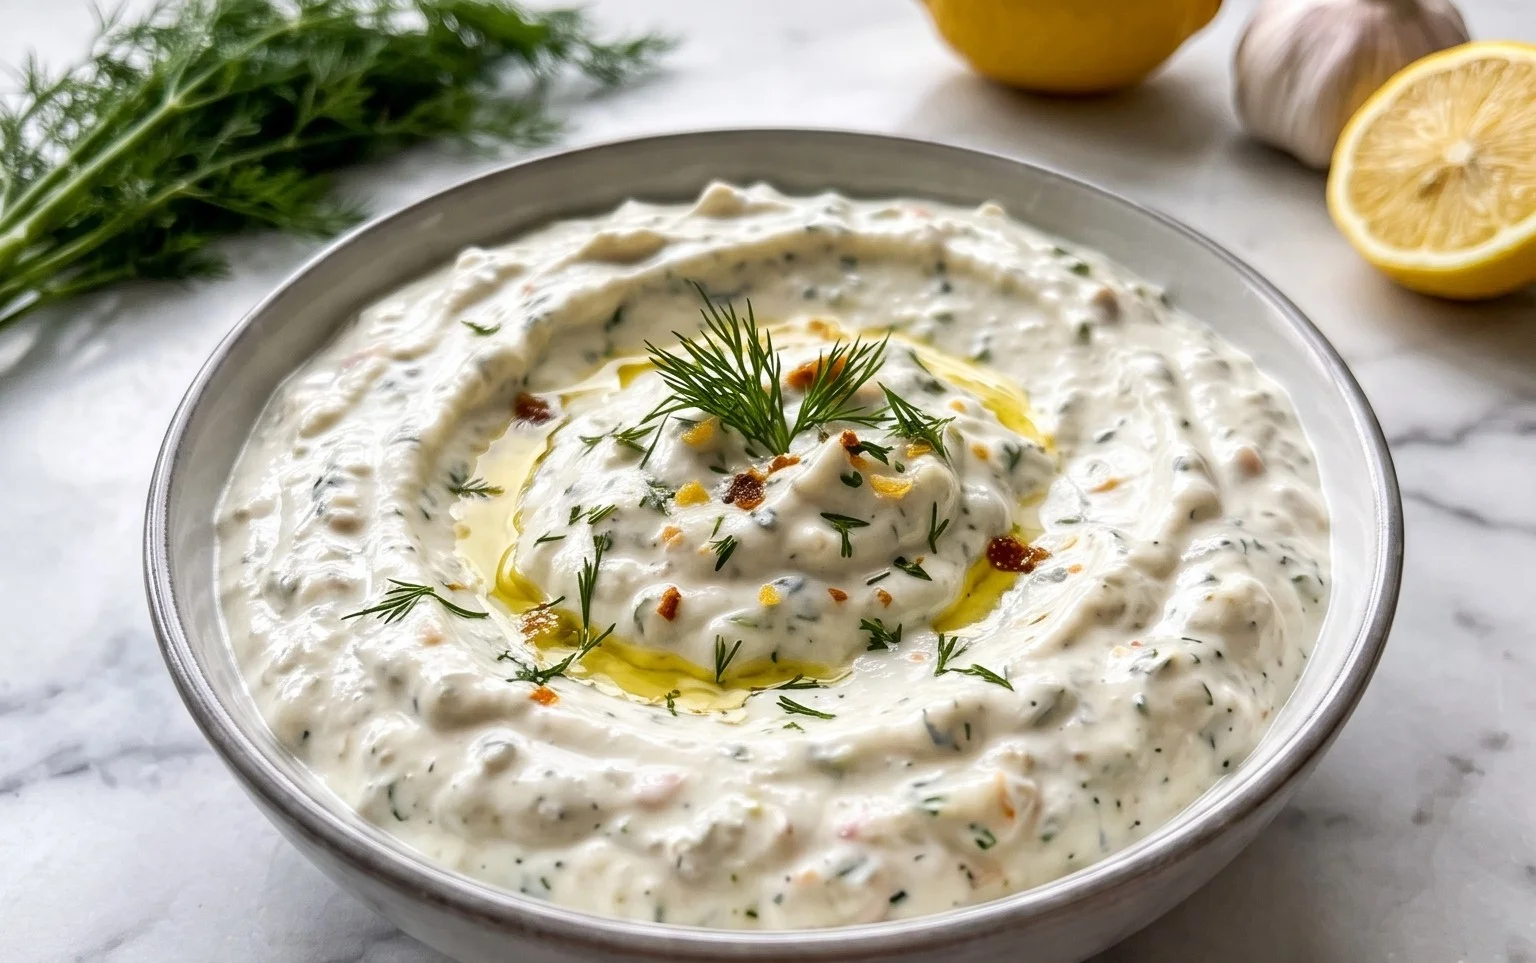
Dill Dip
This dill dip is a perennial favorite for a reason! It’s incredibly easy to make, bursting with fresh, herbaceous flavor, and perfectly creamy. Whether you’re serving it at a casual backyard barbecue, a holiday gathering, or just want a delicious snack to enjoy with your favorite veggies, this dip is sure to be a hit. It’s the kind of recipe that makes you feel like a culinary genius with minimal effort. The magic lies in the simplicity of its ingredients and the way they meld together to create a truly delightful dip. I’ve been making this for years, and it always disappears first. Let’s get started on creating this crowd-pleaser!
Ingredients:
Getting Started: Preparing Your Ingredients
Before we dive into mixing, let’s make sure we have everything prepped and ready to go. This is a crucial step for a smooth and enjoyable cooking experience.
First, gather all your ingredients. Having everything measured out and within reach will prevent any last-minute scrambling and ensure accuracy. For the fresh herbs, it’s important to have them washed, thoroughly dried, and finely chopped. This might seem like a small detail, but it makes a big difference in the texture and distribution of flavor in your dip. You want those delicate herb flecks to be evenly spread throughout, not in large, overwhelming clumps.
Now, let’s talk about the base of our dip: the mayonnaise and sour cream. For the best results, I recommend using full-fat versions of both. The richness from full-fat ingredients contributes to a luxuriously creamy texture that’s truly satisfying. If you’re looking for a slightly lighter option, you can experiment with reduced-fat versions, but be aware that the texture might be a bit thinner. Ensure both are at room temperature or close to it; this helps them combine more easily with the other ingredients, creating a smoother, more cohesive dip. Cold ingredients can sometimes make the mixture a little lumpy.
Creating the Creamy Base
Now for the fun part – bringin extractg it all together! This recipe is all about simple mixing, so no complicated techniques are required.
1. Combine the Wet Ingredients: In a medium-sized mixing bowl, add the 1 cup of mayonnaise and 1 cup of sour cream. Use a whisk or a sturdy spoon to gently combine these two ingredients until they are thoroughly mixed and no streaks of either remain. You’re looking for a smooth, pnon-alcoholic ale, creamy foundation for your dip. Take your time with this step; a well-blended base ensures a uniform flavor and texture throughout the entire dip. If you notice any lumps of sour cream or mayonnaise, keep stirring until it’s perfectly smooth.
2. Introduce the Flavor Boosters: To this creamy base, we’ll add the dry seasonings. Sprinkle in the 2 tablespoons of onion flakes. These flakes rehydrate as they sit in the dip, providing a subtle but distinct oniony punch without the harshness of raw onion. Next, add the 1 teaspoon of seasoned salt. I specifically recommend a seasoned salt like Lawrey’s because it already contains a blend of salt, pepper, and other spices that complement the herbs beautifully. If you don’t have seasoned salt, you can use regular salt and a pinch of black pepper and perhaps a tiny pinch of garlic powder, but the seasoned salt really does add an extra layer of complexity.
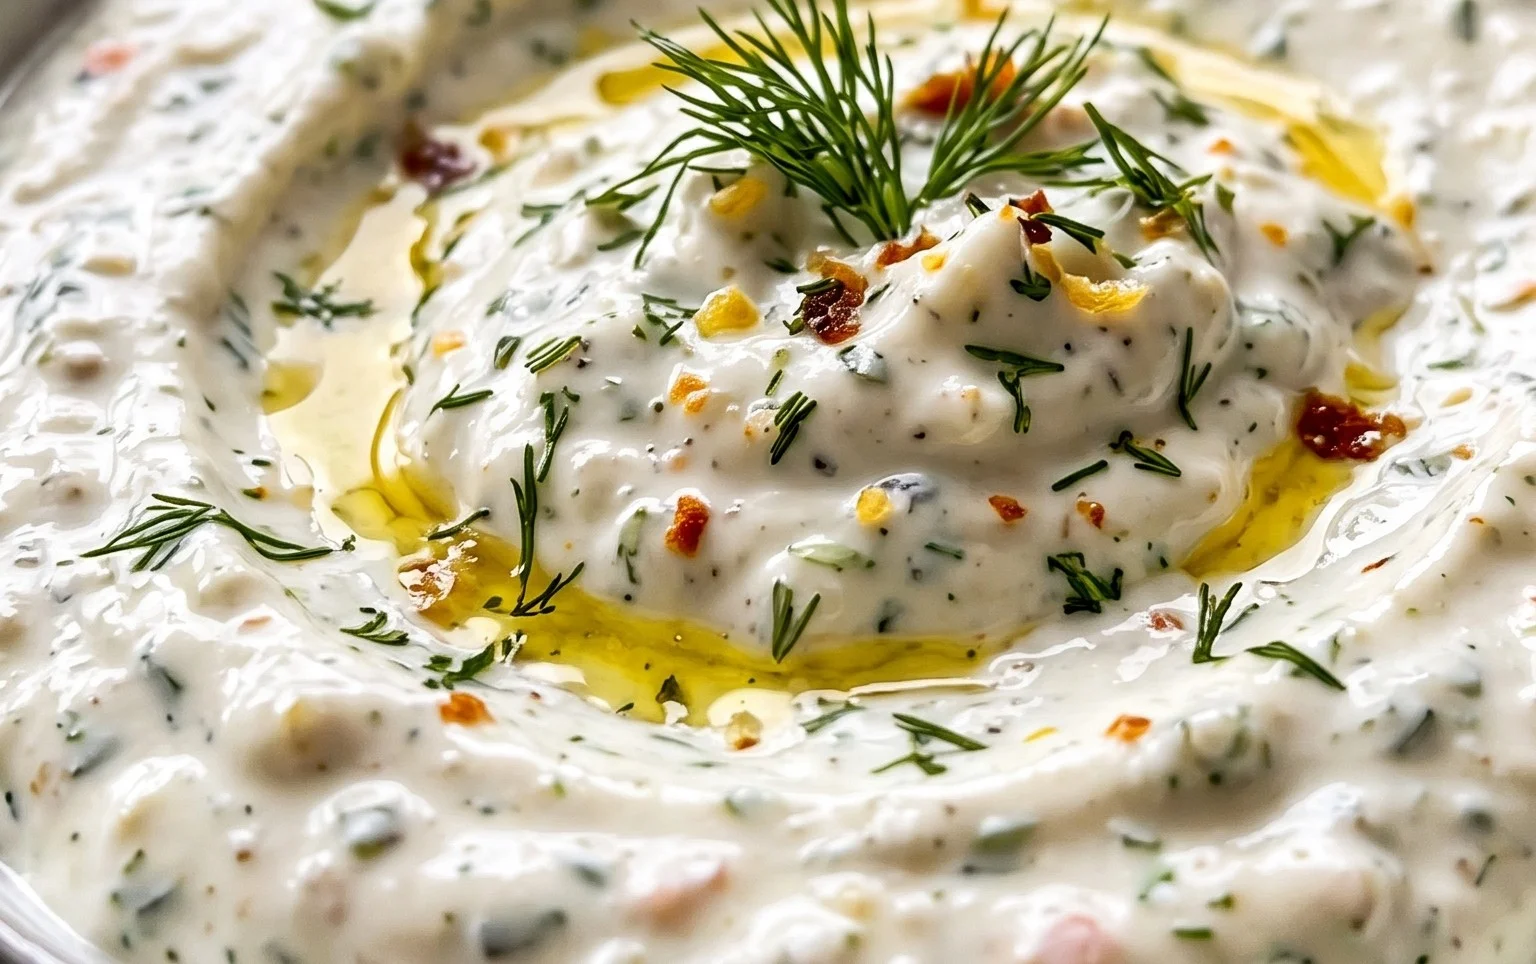
3. Incorporate the Fresh Herbs: Now it’s time to add the stars of the show: the fresh herbs. Gently fold in the 3 tablespoons of fresh dill and the 1 tablespoon of fresh parsley. Chop your herbs finely for the best distribution. Dill is the dominant flavor here, so don’t be shy with it! Parsley adds a fresh, slightly peppery note that balances the dill and the richness of the dairy. Stir everything together until the herbs are evenly distributed throughout the mixture. You should see beautiful green flecks throughout your creamy dip.
4. Thoroughly Mix and Taste: Continue to stir the mixture until all the ingredients are completely incorporated and you have a uniform dip. Once everything is mixed, it’s essential to taste and adjust. This is your chance to make it perfect for your palate. Does it need a little more salt? A touch more dill? Dip a chip or a small spoon in and give it a taste. Remember that the flavors will continue to meld and intensify as the dip chills.
5. Chill for Flavor Fusion: This is arguably the most important step for achieving the best flavor in your dill dip. Cover the bowl tightly with plastic wrap or transfer the dip to an airtight container. Refrigerate the dip for at least 1 hour, but for optimal flavor, I recommend chilling it for 2 to 4 hours, or even overnight. This resting period allows the onion flakes to soften and rehydrate, the herbs to release their full aroma, and all the flavors to meld together into a harmonious, delicious whole. The dip will also thicken slightly as it chills, which is desirable for a good dip consistency.
Serving Your Delicious Dill Dip
Once your dill dip has had ample time to chill and the flavors have had a chance to truly marry, it’s ready to be served! Transfer it to a nice serving bowl. Garnish with a little extra fresh dill or a sprinkle of parsley for a beautiful presentation.
This dill dip is incredibly versatile. It’s fantastic with a colorful assortment of fresh vegetables like carrot sticks, celery sticks, cucumber slices, bell pepper strips, broccoli florets, and snap peas. It’s also a wonderful accompaniment to potato chips, pita chips, crackers, or even as a spread for sandwiches and wraps. For a more substantial appetizer, try serving it alongside some crusty bread or mini baguette slices. Enjoy the wonderful, fresh flavors of this classic dill dip!
Conclusion:
I hope you’re feeling inspired to whip up a batch of this delicious Dill Dip! This recipe truly is a winner because it’s incredibly simple to make, requiring just a handful of common ingredients, and delivers a burst of fresh, tangy flavor that elevates any gathering. It’s the perfect go-to for parties, picnics, or even just a casual weeknight snack. The versatility of this Dill Dip is one of its strongest points; it pairs beautifully with a wide array of dippers, from crunchy raw vegetables like carrots and bell peppers to hearty potato chips and warm pita bread. Don’t hesitate to get creative with it! I’ve shared a few ideas, but feel free to experiment with different herbs or even a pinch of spice to make it your own. I encourage you to give this recipe a try – you won’t be disappointed!
Frequently Asked Questions:
How long does Dill Dip last in the refrigerator?
Properly stored in an airtight container, this Dill Dip should stay fresh in the refrigerator for up to 3 to 4 days. The fresh dill flavor might mellow slightly over time, but it will still be wonderfully delicious.
Can I make this Dill Dip ahead of time?
Absolutely! In fact, I often find that the flavors meld even better when the Dill Dip sits for a couple of hours in the refrigerator before serving. This allows the dill and other seasonings to fully infuse into the base.
What are some other serving suggestions for this Dill Dip?
Beyond the classics, consider spreading it on sandwiches or wraps for an extra layer of flavor, using it as a topping for baked potatoes, or even mixing it into pasta salads. Its refreshing taste works in so many applications!
Dill Dip
A creamy and herb-infused dill dip perfect for appetizers and snacks.
Ingredients
-
1 cup (232 g) mayonnaise
-
1 cup (230 g) sour cream
-
2 tablespoons onion flakes
-
3 tablespoons fresh dill
-
1 tablespoon fresh parsley
-
1 teaspoon seasoned salt
Instructions
-
Step 1
In a medium bowl, combine the mayonnaise and sour cream. Stir until well blended. -
Step 2
Add the onion flakes to the bowl. Mix thoroughly. -
Step 3
Stir in the fresh dill until evenly distributed throughout the mixture. -
Step 4
Add the fresh parsley and mix again. -
Step 5
Season the dip with the seasoned salt. Taste and adjust seasoning as needed. -
Step 6
For best flavor, cover and refrigerate the dip for at least 30 minutes before serving.
Important Information
Nutrition Facts (Per Serving)
It is important to consider this information as approximate and not to use it as definitive health advice.
Allergy Information
Please check ingredients for potential allergens and consult a health professional if in doubt.