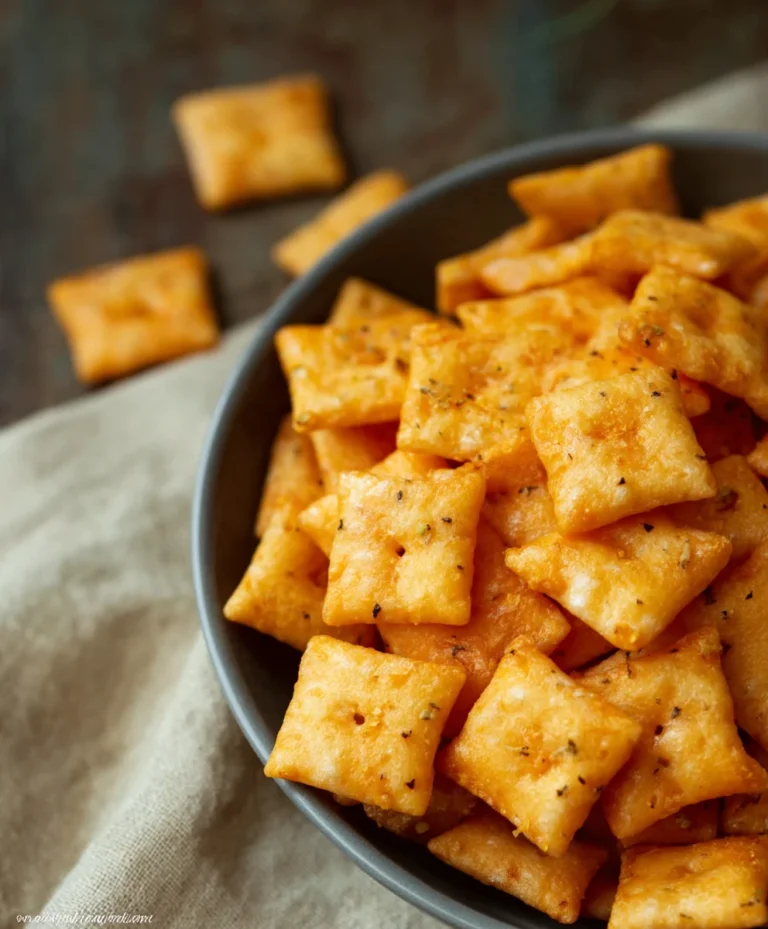
Spicy Fried Jalapeno Popper Bites – Easy Recipe
Fried Jalapeno Popper Bites are an absolute game-changer for any appetizer spread, party, or just a weeknight craving. We all know and adore the classic jalapeno popper, with its creamy, cheesy interior and spicy kick. But imagin extracte that beloved flavor explosion miniaturized, intensified, and encased in a perfectly crispy, golden-brown shell. That’s the magic of these delightful fried jalapeno popper bites! What makes them so utterly irresistible? It’s the perfect harmony of textures and tastes: the slight heat of the pepper, the luxurious creaminess of the cheese filling, and that satisfying crunch from the fried coating. These bites elevate the familiar into something truly spectacular, ensuring they’ll disappear faster than you can say “more, please!” Get ready to impress yourself and everyone around you with these addictive little flavor bombs.

Fried Jalapeno Popper Bites
Get ready for a flavor explosion! These Fried Jalapeno Popper Bites are everything you love about classic jalapeno poppers, just in a perfectly bite-sized, crispy package. Imagin extracte the creamy, cheesy, spicy filling encased in a golden, crunchy exterior. They’re incredibly addictive and perfect for game day, parties, or just a seriously satisfying snack. The combination of spicy jalapenos, tangy cream cheese, melty pepper jack, and smoky beef beef bacon is simply irresistible. Plus, making them yourself is surprisingly easy and way more rewarding than any store-bought version. Let’s get started on creating these little pockets of pure deliciousness!
Ingredients:
Crafting the Fiery Filling
The heart of any great jalapeno popper is its filling, and these bites are no exception. To begin extract, ensure your cream cheese is truly softened. This means letting it sit out at room temperature for at least an hour, or gently microwaving it in 10-second bursts until it’s easily spreadable. In a medium bowl, combine the softened cream cheese with the shredded pepper jack cheese. Get in there with a spoon or a spatula and mix them thoroughly until they’re well incorporated. Next, we add our flavor powerhouses. Stir in the finely diced seeded jalapenos. Remember, we’re seeding them to control the heat – you can leave some seeds in if you like things extra spicy, but for balanced flavor, seeding is key. Then, add the chopped beef beef bacon. The smoky, savory notes of the beef beef bacon are a fantastic contrast to the creamy cheese and spicy jalapenos. Finally, drizzle in the sriracha sauce. This adds a welcome layer of heat and a slightly vinegary tang that ties everything together. Mix this entire glorious concoction until it’s just combined. You don’t want to overmix, but make sure all the ingredients are evenly distributed.
Forming and Coating the Bites
Now comes the fun part: shaping these flavor bombs! Take about a tablespoon of the cream cheese mixture and roll it into a small ball between your palms. Aim for a consistent size so they all cook evenly. You can make them slightly flatter if you prefer, but a round ball is classic. As you form each bite, place it on a parchment-lined baking sheet. Once you have all your balls formed, it’s time for the triple-threat coating. In three separate shallow dishes or pie plates, set up your dredgin extractg stations. In the first dish, add the all-purpose flour. In the second dish, combine the panko bread crum extractbs, plain bread crum extractbs, garlic powder, cayenne pepper, black pepper, and salt. This blend of bread crum extractbs ensures maximum crispiness, and the spices in the dry coating add another subtle layer of flavor. In the third dish, pour your beaten eggs. This is your “glue” to hold everything together.
Carefully roll each cream cheese ball first in the flour, shaking off any excess. Then, dip it into the beaten eggs, making sure it’s fully coated. Let any excess egg drip off. Finally, roll the coated ball in the seasoned bread crum extractb mixture. Gently press the bread crum extractbs onto the ball to ensure a good, even coating. This three-step process is crucial for creating that ultra-crispy exterior that will perfectly complement the soft, gooey center. Place the coated bites back onto the parchment-lined baking sheet as you work. For an extra crispy coating, you can refrigerate the coated bites for about 15-20 minutes before frying. This helps the coating adhere better and prevents it from falling off in the hot oil.
The Art of Frying
This is where the magic happens! We need to get our oil nice and hot. In a deep, heavy-bottomed pot or Dutch oven, pour your peanut oil or canola oil. You’ll want about 2-3 inches of oil. Heat the oil over medium-high heat until it reaches a temperature of 350°F (175°C). Using a thermometer is highly recommended to ensure the oil is at the correct temperature. If the oil is too cool, your bites will absorb too much grease and become soggy. If it’s too hot, the outside will burn before the inside is heated through.
Carefully, in batches, lower the coated jalapeno popper bites into the hot oil. Do not overcrowd the pot, as this will lower the oil temperature and lead to uneven frying. Fry the bites for about 2-4 minutes, or until they are a beautiful golden brown and the coating is crispy. You’ll want to gently turn them occasionally with a slotted spoon or spider strainer to ensure they brown evenly on all sides.
Draining and Serving Perfection
Once your jalapeno popper bites are a glorious golden brown, it’s time to remove them from the hot oil. Use your slotted spoon or spider strainer to carefully lift them out of the pot. Place them on a plate lined with paper towels. This step is vital for absorbing any excess oil, ensuring your bites are perfectly crisp and not greasy. Allow them to drain for a minute or two before transferring them to a serving platter.
Serve these delightful bites immediately while they’re warm and the cheese is wonderfully melty. They are absolutely divine on their own, but they also pair wonderfully with a cooling ranch dip or a tangy sour cream. Enjoy the satisfying crunch, followed by the creamy, spicy, cheesy goodness that makes these Fried Jalapeno Popper Bites an instant crowd-pleaser. They’re so good, you’ll want to make a double batch!

Conclusion:
I truly hope you’ve enjoyed learning how to make these incredibly delicious Fried Jalapeno Popper Bites! They are a fantastic appetizer or snack, offering that perfect balance of creamy, cheesy, spicy, and crispy goodness. The satisfying crunch from the fried exterior, followed by the warm, gooey cheese and the kick of the jalapeno, makes these irresistible. They’re surprisingly easy to whip up, making them a go-to for parties, game nights, or even just a special treat for yourself.
For serving, these little bites are wonderful on their own, but they also pair beautifully with a cool ranch dip or a zesty salsa to complement the heat. You can even serve them as a side dish with burgers or tacos for an extra layer of flavor. If you’re feeling adventurous, consider variations like adding crum extractbled beef bacon to the cheese mixture for a smoky depth, or using different types of cheese such as cheddar or Monterey Jack for a milder flavor profile. Don’t be afraid to experiment! I encourage you to give these Fried Jalapeno Popper Bites a try; I promise you won’t regret the delightful culinary adventure!
Frequently Asked Questions:
Can I make the jalapenos less spicy?
Absolutely! To reduce the heat, you can carefully scrape out all the seeds and membranes from the jalapenos before stuffing them. You can also try using milder peppers like Padrón peppers or even green bell peppers with a pinch of cayenne pepper added to the cheese filling for a similar flavor without the intense heat.
Can I bake these instead of frying?
Yes, you can bake these for a healthier alternative. Preheat your oven to 400°F (200°C). Place the breaded bites on a baking sheet lined with parchment paper and bake for 15-20 minutes, or until golden brown and heated through, flipping halfway. They won’t be quite as crispy as fried, but they’ll still be wonderfully cheesy and flavorful.
How do I store leftovers?
Leftover Fried Jalapeno Popper Bites are best stored in an airtight container in the refrigerator for up to 2-3 days. To reheat and regain some of their crispiness, I recommend placing them on a baking sheet in a preheated oven at around 350°F (175°C) for about 5-10 minutes, or until warmed through.
Fried Jalapeno Popper Bites
Crispy and cheesy bites filled with spicy jalapenos and savory beef bacon, perfect as an appetizer.
Ingredients
-
8 oz cream cheese (softened)
-
2 cup shredded pepper jack cheese
-
3 jalapenos (seeded and diced)
-
¼ cup chopped beef bacon
-
2 tbsp sriracha sauce
-
½ cup all purpose flour
-
½ cup panko breadcrumbs
-
½ cup plain breadcrumbs
-
1 tsp garlic powder
-
½ tsp cayenne pepper
-
¼ tsp black pepper
-
¼ tsp salt
-
2 eggs (beaten)
-
peanut oil or canola oil for frying
Instructions
-
Step 1
In a medium bowl, combine softened cream cheese, shredded pepper jack cheese, diced jalapenos, chopped beef bacon, and sriracha sauce. Mix until well combined. -
Step 2
Roll the mixture into bite-sized balls and place them on a parchment-lined baking sheet. Freeze for at least 30 minutes to firm up. -
Step 3
Set up three shallow dishes. In the first, place all-purpose flour. In the second, whisk the beaten eggs. In the third, combine panko breadcrumbs, plain breadcrumbs, garlic powder, cayenne pepper, black pepper, and salt. -
Step 4
Take the frozen cheese balls and dredge each one in flour, then dip in the beaten eggs, and finally coat thoroughly in the breadcrumb mixture. -
Step 5
Heat about 2 inches of peanut oil or canola oil in a heavy-bottomed pot or deep fryer to 350°F (175°C). -
Step 6
Carefully fry the coated bites in batches for 3-4 minutes, or until golden brown and crispy. Do not overcrowd the pot. -
Step 7
Remove the fried bites with a slotted spoon and drain on paper towels. Serve hot.
Important Information
Nutrition Facts (Per Serving)
It is important to consider this information as approximate and not to use it as definitive health advice.
Allergy Information
Please check ingredients for potential allergens and consult a health professional if in doubt.