Spicy Mumbai Pav Bhaji Recipe-Flavorful Veggie Mash
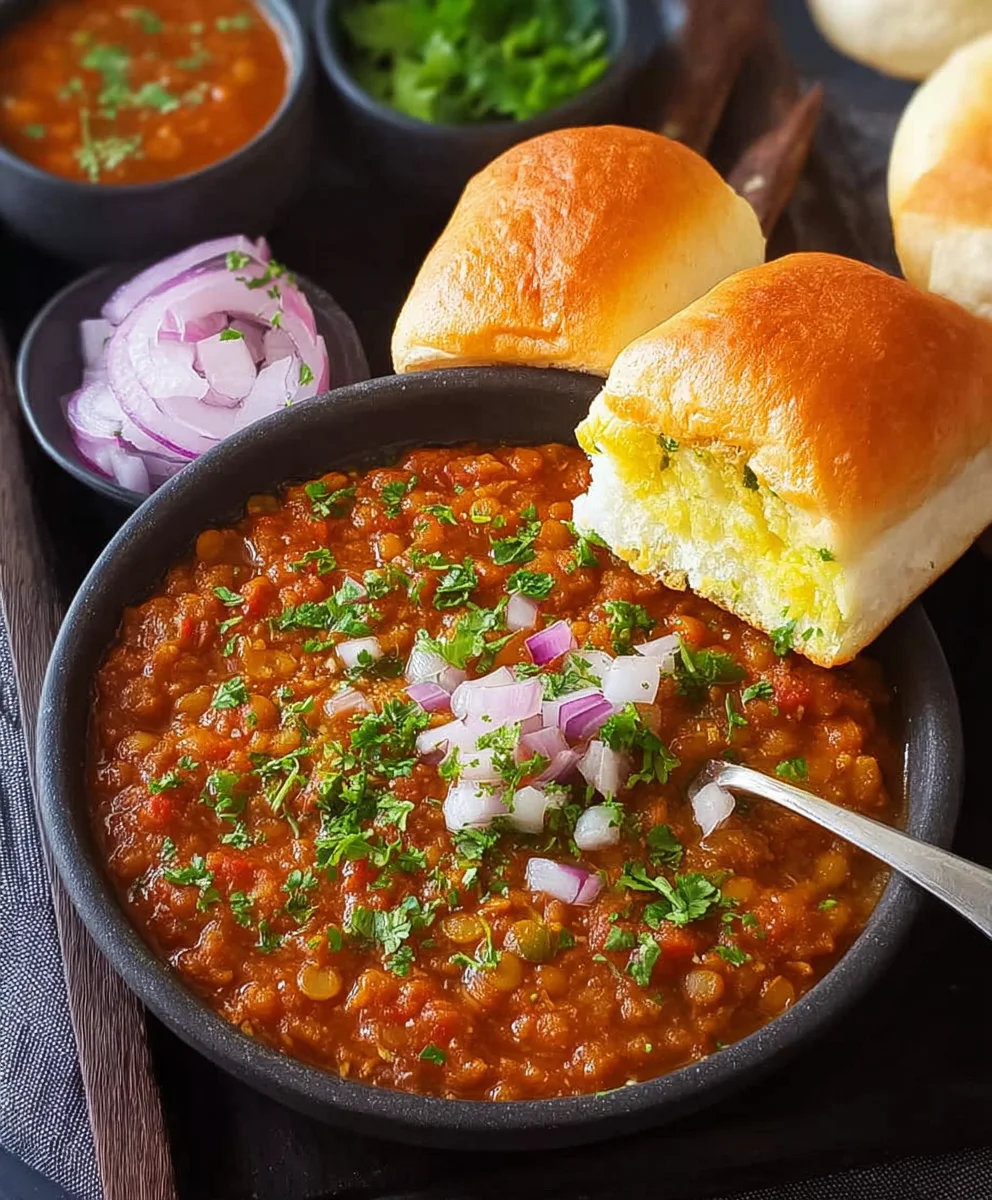
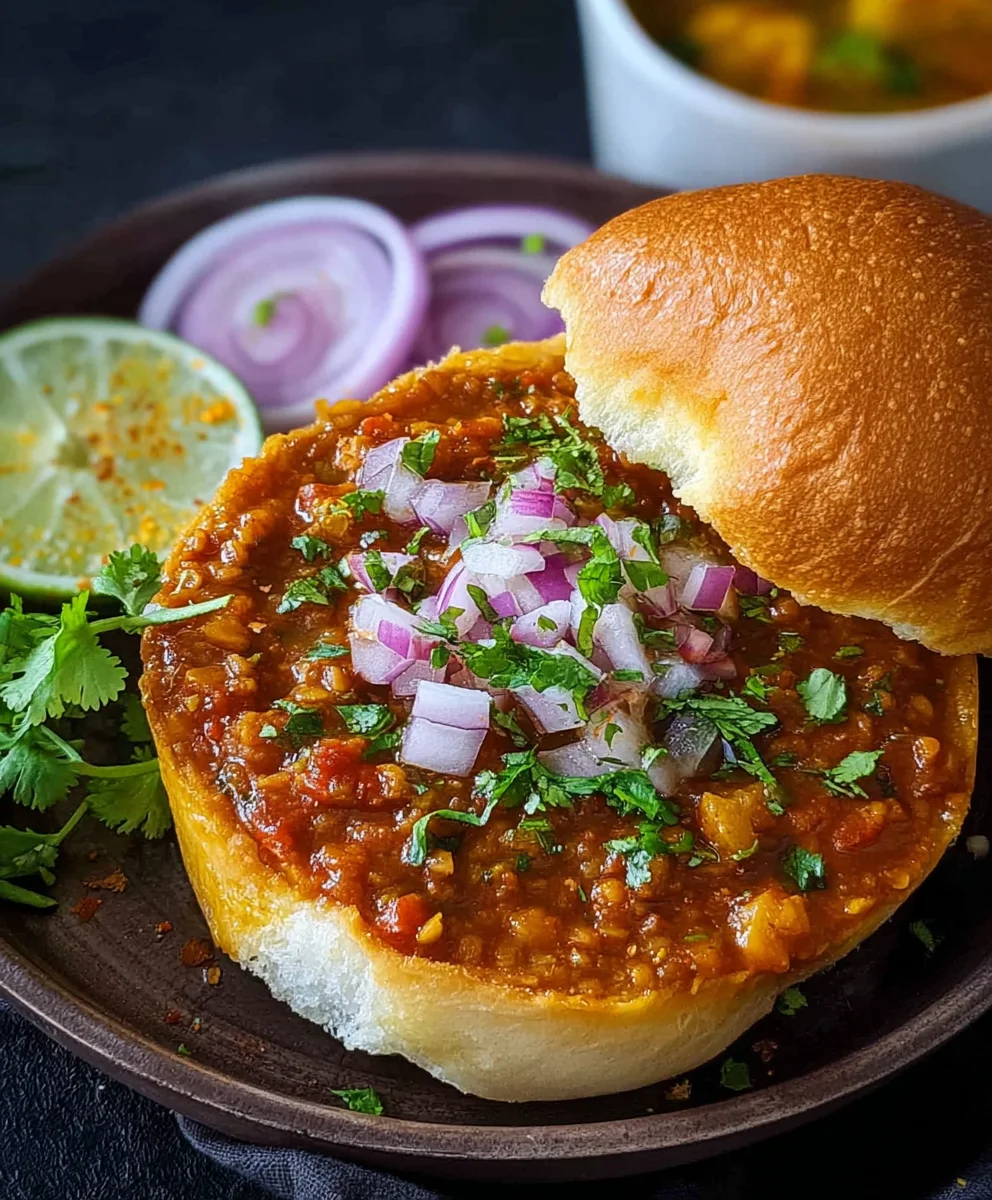
Pav Bhaji, that vibrant explosion of flavors and textures, is more than just a street food; it’s an emotion for many. This beloved Indian dish, characterized by its rich, spicy, and buttery vegetable mash (bhaji) served alongside soft, toasted bread rolls (pav), evokes instant comfort and pure joy. What is it about this humble combination that captures hearts and taste buds so universally? Perhaps it’s the incredible depth of flavor achieved through a harmonious blend of aromatic spices, perfectly cooked vegetables, and that essential dollop of butter. Or maybe it’s the satisfying contrast between the soft, yielding bhaji and the slightly crisp, garlic-infused pav. Whatever the secret, a truly exceptional Pav Bhaji is a culinary masterpiece that delivers pure, unadulterated happiness with every single bite, making it a perfect candidate for your next comforting meal.
Ingredients:
- 7 cloves Garlic (Big (around 30 grams)), minced
- 2 tbsp Red kashmiri chili powder (Crucial for color and mild heat, do not substitute)
- 2 cups around 250 grams Potatoes, peeled and cut into 1-inch cubes
- 1 cup around 120 grams Cauliflower florets, medium-sized
- 2 cups Finely chopped Tomatoes
- 1 cup Finely chopped Onion
- 1 cup Finely chopped capsicum / bell pepper (any color will work)
- 1/4 cup dried green peas (or 1/2 cup fresh or frozen green peas)
- Salt to taste
- 1/2 tsp Turmeric powder
- 1 tbsp + 1/2 tsp Pav bhaji masala (essential for the signature flavor)
- 1/4 cup finely chopped cilantro, for garnish and flavor
- 2 tbsp Butter (salted or unsalted, adjust salt accordingly)
- 1 tbsp Oil (vegetable or any neutral cooking oil)
- 1 tsp kasuri methi (dried fenugreek leaves), crushed
Preparing the Vegetable Base
Boiling the Vegetables
- Begin extract by preparing your vegetables for boiling. Ensure the potatoes are peeled and cut into uniform 1-inch cubes. This helps them cook evenly. Rinse the cauliflower florets under cold water. If you are using dried green peas, soak them in warm water for at least 30 minutes to soften them. If using fresh or frozen peas, no prior soaking is needed.
- In a large pot or pressure cooker, combine the cubed potatoes, cauliflower florets, and the green peas (soaked dried peas or fresh/frozen ones). Add enough water to generously cover the vegetables, about 2-3 inches above their level. Add a pinch of salt and the 1/2 tsp of turmeric powder. Turmeric adds a lovely golden hue and is known for its health benefits.
- If using a pot, bring the water to a rolling boil over high heat. Once boiling, reduce the heat to medium-low, cover the pot tightly, and let the vegetables simmer until they are fork-tender. This usually takes about 15-20 minutes. For a pressure cooker, cook for about 3-4 whistles on medium heat, then let the pressure release naturally. You want the vegetables to be soft enough to mash easily but not mushy or disintegrated.
Making the Bhaji Masala
Sautéing the Aromatics and Spices
- While the vegetables are boiling, let’s start on the flavorful bhaji masala. Heat the 1 tbsp of oil and 1 tbsp of butter in a large, heavy-bottomed pan or a kadai over medium heat. Once the butter has melted and the oil is shimmering, add the minced garlic. Sauté the garlic for about 30-60 seconds until it’s fragrant andgin extractst beginning to turn golden. Be careful not to burn the garlic, as it can turn bitter.
- Immediately add the finely chopped onion and sauté them until they become translucent and soft, which should take about 5-7 minutes. Stir frequently to prevent sticking. Next, add the finely chopped capsicum (bell pepper) and cook for another 3-4 minutes until it softens slightly.
- Now, it’s time for the spices. Add the 2 tbsp of Red kashmiri chili powder. This chili powder is prized for its vibrant red color and mild heat, making it perfect for pav bhaji. Stir it in well and cook for about 30 seconds, allowing the oil to draw out its color and aroma. Be careful not to scorch the chili powder.
- Add the finely chopped tomatoes to the pan. Cook the tomatoes, stirring occasionally, until they become soft and mushygin extractnd the oil begins to separate from the mixture. This process helps to develop a rich tomato base for the bhaji.
- Stir in the 1 tbsp + 1/2 tsp of Pav bhaji masala and the salt to taste. Cook for another minute, stirring continuously, to toast the masala and release its full flavor. It’s important to cook the spices like this to enhance their taste.
Combining and Mashing
Creating the Signature Pav Bhaji Texture
- Once the vegetables are perfectly tender, drain any excess water from the pot, but reserve some of the cooking liquid. Carefully transfer the boiled vegetables to the pan with the sautéed masala.
- Using a potato mashgin extractor a sturdy ladle, begin to mash the vegetables thoroughly. Mash until you achieve a thick, semi-smooth consistency. You want some texture, but the majority of the vegetables should be well-mashed. If the bhaji seems too thick, add a little of the reserved vegetable cooking liquid, a tablespoon at a time, until you reach your desired consistency.
- Add the remaining 1 tbsp of butter to the mashed vegetable mixture. This butter is key to achieving that rich, glossy finish and authentic flavor of pav bhaji. Stir it in until it’s completely melted and incorporated.
- Finally, add the crushed kasuri methi. Gently rub the dried fenugreek leaves between your palms before adding them; this releases their aromatic oils. Stir the kasuri methi into the bhaji and mix well. Cook for another 2-3 minutes, allowing all the flavors to meld together beautifully.
- Garnish the bhaji generously with the finely chopped cilantro just before serving. This adds a burst of freshness and a beautiful green contrast.
Conclusion:
And there you have it – your very own delicious homemade Pav Bhaji! We’ve walked through the vibrant spices and hearty vegetables that come together to create this iconic Indian street food, and I hope you’re excited to give it a try. This recipe is a wonderful celebration of flavor and texture, and it’s surprisingly adaptable to your personal taste. Serve your piping hot Pav Bhaji with those perfectly buttered, toasted pav buns, a squeeze of fresh lime, and a generous garnish of chopped onions and cilantro for the ultimate experience. Don’t be afraid to get creative with your vegetable choices – cauliflower, carrots, and peas are all fantastic additions. Remember, the beauty of this dish lies in its comforting warmth and bold flavors. So, gather your loved ones, get cooking, and enjoy the incredible journey of making and savoring this beloved Pav Bhaji!
Frequently Asked Questions about Pav Bhaji:
Can I make Pav Bhaji spicier?
Absolutely! To increase the heat level of your Pav Bhaji, you can add more green chilies to the vegetable mixture, or a pinch of red chili powder during the spice tempering stage. Some people also like to add a touch of cayenne pepper for an extra kick.
What kind of vegetables work best in Pav Bhaji?
The classic base for Pav Bhaji includes potatoes, cauliflower, peas, and onions. However, you can customize it with a variety of other vegetables like bell peppers (capsicum), carrots, tomatoes, and even a bit of cabbage for added texture and flavor. Ensure they are all cooked until tender and easily mashable.
Can I freeze leftover Pav Bhaji?
Yes, leftover Pav Bhaji freezes quite well. Allow it to cool completely before transferring it to an airtight container or freezer bag. When you’re ready to enjoy it again, simply thaw it overnight in the refrigerator and then reheat it on the stovetop, adding a splash of water if it seems too thick.
Spicy Mumbai Pav Bhaji Recipe-Flavorful Veggie Mash
A classic Indian street food featuring a flavorful mash of mixed vegetables seasoned with a special blend of spices, served with buttered bread rolls.
Ingredients
-
7 cloves Garlic (Big (around 30 grams)), minced
-
2 tbsp Red kashmiri chili powder
-
2 cups around 250 grams Potatoes, peeled and cut into 1-inch cubes
-
1 cup around 120 grams Cauliflower florets, medium-sized
-
2 cups Finely chopped Tomatoes
-
1 cup Finely chopped Onion
-
1 cup Finely chopped capsicum / bell pepper
-
1/4 cup dried green peas
-
Salt to taste
-
1/2 tsp Turmeric powder
-
1 tbsp + 1/2 tsp Pav bhaji masala
-
1/4 cup finely chopped cilantro, for garnish and flavor
-
2 tbsp Butter
-
1 tbsp Oil (vegetable or any neutral cooking oil)
-
1 tsp kasuri methi (dried fenugreek leaves), crushed
Instructions
-
Step 1
Boil potatoes, cauliflower florets, and green peas in a large pot with enough water to cover, along with a pinch of salt and turmeric powder. Cook until fork-tender (15-20 mins in a pot, 3-4 whistles in a pressure cooker). -
Step 2
While vegetables boil, heat oil and butter in a pan. Sauté minced garlic until fragrant, then add chopped onion and cook until translucent. Add capsicum and cook for 3-4 minutes. -
Step 3
Add red kashmiri chili powder and cook for 30 seconds. Then add chopped tomatoes and cook until soft and mushy, stirring occasionally. Stir in pav bhaji masala and salt, cook for another minute. -
Step 4
Drain excess water from boiled vegetables (reserve some liquid) and transfer them to the pan with the masala. Mash the vegetables thoroughly using a potato masher or ladle until a thick, semi-smooth consistency is achieved. Add reserved cooking liquid if needed. -
Step 5
Add the remaining butter to the mashed vegetables and stir until melted. Add crushed kasuri methi, stir well, and cook for another 2-3 minutes. -
Step 6
Garnish generously with finely chopped cilantro just before serving.
Important Information
Nutrition Facts (Per Serving)
It is important to consider this information as approximate and not to use it as definitive health advice.
Allergy Information
Please check ingredients for potential allergens and consult a health professional if in doubt.