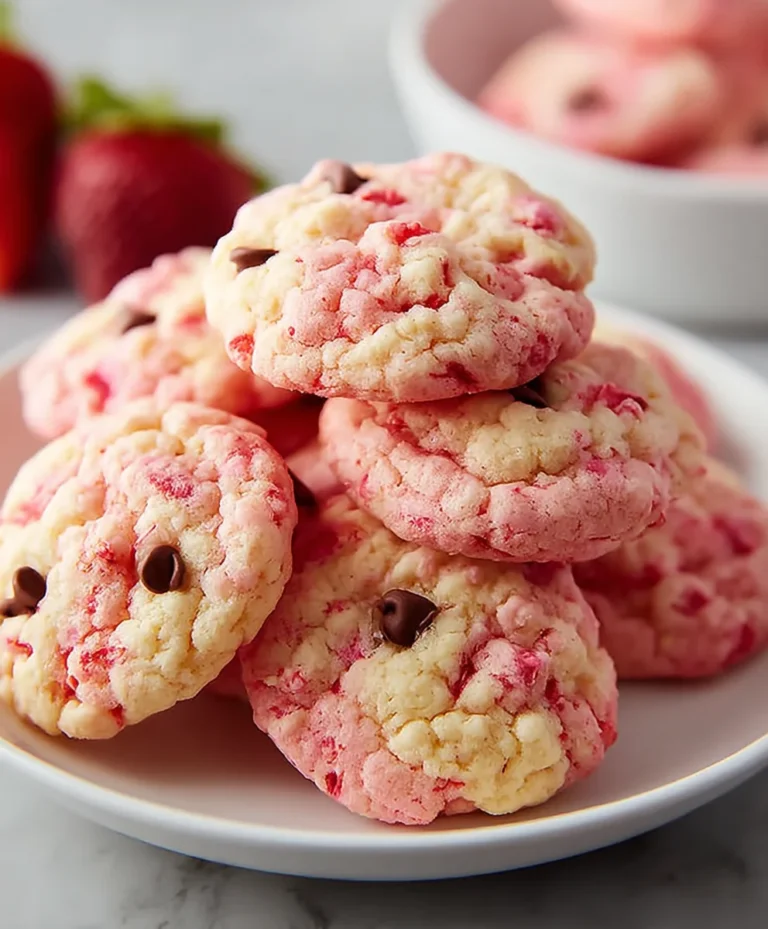
White Chocolate Confetti Cookies Recipe-Fun & Festive Bites
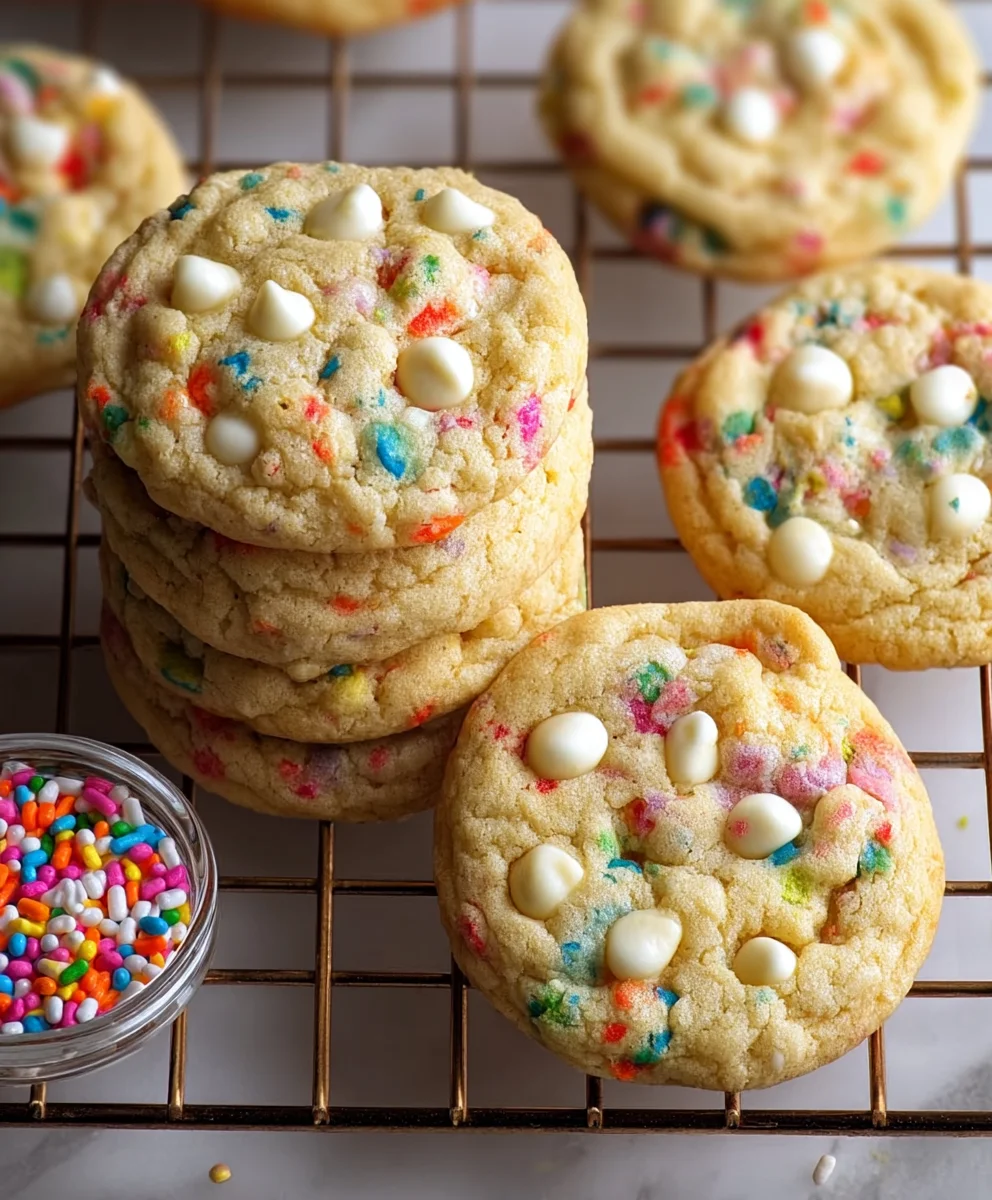
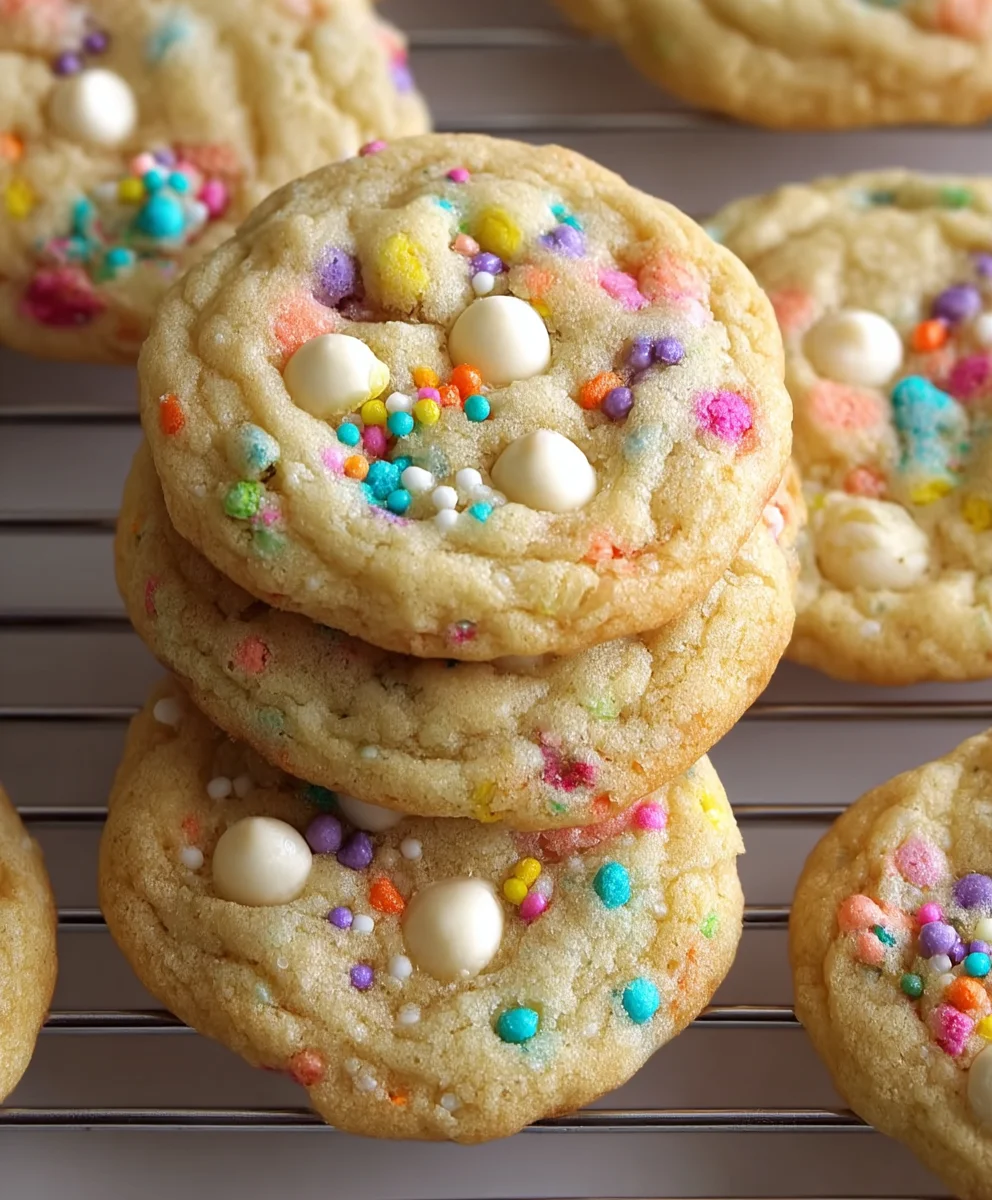
White Chocolate Confetti Cookies are more than just a treat; they’re a celebration in every bite. Imagin extracte a perfectly tender cookie, slightly crisp on the edges, yielding to a wonderfully soft and chewy center. What truly sets these delightful creations apart is the vibrant burst of color from the confetti sprinkles, transforming each cookie into a mini edible party. People absolutely adore White Chocolate Confetti Cookies because they evoke a sense of pure joy and nostalgia, reminiscent of childhood birthdays and happy occasions. The creamy sweetness of the white chocolate melds beautifully with the fun crunch of the sprinkles, creating a delightful contrast in textures and flavors that’s utterly irresistible. This recipe focuses on achieving that perfect balance, ensuring your homemade White Chocolate Confetti Cookies are as visually stunning as they are delicious, guaranteed to bring smiles all around.
Why You’ll Love This Recipe
We’ve perfected the art of creating cookies that are both decadent and incredibly fun. This recipe ensures a consistently soft and chewy texture that you’ll crave, while the generous amount of white chocolate chips and rainbow sprinkles guarantees a delightful experience with every single bite. Get ready to master the ultimate comfort cookie!
Ingredients You’ll Need
To create these magical White Chocolate Confetti Cookies, gather the following:
- Unsalted butter, softened
- Granulated sugar
- Brown sugar, packed
- Large eggs
- Vanilla extract
- All-purpose flour
- Baking soda
- Salt
- White chocolate chips
- Rainbow sprinkles (also known as confetti sprinkles)
Ingredients:
- 1¼ cup salted butter, melted and cooled to room temperature
- 1 cup light brown sugar
- 1 cup granulated sugar
- 2 teaspoons vanilla extract
- 2 large eggs, room temperature
- 3 cups all-purpose flour
- 2 teaspoons cornstarch
- 1 teaspoon baking soda
- ½ teaspoon kosher salt
- ¾ cup white chocolate chips, plus extra for garnish
- ½ cup rainbow sprinkles, plus extra for garnish
Preparing the Dough Base
Step 1: Creaming the Sugars and Butter
Begin extract by combining the melted and cooled salted butter with both the light brown sugar and granulated sugar in a large mixing bowl. It’s crucial that your butter has cooled sufficiently; if it’s too warm, it can cause the sugar to dissolve unevenly, impacting the final texture of your cookies. I like to use a whisk or an electric mixer on medium speed to really cream these ingredients together until the mixture is light, fluffy, and pnon-alcoholic ale in color. This process incorporates air, which contributes to the chegrape juicess of the finished cookies. Aim for about 2-3 minutes of consistent mixing. This step is foundational for achieving that perfect cookie texture.
Step 2: Incorporating Wet Ingredients
Once the butter and sugar mixture is beautifully creamy, it’s time to add the vanilla extract and the room temperature eggs. Add the vanilla extract and mix it in thoroughly. Then, add the eggs, one at a time, beating well after each addition. Ensuring the eggs are at room temperature is important because they emulsify better with the fats in the butter and sugar, leading to a smoother, more cohesive dough. If your eggs are cold, you can quickly warm them by placing them in a bowl of warm (not hot) water for about 5-10 minutes. Mix until each egg is fully incorporated and you have a glossy, well-combined base. Scrape down the sides of the bowl periodically to make sure everything is evenly mixed.
Adding the Dry Ingredients and Mix-Ins
Step 3: Combining Dry Ingredients
In a separate medium-sized bowl, whisk together the all-purpose flour, cornstarch, baking soda, and kosher salt. Whisking these dry ingredients together ensures that the leavening agents and salt are evenly distributed throughout the flour. This is a critical step to prevent pockets of baking soda or salt in your cookies, which can lead to an unpleasant taste or uneven rising. Cornstarch is a secret weapon here; it helps to tenderize the cookies and gives them a wonderfully soft, almost cake-like texture while maintaining thgrape juicechewiness.
Step 4: Gradually Adding Dry to Wet and Incorporating Mix-Ins
Now, gradually add the dry ingredient mixture to the wet ingredients in three additions, mixing on low speed or by hand with a spatula until just combined. Be careful not to overmix the dough at this stage. Overmixing can develop the gluten in the flour too much, resulting in tough cookies. Once the flour is mostly incorporated, gently fold in the white chocolate chips and the rainbow sprinkles. Reserve a few extra white chocolate chips and sprinkles for topping the cookies before baking; this adds an extra burst of flavor and visual appeal. Mixing these in by hand with a spatula allows you to control the distribution and prevents the chocolate chips from breaking down too much. The goal is to have a dough that is cohesive but still has distinct pieces of white chocolate and colorful sprinkles visible.
Shaping and Baking
Step 5: Chilling and Scooping the Dough
At this point, it’s a good idea to chill the dough. Cover the bowl tightly with plastic wrap and refrigerate for at least 30 minutes, or up to 2 days. Chilling the dough solidifies the butter, which prevents the cookies from spreading too much during baking and helps them hold their shape. It also allows the flavors to meld together, resulting in a more delicious cookie. Once the dough has chilled, use a cookie scoop (about 1.5 to 2 tablespoons in size) to portion the dough into balls. Roll each ball gently between your palms to create a uniform shape.
Step 6: Baking to Perfection
Preheat your oven to 350°F (175°C) and line baking sheets with parchment paper. Place the scooped cookie dough balls onto the prepared baking sheets, leaving about 2 inches of space between each cookie to allow for spreading. If you reserved extra white chocolate chips and sprinkles, gently press a few onto the top of each cookie dough ball now. Bake for 9-12 minutes, or until the edges are lightly golden brown and the centers appear slightly soft. It’s better to slightly underbake these cookies for a chewier texture. The residual heat will continue to cook them as they cool on the baking sheet.
Step 7: Cooling and Enjoying
Once baked, let the cookies cool on the baking sheets for about 5-10 minutes before transferring them to a wire rack to cool completely. This resting period on the hot baking sheet is crucial for them to set properly. As they cool, the centers will firm up, and you’ll achieve that perfect chewy texture we all love. These White Chocolate Confetti Cookies are best enjoyed when fully cooled, allowing all the flavors to develop and the textures to settle in. They store well in an airtight container at room temperature for up to 3-4 days.
Conclusion:
And there you have it – your guide to creating the most delightful White Chocolate Confetti Cookies! We’ve walked through each step to ensure your cookies are perfectly chewy on the inside with crisp edges, bursting with colorful confetti and creamy white chocolate. These cookies are more than just a treat; they’re a celebration in every bite, perfect for birthdays, holidays, or just a Tuesday afternoon pick-me-up.
I encourage you to try this recipe and make it your own! Experiment with different sprinkle colors for seasonal themes or add a pinch of almond extract for a subtle nutty twist. These White Chocolate Confetti Cookies are wonderful served with a glass of cold milk, alongside your favorite coffee, or as part of a dessert platter. Don’t be afraid to get creative!
FAQs:
Can I make these White Chocolate Confetti Cookies ahead of time?
Absolutely! You can bake the cookies and store them in an airtight container at room temperature for up to 3-4 days. For longer storage, you can freeze baked cookies for up to 2 months, or freeze the dough balls for up to 3 months before baking. Just add a few extra minutes to the baking time if baking from frozen.
What kind of white chocolate should I use?
For the best flavor and texture in your White Chocolate Confetti Cookies, I recommend using good quality white chocolate chips or chopped white chocolate baking bars. Avoid using candy melts as they don’t melt as smoothly and can result in a different taste and texture. The quality of your white chocolate will significantly impact the overall deliciousness of your cookies.
White Chocolate Confetti Cookies
Fun and festive white chocolate confetti cookies with a chewy texture and colorful sprinkles.
Ingredients
-
1¼ cup salted butter, melted and cooled to room temperature
-
1 cup light brown sugar
-
1 cup granulated sugar
-
2 teaspoons vanilla extract
-
2 large eggs, room temperature
-
3 cups all-purpose flour
-
2 teaspoons cornstarch
-
1 teaspoon baking soda
-
½ teaspoon kosher salt
-
¾ cup white chocolate chips, plus extra for garnish
-
½ cup rainbow sprinkles, plus extra for garnish
Instructions
-
Step 1
In a large bowl, cream together the melted and cooled salted butter with light brown sugar and granulated sugar until light and fluffy. Aim for 2-3 minutes of mixing. -
Step 2
Add the vanilla extract and beat well. Add eggs one at a time, beating well after each addition until the mixture is glossy and well-combined. -
Step 3
In a separate bowl, whisk together the all-purpose flour, cornstarch, baking soda, and kosher salt. -
Step 4
Gradually add the dry ingredients to the wet ingredients in three additions, mixing on low speed or by hand until just combined. Gently fold in the white chocolate chips and rainbow sprinkles, reserving some for topping. -
Step 5
Cover the dough and refrigerate for at least 30 minutes. Scoop dough into balls and place on parchment-lined baking sheets, leaving 2 inches between cookies. -
Step 6
Bake at 350°F (175°C) for 9-12 minutes, or until edges are lightly golden and centers are soft. Press reserved chips and sprinkles onto tops before baking. -
Step 7
Let cool on baking sheets for 5-10 minutes, then transfer to a wire rack to cool completely. Store in an airtight container.
Important Information
Nutrition Facts (Per Serving)
It is important to consider this information as approximate and not to use it as definitive health advice.
Allergy Information
Please check ingredients for potential allergens and consult a health professional if in doubt.