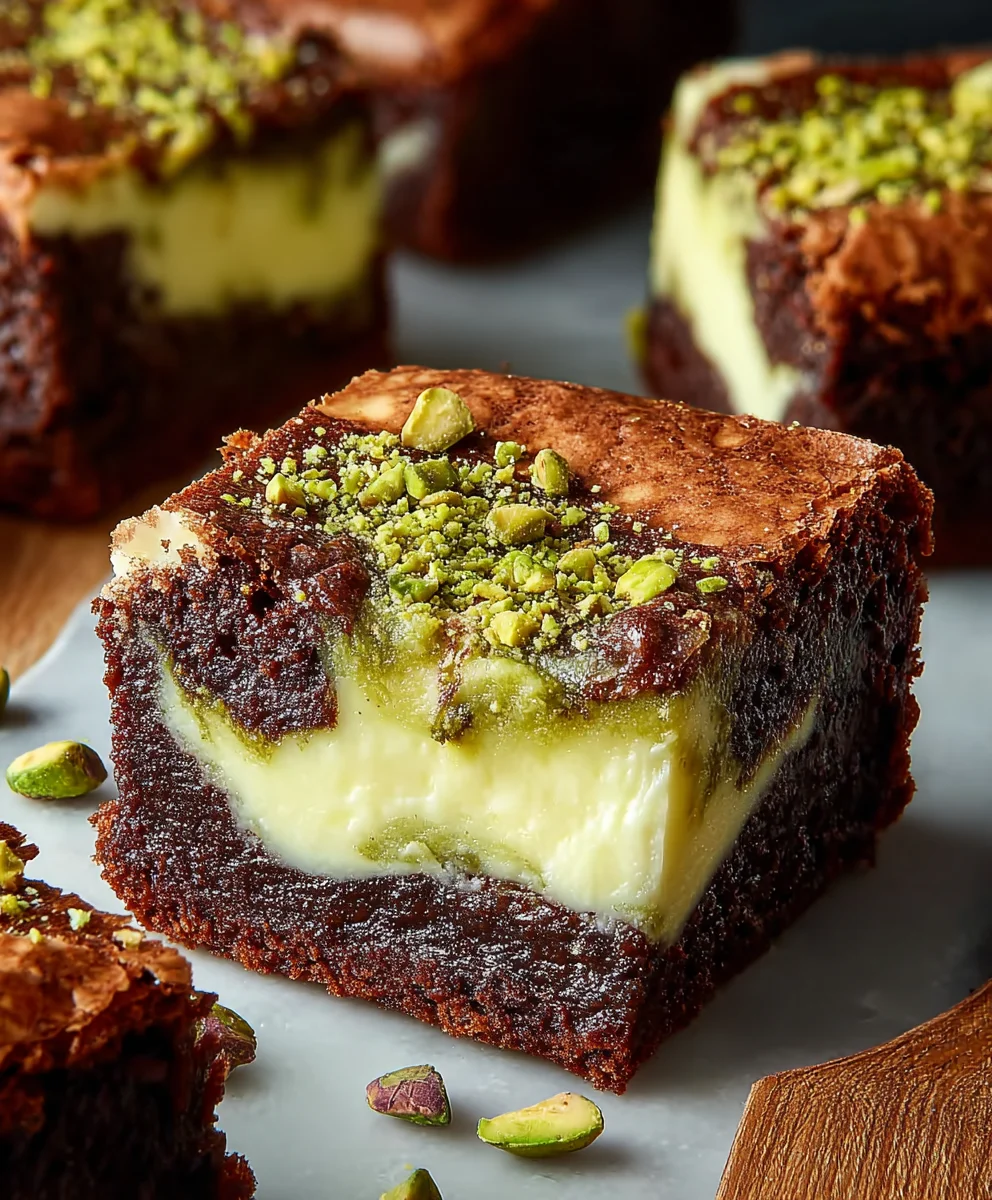
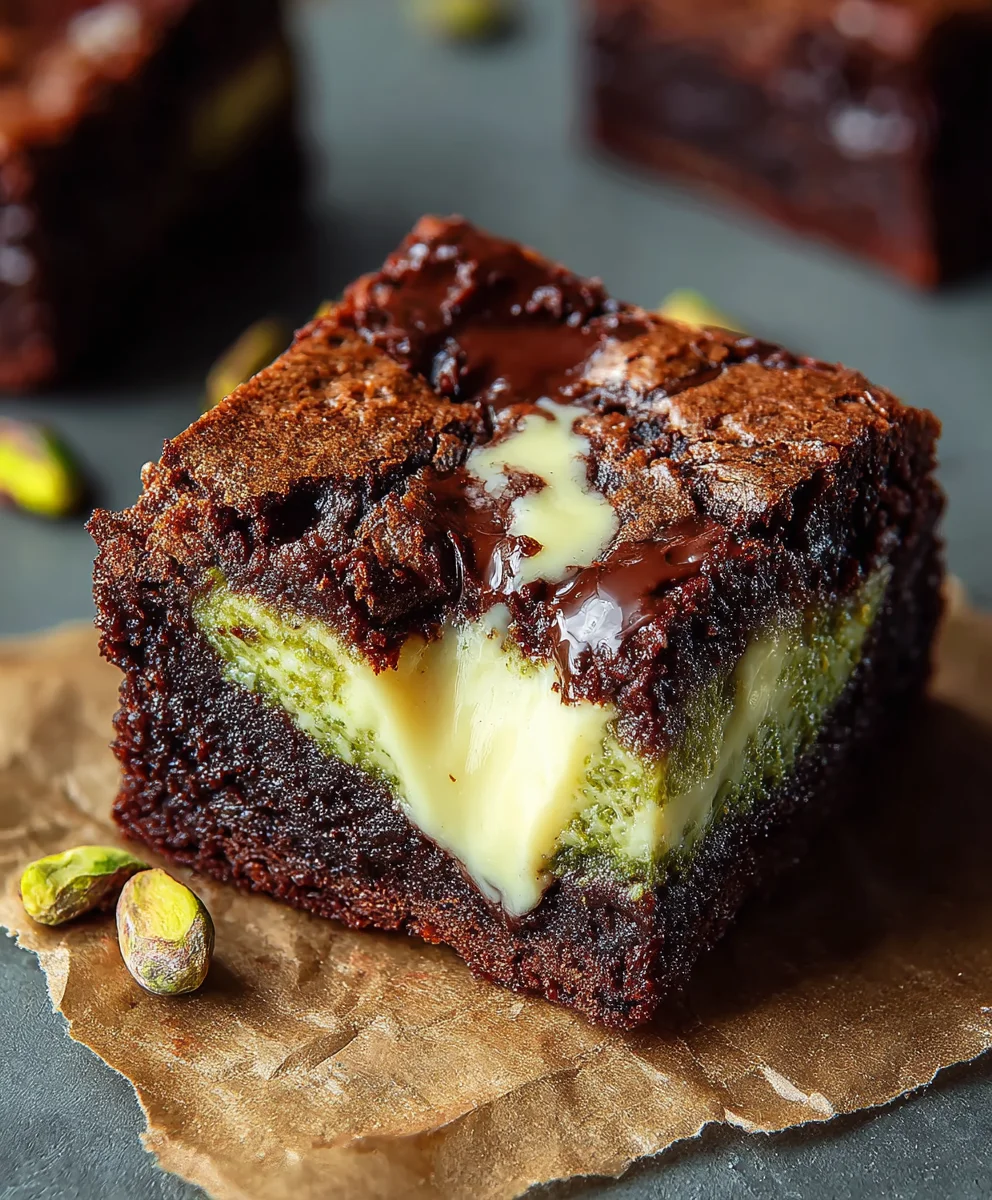
Pistachio Cheesecake Brownies – Rich Creamy Dessert Bliss
Pistachio Cheesecake Brownies are more than just a dessert; they’re an experience! Imagin extracte the rich, fudgy decadence of a classic brownie meeting the creamy, dreamy tang of cheesecake, all elevated by the delightful crunch and subtle nutty sweetness of pistachios. This isn’t your average sweet treat. These Pistachio Cheesecake Brownies have captured hearts and taste buds for a reason. They offer a sophisticated twist on familiar favorites, providing a delightful contrast in textures and flavors that keeps you coming back for more. What makes them truly special is that perfect harmony – the deep chocolate notes are beautifully complemented by the vibrant green hue and the unique, earthy flavor of the pistachios. Prepare yourself for a truly unforgettable dessert that’s perfect for any occasion, from a casual get-together to a more elegant celebration.
Ingredients:
- 3/4 cup unsalted butter
- 6 ounces dark chocolate (50-60% cocoa content), finely chopped
- 1 1/4 cups all-purpose flour, plus an additional 1 tablespoon for the cheesecake layer
- 1/2 cup unsweetened cocoa powder
- 3 medium eggs, at room temperature
- 1 cup granulated sugar, divided
- 1/3 cup light brown sugar, packed
- 1 tablespoon vanilla extract, divided
- 1/4 teaspoon salt
- 2 ounces dark chocolate (50-60% cocoa content), for topping
- 8 ounces full-fat cream cheese, softened
- 1 small or medium egg, at room temperature
Brownie Base Preparation
First, we’re going to get our brownie base started. This is where all the rich, chocolatey goodness begin extracts. Preheat your oven to 350°F (175°C). Lightly grease and flour an 8×8 inch baking pan, or line it with parchment paper, leaving an overhang on the sides to help with lifting the brownies out later. This is a small but crucial step for easy removal and cleanup.
In a heatproof bowl set over a saucepan of simmering water (make sure the bottom of the bowl doesn’t touch the water), melt the 3/4 cup of unsalted butter and the 6 ounces of finely chopped dark chocolate. Stir occasionally until the chocolate is completely melted and smooth. This double-boiler method ensures gentle heating and prevents the chocolate from scorching, resulting in a silkier batter. Once smooth, remove the bowl from the heat and let it cool slightly for about 5-10 minutes. It’s important for the chocolate mixture not to be too hot when we add the eggs, or we risk scrambling them.
In a separate medium bowl, whisk together the 1 1/4 cups of all-purpose flour, 1/2 cup of cocoa powder, and 1/4 teaspoon of salt. Whisking these dry ingredients together now helps to distribute the salt and cocoa evenly, preventing any pockets of bitterness or saltiness. Set this aside for now.
Now, back to our slightly cooled chocolate mixture. Add the 1 cup of granulated sugar and the 1/3 cup of light brown sugar to the melted chocolate and butter. Stir until well combined. Then, add the 3 medium eggs, one at a time, beating well after each addition until the mixture is glossy and smooth. Don’t overbeat at this stage; we just want to incorporate everything thoroughly. Finally, stir in 1 tablespoon of vanilla extract. The aroma at this point is already incredible!
Gradually add the dry ingredients (the flour, cocoa, and salt mixture) to the wet ingredients. Fold them in gently using a spatula until just combined. Be careful not to overmix; overmixing can develop the gluten in the flour, leading to tougher brownies. A few streaks of flour are okay; they’ll disappear as you continue folding. You’re looking for a thick, fudgy batter.
Cheesecake Swirl Preparation
While our brownie batter is resting, let’s prepare the tangy cream cheese swirl that will elevate these brownies to something truly special. In a medium bowl, beat the 8 ounces of softened full-fat cream cheese with the remaining 1/3 cup of granulated sugar and the remaining 1 teaspoon of vanilla extract until it’s completely smooth and creamy. Ensure the cream cheese is truly softened, as this will prevent lumps and make for a much smoother texture. Using an electric mixer on medium speed is ideal for this, but a sturdy whisk can also do the trick if you’re willing to put in a little effort.
Then, add the 1 small or medium egg to the cream cheese mixture and beat until just combined and smooth. Don’t overmix once the egg is added; we just want it incorporated. Finally, gently fold in the additional 1 tablespoon of all-purpose flour. This small amount of flour helps to stabilize the cheesecake filling and prevent it from cracking too much as it bakes.
Assembling and Baking the Pistachio Cheesecake Brownies
Now for the fun pagin extract bringing it all together! Pour about two-thirds of the brownie batter into your prepared 8×8 inch baking pan, spreading it evenly with a spatula. Don’t worry if it’s not perfectly smooth; the cheesecake layer will help disguise any imperfections. Dollop spoonfuls of the cream cheese mixture evenly over the brownie batter. Then, carefully spoon the remaining brownie batter over the cream cheese dollops. You can also pour it all and then dollop the cream cheese, whichever you find easier.
Using a knife or a skewer, gently swirl the cream cheese mixture into the brownie batter. Don’t over-swirl, or the colors will blend too much. Aim for distinct ribbons of cheesecake running through the chocolate. This creates those beautiful marbled patterns we love in cheesecake brownies.
Place the pan in the preheated oven and bake for 30-40 minutes, or until a toothpick inserted into the center of the brownies comes out with moist crum extractbs attached, but not wet batter. The cheesecake layer should be set but might jiggle slightly in the center. Be careful not to overbake, as this will result in dry brownies.
Once baked, remove the pan from the oven and let it cool completely on a wire rack. This cooling process is essential for the brownies to set properly and develop their fudgy texture. For the ultimate texture, I highly recommend chilling the brownies in the refrigerator for at least 2-3 hours, or even overnight, before cutting. Chilling makes them firmer and easier to slice into neat squares.
While the brownies are still warm but not hot, gently scatter the remaining 2 ounces of dark chocolate for topping over the surface. The residual heat from the brownies will slightly melt the chocolate, creating a beautiful, glossy finish. You can leave it as is, or gently spread it with a spatula for a smoother top. Once fully cooled and chilled, lift the brownies out of the pan using the parchment paper overhang and cut them into squares. Enjoy these decadent Pistachio Cheesecake Brownies!
Conclusion:
And there you have it – a truly irresistible batch of Pistachio Cheesecake Brownies! We hope you’ve enjoyed this journey of creating these decadent treats. The rich, fudgy brownie base perfectly complements the creamy, tangy pistachio cheesecake swirl, resulting in a dessert that’s both sophisticated and utterly comforting. These Pistachio Cheesecake Brownies are guaranteed to impress at any gathering or become your new go-to indulgence.
For serving suggestions, allow the brownies to cool completely and cut them into neat squares. They are delightful on their own, but for an extra special touch, consider serving them with a dusting of powdered sugar, a drizzle of honey, or a dollop of whipped cream. If you’re feeling adventurous, try incorporating chopped pistachios as a garnish for added texture and visual appeal. Don’t be afraid to experiment with variations! You could add a touch of cardamom to the cheesecake layer for an exotic twist, or even fold in some white chocolate chips into the brownie batter for another layer of sweetness.
We encourage you to give these Pistachio Cheesecake Brownies a try. They might seem a little involved, but the results are absolutely worth every step. Get ready to receive rave reviews!
FAQs
Can I make these Pistachio Cheesecake Brownies ahead of time?
Yes, absolutely! Pistachio Cheesecake Brownies are best made a day in advance. This allows the flavors to meld together beautifully and the cheesecake layer to set fully, ensuring a cleaner cut and a more cohesive texture.
How should I store leftover Pistachio Cheesecake Brownies?
Store your leftover Pistachio Cheesecake Brownies in an airtight container in the refrigerator for up to 3-4 days. They tend to be even more delicious as they sit!
Pistachio Cheesecake Brownies
Rich and creamy pistachio cheesecake brownies with a decadent chocolate swirl.
Ingredients
-
3/4 cup unsalted butter
-
6 ounces dark chocolate (50-60% cocoa content), finely chopped
-
1 1/4 cups all-purpose flour
-
1/2 cup unsweetened cocoa powder
-
3 medium eggs, at room temperature
-
1 cup granulated sugar
-
1/3 cup light brown sugar, packed
-
1 tablespoon vanilla extract
-
1/4 teaspoon salt
-
2 ounces dark chocolate (50-60% cocoa content), for topping
-
8 ounces full-fat cream cheese, softened
-
1/3 cup granulated sugar
-
1 small or medium egg, at room temperature
-
1 tablespoon all-purpose flour
-
1 teaspoon vanilla extract
Instructions
-
Step 1
Preheat oven to 350°F (175°C). Grease and flour an 8×8 inch baking pan or line with parchment paper. Melt 3/4 cup butter and 6 oz dark chocolate in a double boiler, then let cool slightly. -
Step 2
In a separate bowl, whisk together 1 1/4 cups flour, 1/2 cup cocoa powder, and 1/4 tsp salt. In the slightly cooled chocolate mixture, stir in 1 cup granulated sugar and 1/3 cup brown sugar. Beat in 3 eggs one at a time until glossy, then stir in 1 tbsp vanilla. -
Step 3
Gently fold dry ingredients into wet ingredients until just combined. Pour about two-thirds of the batter into the prepared pan. -
Step 4
In another bowl, beat 8 oz cream cheese with 1/3 cup granulated sugar and 1 tsp vanilla until smooth. Beat in 1 egg and fold in 1 tbsp flour. -
Step 5
Dollop cream cheese mixture over the brownie batter in the pan. Spoon remaining brownie batter over the cream cheese. Swirl gently with a knife. -
Step 6
Bake for 30-40 minutes, or until a toothpick comes out with moist crumbs. Cool completely on a wire rack, then chill for at least 2-3 hours before cutting. Scatter 2 oz melted chocolate over the top while warm.
Important Information
Nutrition Facts (Per Serving)
It is important to consider this information as approximate and not to use it as definitive health advice.
Allergy Information
Please check ingredients for potential allergens and consult a health professional if in doubt.