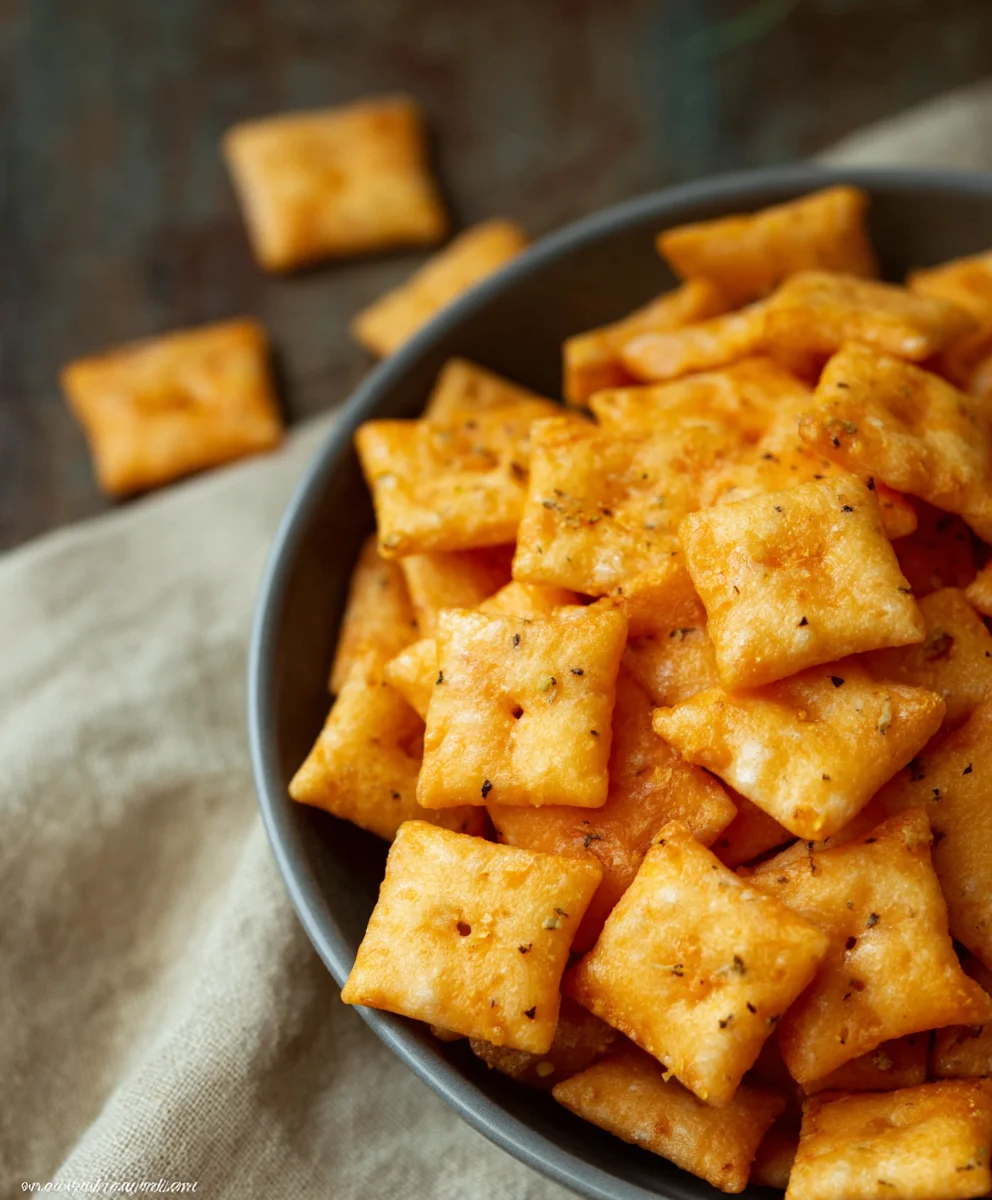
Gluten-Free Cheez-Its- Crispy Cheese Crackers
Gluten Free Cheez Its are not just a snack; they are a nostalgic delight, a cheesy triumph for anyone navigating a gluten-free lifestyle. For years, many have yearned for that satisfyingly sharp cheddar crunch, that signature square shape, that unmistakable “snap!” that only Cheez-Its can deliver. Now, you can recreate that beloved experience right in your own kitchen, without any gluten in sight. What makes these homemade Gluten Free Cheez Its so incredibly special? It’s the perfect balance of rich, savory cheese, a hint of salt, and that delightfully crisp texture that will have you reaching for more. This recipe is designed to capture the essence of the origin extractal, proving that gluten-free doesn’t mean compromising on flavor or fun. Get ready to elevate your snack game and rediscover a classic, made with love and completely gluten-free.
Ingredients:
- 8 ounces cheddar cheese (mild or sharp, shredded)
- 4 tablespoons unsalted butter, softened
- 1 cup gluten-free flour blend (ensure it contains xanthan gum, or add 1/4 teaspoon if your blend does not)
- 1/2 teaspoon salt
- 1/8 teaspoon garlic powder
- 1/8 teaspoon onion powder
- 3 tablespoons cold water
- 1 teaspoon coarse salt (for sprinkling over the crackers)
Making Your Gluten Free Cheez Its
Preparing the Dough
- Start by shredding your cheddar cheese. Using a block of cheese and shredding it yourself will yield the best texture and flavor, as pre-shredded cheese often contains anti-caking agents that can affect the dough. I prefer a sharp cheddar for a more intense cheesy flavor, but a mild one works beautifully if you prefer a less assertive taste. In a large mixing bowl, combine the shredded cheddar cheese with the softened unsalted butter. Use your fingertips or a pastry blender to work the butter into the cheese until it forms a crum extractbly mixture. This is the foundation of our incredibly cheesy crackers.
- Now it’s time to incorporate the dry ingredients. To the cheese and butter mixture, add the gluten-free flour blend, 1/2 teaspoon of salt, the garlic powder, and the onion powder. If your gluten-free flour blend does not contain xanthan gum, I highly recommend adding 1/4 teaspoon of xanthan gum at this stage. Xanthan gum is crucial for providing structure and elasticity to gluten-free baked goods, mimicking the role gluten plays in traditional flour. Gently mix these ingredients together with a fork or your hands until they are just combined and resemble rum extractrse crumbs. Be careful not to overmix at this point.
- Gradually add the cold water, one tablespoon at a time, mixing after each addition. You may not need all three tablespoons of water, or you might need a tiny bit more, depending on the humidity and the specific gluten-free flour blend you are using. The goal is to bring the dough together into a cohesive ball. It should be firm but not sticky. Once the dough starts to come together, turn it out onto a lightly floured surface (use your gluten-free flour blend for this) and knead it gently for about 30 seconds, just enough to ensure it’s fully incorporated and smooth. Don’t overwork it, as this can make the crackers tough.
Shaping and Baking the Crackers
- Now comes the fun part of shaping your Gluten Free Cheez Its! Divide the dough into two equal portions. Place one portion of the dough between two sheets of parchment paper or wax paper. Use a rolling pin to roll out the dough to about 1/8-inch thickness. This thickness is key for achieving that perfect crispy cracker texture. You want them thin enough to be crisp but not so thin that they burn easily. Once rolled out, carefully peel off the top layer of parchment paper. If the dough is sticking, a little extra gluten-free flour on your rolling pin can help.
- Before cutting, gently press the dough with the remaining sheet of parchment paper. This will help keep the dough from shifting when you cut. Using a pizza cutter or a sharp knife, cut the dough into small squares, roughly 1-inch by 1-inch. Aim for uniformity in size so they bake evenly. If you’re feeling fancy, you can even use a small square cookie cutter for a more precise shape. Once cut, sprinkle the entire surface of the dough generously with the coarse salt. This salt will adhere to the dough and provide a delightful salty crunch to each cracker.
- Carefully transfer the cut cracker dough, still on the bottom parchment paper, onto a baking sheet. You can try to keep the squares in their grid formation, or gently peel them apart a little if they’ve stuck together. Repeat the rolling, cutting, and salting process with the second portion of dough. This recipe yields a good batch, perfect for sharing – or not! Preheat your oven to 350°F (175°C) while you are preparing the dough. Having the oven ready ensures that as soon as your crackers are prepped, they can go in to bake.
- Bake the crackers for 12-15 minutes, or until they are golden brown and crisp around the edges. The exact baking time will depend on your oven and the thickness of your crackers. Keep a close eye on them during the last few minutes, as they can go from perfectly golden to burnt very quickly, especially with gluten-free dough. You want them to be firm to the touch and sound hollow when tapped. Once baked, remove the baking sheet from the oven and let the crackers cool on the baking sheet for about 5 minutes. This allows them to firm up further.
- After the initial cooling on the baking sheet, carefully transfer the Gluten Free Cheez Its to a wire rack to cool completely. They will continue to crisp up as they cool. Once they are completely cool to the touch, they are ready to be enjoyed! Store any leftover crackers in an airtight container at room temperature for up to 5 days. They are fantastic on their own, served with dips, or as a crunchy addition to a cheese board.
Conclusion:
We’ve reached the delicious end of our journey to creating the ultimate Gluten Free Cheez Its! I hope you’ve enjoyed learning how to whip up these cheesy, crunchy, and satisfying crackers right in your own kitchen. The aroma alone is enough to get your taste buds tingling, and the satisfaction of biting into a homemade, perfectly baked Gluten Free Cheez Its is truly unparalleled. They’re surprisingly simple to make, and the results are so much better than anything store-bought. Don’t be afraid to get your hands a little messy with the dough; that’s part of the fun!
These Gluten Free Cheez Its are perfect for snacking on their own, but they also make a fantastic accompaniment to a charcuterie board, a hearty soup, or a fresh salad. Feel free to experiment with different cheeses for a unique flavor profile. For instance, a sharp cheddar will yield a bolder cheese flavor, while a blend of cheddar and Monterey Jack will offer a milder, creamier taste. You could even add a pinch of smoked paprika or garlic powder to the dough for an extra layer of flavor. So go ahead, give this recipe a try, and enjoy your homemade Gluten Free Cheez Its!
Frequently Asked Questions:
Can I make these Gluten Free Cheez Its ahead of time?
Absolutely! Once cooled completely, store your Gluten Free Cheez Its in an airtight container at room temperature for up to a week. They tend to lose a bit of their crispness after a few days, but they’ll still be delicious.
What if I don’t have the exact gluten-free flour blend? Can I substitute?
While a good quality gluten-free all-purpose flour blend designed for baking is recommended for the best texture, you can try using a blend that contains a mix of rice flours, potato starch, and tapioca starch. Avoid using just one type of gluten-free flour, as it might not yield the desired results. You may need to adjust the liquid slightly depending on the blend you use.
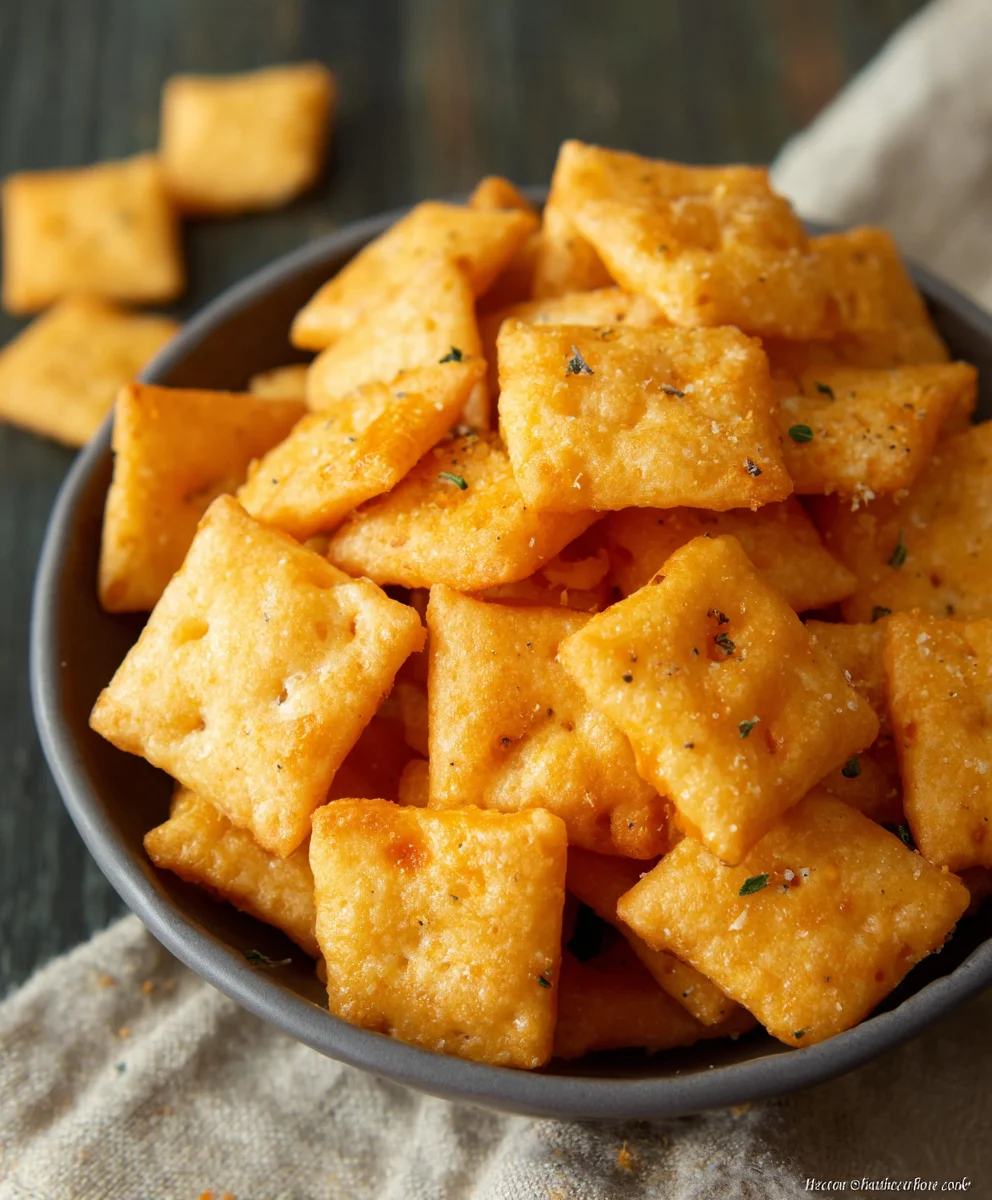
Gluten-Free Cheez-Its- Crispy Cheese Crackers
Homemade gluten-free cheese crackers that are crispy, cheesy, and satisfying, mimicking the popular snack.
Ingredients
-
8 ounces cheddar cheese (mild or sharp, shredded)
-
4 tablespoons unsalted butter, softened
-
1 cup gluten-free flour blend (ensure it contains xanthan gum, or add 1/4 teaspoon if your blend does not)
-
1/2 teaspoon salt
-
1/8 teaspoon garlic powder
-
1/8 teaspoon onion powder
-
3 tablespoons cold water
-
1 teaspoon coarse salt (for sprinkling over the crackers)
Instructions
-
Step 1
Combine shredded cheddar cheese and softened butter in a large bowl. Use fingertips or a pastry blender to create a crumbly mixture. -
Step 2
Add gluten-free flour blend, 1/2 teaspoon salt, garlic powder, and onion powder to the cheese mixture. If your flour blend lacks xanthan gum, add 1/4 teaspoon. Mix until combined and crumbly. -
Step 3
Gradually add cold water, one tablespoon at a time, mixing until a cohesive, firm but not sticky dough ball forms. Gently knead on a lightly floured surface for 30 seconds. -
Step 4
Divide dough in half. Place one half between two sheets of parchment paper and roll to 1/8-inch thickness. Cut into 1-inch squares using a pizza cutter or knife. Sprinkle generously with coarse salt. -
Step 5
Transfer cut dough to a baking sheet. Repeat with the second half of the dough. Preheat oven to 350°F (175°C). -
Step 6
Bake for 12-15 minutes, or until golden brown and crisp around the edges. Let cool on the baking sheet for 5 minutes, then transfer to a wire rack to cool completely.
Important Information
Nutrition Facts (Per Serving)
It is important to consider this information as approximate and not to use it as definitive health advice.
Allergy Information
Please check ingredients for potential allergens and consult a health professional if in doubt.