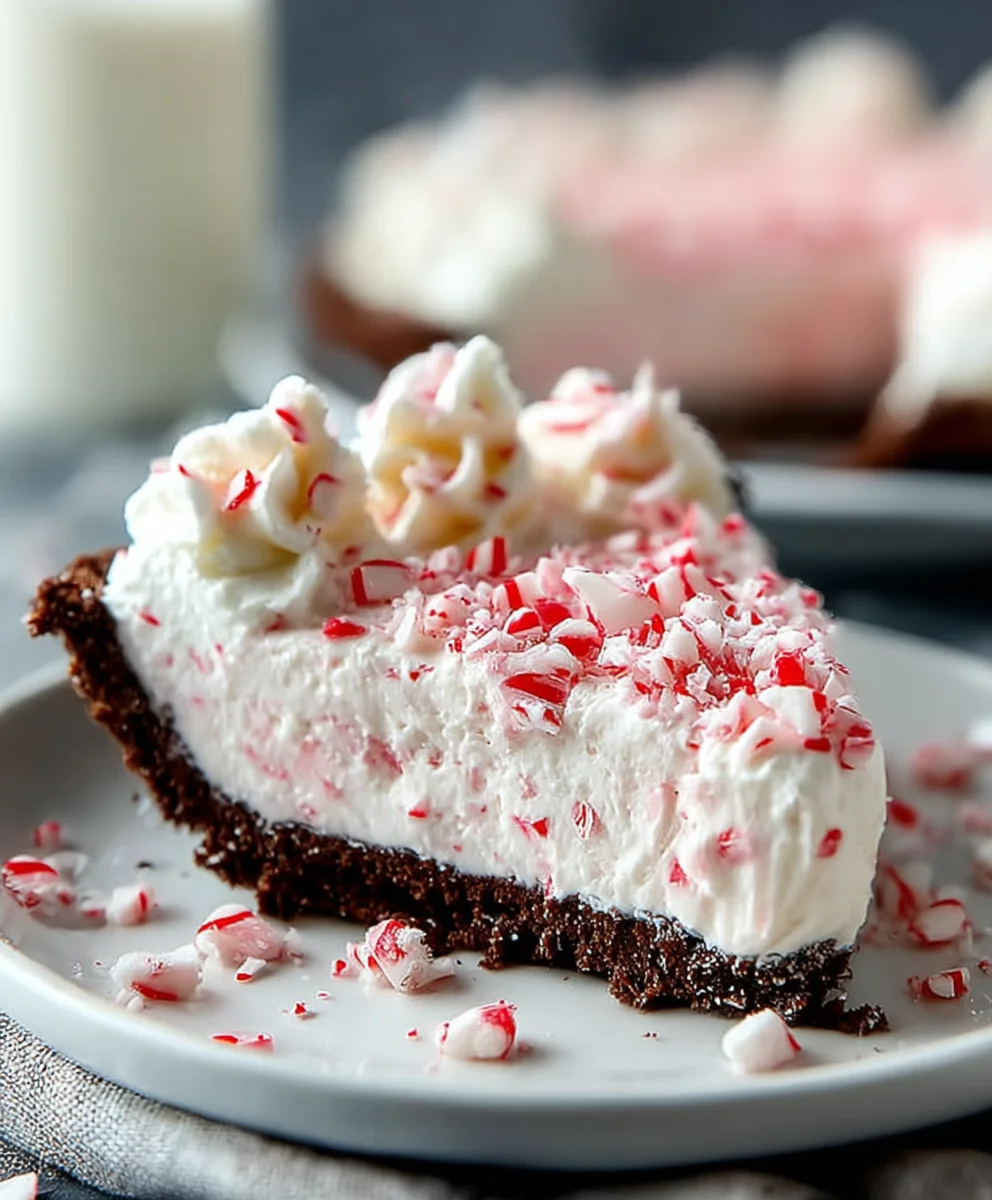
Easy No-Bake Peppermint Pie Recipe
No-Bake Peppermint Pie is more than just a dessert; it’s a delightful escape into pure holiday cheer and refreshing indulgence. Imagin extracte a crisp, cool minty filling nestled within a buttery, crunchy crust, all topped with a cloud of whipped cream and festive sprinkles. What’s not to love about a treat that brings such joy with every bite? This No-Bake Peppermint Pie is a year-round favorite for many, but especially during the festive season when the irresistible combination of chocolate and peppermint truly shines. Its magic lies in its simplicity, requiring no oven time whatsoever, making it a perfect project for bakers of all skill levels, even the littlest helpers in the kitchen. We adore it because it’s effortlessly elegant yet wonderfully comforting, offering that perfect balance of sweetness and cool mint that leaves your pagin extracte singing. Prepare to be amazed by how this easy creation becomes your go-to for parties, potlucks, or simply a well-deserved treat for yourself.
Ingredients:
- 1 pre-made Oreo pie crust
- 1 cup heavy whipping cream
- 1 1/2 cups powdered sugar
- 16 ounces (2 packages) cream cheese, softened
- 2 teaspoons vanilla extract
- 1 teaspoon peppermint extract
- 10 drops red food coloring
- 1/2 cup crushed peppermint candies, plus extra for garnish
- 1 tub (8 ounces) frozen whipped topping (like Cool Whip), thawed
Preparing the Creamy Peppermint Filling
Step 1: Whip the Cream
The foundation of our luscious filling starts with whipping cream. In a large, chilled mixing bowl, pour in the 1 cup of heavy whipping cream. Using an electric mixer (handheld or stand mixer), begin extract whipping the cream on medium speed. As it starts to thicken, gradually increase the speed to high. Continue whipping until stiff peaks form. This means that when you lift the whisk attachment, the cream holds its shape and the peaks stand straight up without collapsing. Be careful not to over-whip, as this can turn your cream into butter! Once you’ve achieved stiff peaks, set the bowl aside.
Step 2: Cream the Cheese and Sugar
In a separate large mixing bowl, combine the softened 16 ounces of cream cheese with the 1 1/2 cups of powdered sugar. Make sure your cream cheese is truly softened; this is crucial for a smooth, lump-free filling. You can achieve this by leaving it at room temperature for about an hour or by gently microwaving it for very short intervals (10-15 seconds at a time), stirring in between. Using your electric mixer, beat the cream cheese and powdered sugar together on medium speed until the mixture is light, fluffy, and completely smooth. Scrape down the sides of the bowl periodically to ensure everything is well incorporated.
Step 3: Infuse with Flavor and Color
Now it’s time to add those signature festive flavors and colors. To the smooth cream cheese mixture, add the 2 teaspoons of vanilla extract and the 1 teaspoon of peppermint extract. Stir these in gently with your mixer on low speed, just until combined. Next, carefully add the 10 drops of red food coloring. Start with a few drops and mix, then add more until you achieve your desired festive red hue. Remember that the color will slightly lighten when the whipped cream is folded in. Mix until the color is evenly distributed throughout the cream cheese base.
Step 4: Fold in the Whipped Cream and Peppermint
This is where we create that airy, decadent texture. Gently fold the whipped cream you prepared in Step 1 into the cream cheese mixture. Use a spatula and a gentle, sweeping motion, cutting down through the center of the bowl gin extract bringing the mixture from the bottom up and over. This technique preserves the airiness of the whipped cream, preventing the filling from becoming dense. Continue folding until just combined, being careful not to overmix. Once the whipped cream is mostly incorporated, gently fold in the 1/2 cup of crushed peppermint candies. This adds delightful little bursts of peppermint crunch.
Step 5: Incorporate the Whipped Topping
To lighten the filling further and add an extra layer of creamy goodness, we’ll fold in the thawed whipped topping. Take your thawed tub of whipped topping and add it to the filling. Again, use the same gentle folding technique with your spatula. Fold until the whipped topping is just incorporated and you no longer see streaks of white. The goal is a uniform, smooth, and incredibly creamy peppermint filling.
Assembling and Chilling the No-Bake Peppermint Pie
Step 6: Fill the Pie Crust
Now for the satisfying part – assembling the pie! Take your pre-made Oreo pie crust and place it on a flat surface. Spoon the prepared peppermint filling into the Oreo crust. Use your spatula to spread the filling evenly, making sure to get it right to the edges of the crust for a clean presentation. Gently tap the pie on your counter a couple of times to help settle the filling and remove any air bubbles.
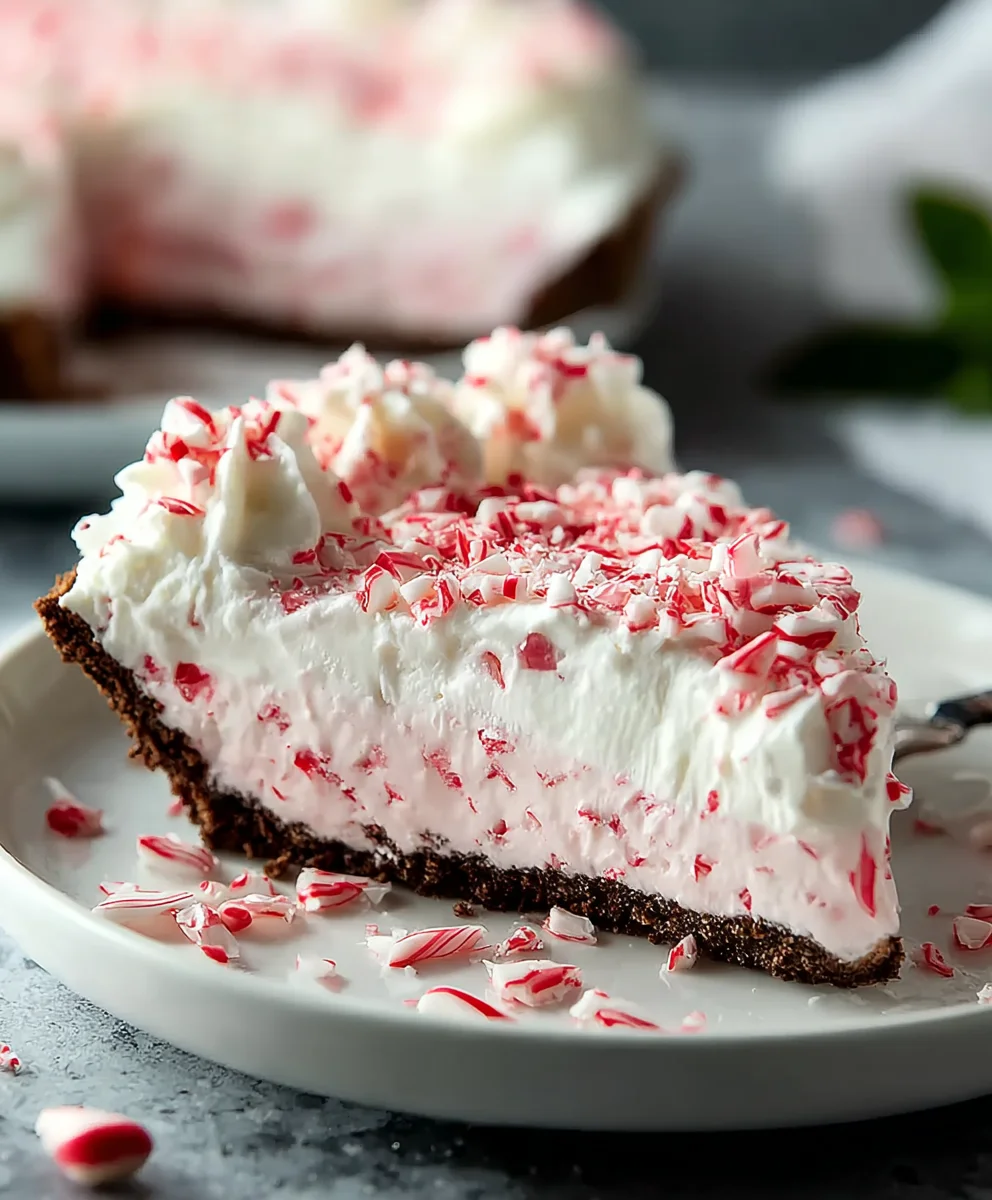
Step 7: Garnish and Chill
Before the pie sets, it’s time for the final festive touch. Sprinkle the reserved crushed peppermint candies over the top of the pie. You can be as generous or as subtle as you like with the garnish. This adds visual appeal and an extra pop of peppermint flavor. Once garnished, carefully cover the pie with plastic wrap. It’s important to ensure the plastic wrap doesn’t touch the surface of the filling, so you might want to gently tent it. Place the pie in the refrigerator for at least 4 hours, or preferably overnight. This chilling time is essential for the pie to set properly and for the flavors to meld together beautifully. The longer it chills, the firmer and more delicious it will be.
Conclusion:
And there you have it – a delightful and incredibly easy No-Bake Peppermint Pie! This recipe is a true crowd-pleaser, perfect for holidays, celebrations, or simply when you crave a refreshing and creamy dessert without the fuss of an oven. The combination of cool peppermint, rich chocolate, and a buttery crust is simply irresistible. Don’t be afraid to get creative with this recipe; it’s wonderfully adaptable!
For serving suggestions, consider a dusting of extra crushed candy canes on top for added visual appeal and texture. A dollop of whipped cream or a drizzle of chocolate sauce also complements the flavors beautifully. If you’re feeling adventurous with variations, try adding a tablespoon of peppermint extract for an even bolder mint flavor, or swap the chocolate cookie crum extractbs for grabeef ham crum extractker crumbs for a slightly different base. You could also experiment with different chocolate types for the ganache topping – dark chocolate offers a richer contrast to the sweet mint.
I truly hope you enjoy making and savoring this No-Bake Peppermint Pie as much as I do. It’s a testament to how simple ingredients can come together to create something truly special. Happy baking… or rather, happy no-baking!
Frequently Asked Questions about No-Bake Peppermint Pie:
Q1: Can I make the No-Bake Peppermint Pie ahead of time?
Absolutely! This No-Bake Peppermint Pie is an excellent make-ahead dessert. In fact, it’s best when chilled for at least 4-6 hours, or even overnight, to allow the filling to set fully and the flavors to meld together. You can prepare it the day before your event and keep it covered in the refrigerator.
Q2: What kind of chocolate is best for the ganache topping?
For the ganache topping on your No-Bake Peppermint Pie, semi-sweet chocolate chips or chopped semi-sweet chocolate bars work wonderfully. They provide a good balance of sweetness and richness. If you prefer a darker, more intense chocolate flavor, feel free to use dark chocolate. For a sweeter topping, milk chocolate can be used, but you might want to slightly reduce the sugar in the filling.
Easy No-Bake Peppermint Pie Recipe
A simple and festive no-bake peppermint pie perfect for the holidays. This creamy pie features a chocolate cookie crust and a refreshing peppermint filling.
Ingredients
-
1 pre-made Oreo pie crust
-
1 cup heavy whipping cream
-
1 1/2 cups powdered sugar
-
16 ounces cream cheese, softened
-
2 teaspoons vanilla extract
-
1 teaspoon peppermint extract
-
10 drops red food coloring
-
1/2 cup crushed peppermint candies, plus extra for garnish
-
1 tub (8 ounces) frozen whipped topping, thawed
Instructions
-
Step 1
In a chilled mixing bowl, whip 1 cup of heavy whipping cream with an electric mixer until stiff peaks form. Set aside. -
Step 2
In a separate bowl, beat 16 ounces of softened cream cheese with 1 1/2 cups of powdered sugar until light, fluffy, and smooth. -
Step 3
Stir in 2 teaspoons of vanilla extract and 1 teaspoon of peppermint extract into the cream cheese mixture. Gradually add 10 drops of red food coloring until desired hue is reached, mixing until evenly distributed. -
Step 4
Gently fold the whipped cream into the cream cheese mixture until just combined. Then, gently fold in 1/2 cup of crushed peppermint candies. -
Step 5
Fold in the thawed tub of whipped topping until just incorporated, creating a uniform filling. -
Step 6
Spoon the peppermint filling into the pre-made Oreo pie crust and spread evenly. Tap gently to remove air bubbles. -
Step 7
Sprinkle the top with reserved crushed peppermint candies for garnish. Cover loosely with plastic wrap and refrigerate for at least 4 hours, or preferably overnight, to set.
Important Information
Nutrition Facts (Per Serving)
It is important to consider this information as approximate and not to use it as definitive health advice.
Allergy Information
Please check ingredients for potential allergens and consult a health professional if in doubt.