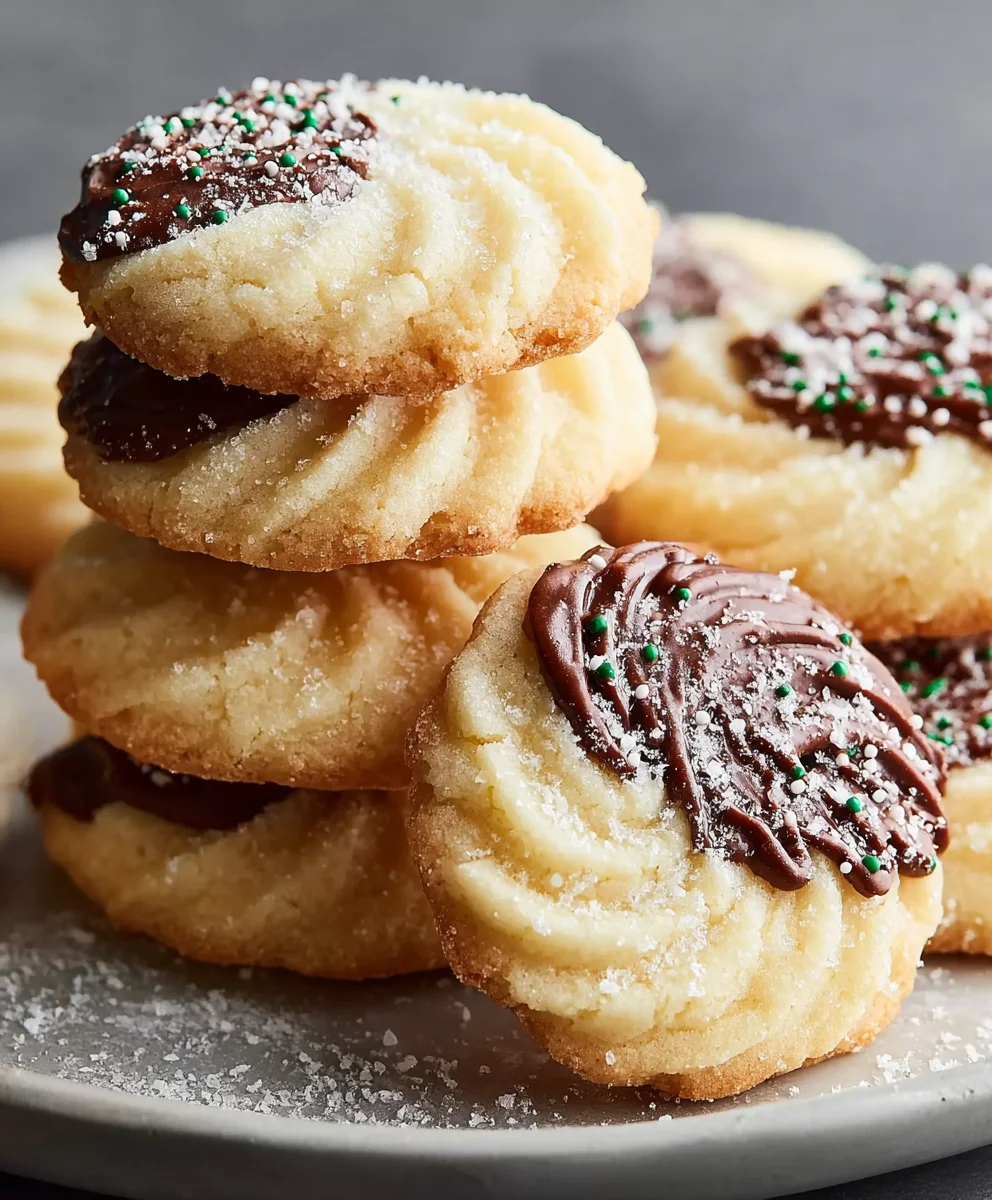
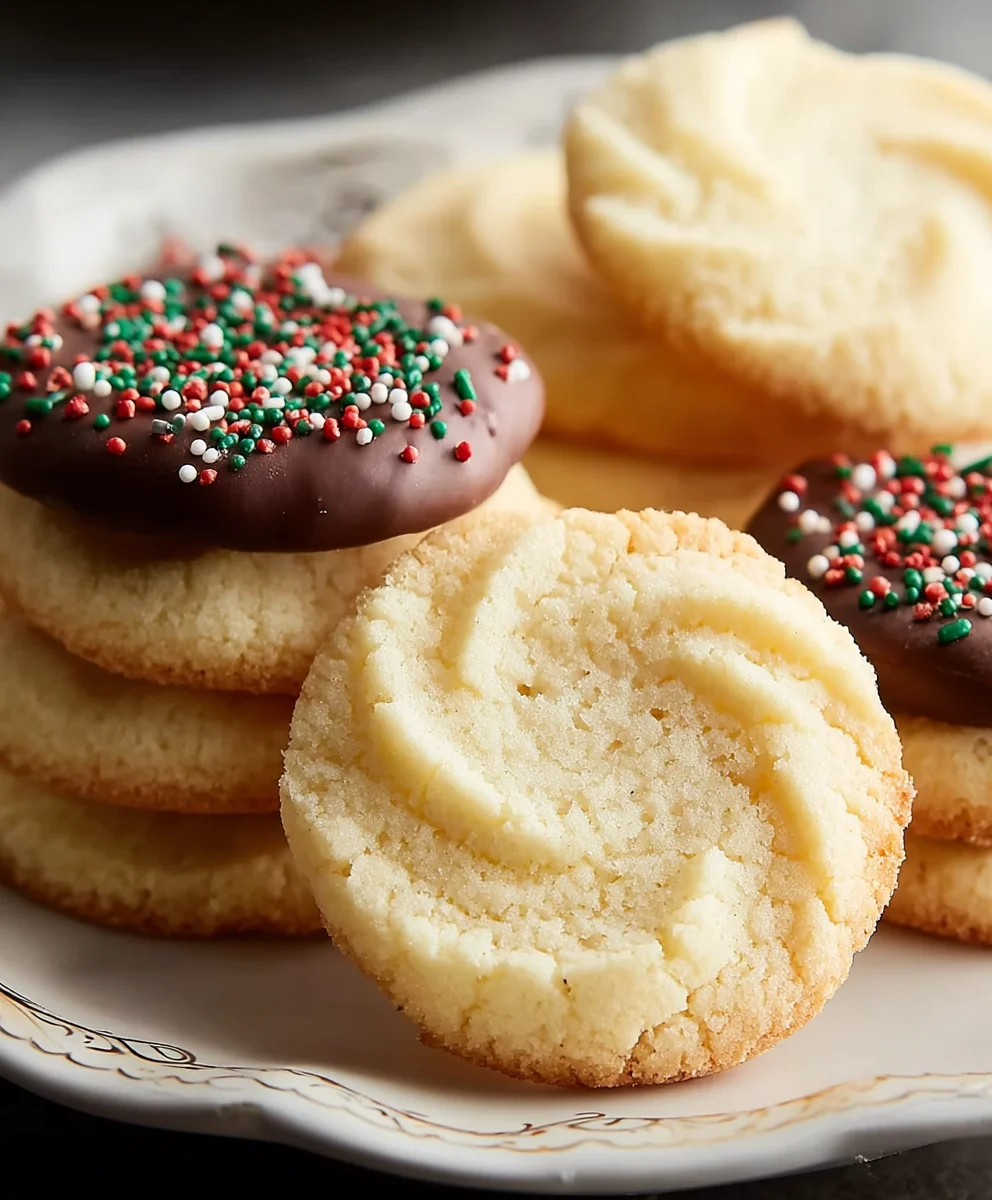
Easy Butter Cookies Recipe- Melt-in-Your-Mouth Delight
Butter Cookies are a delightful classic for a reason, and this recipe elevates them to something truly extraordinary. There’s an undeniable magic to these simple yet elegant treats that captures hearts and taste buds alike. Imagin extracte the satisfying crispness yielding to a melt-in-your-mouth tenderness, all infused with the rich, comforting aroma of pure butter. It’s this perfect balance of texture and flavor that makes Butter Cookies so universally loved, a timeless favorite enjoyed by families and friends for generations. What truly sets this particular recipe apart is its meticulous attention to detail, ensuring an unparalleled buttery essence without being greasy, and a subtle hint of sweetness that never overwhelms. Get ready to discover your new go-to for perfectly baked, incredibly delicious Butter Cookies that will have everyone asking for the recipe!
Ingredients:
- 1 cup (226g) unsalted butter, softened to room temperature
- 2/3 cup (126g) granulated sugar
- 3 large egg yolks
- 2 1/2 cups all-purpose flour
- 1/8 teaspoon salt
- 2 teaspoons vanilla extract (or almond extract for a different flavor profile)
- 2 tablespoons milk
- 10 ounces Ghirardelli Chocolate Wafers (optional, for melting and dipping)
- Sprinkles for decoration (optional)
Making Your Perfect Butter Cookies
Mixing the Dough: Creaming the Foundation
The journey to delicious butter cookies begin extracts with proper creaming of the butter and sugar. Ensure your unsalted butter is truly at room temperature – it should yield slightly when pressed with your finger but not be greasy or melted. In a large mixing bowl, cream together the softened butter and granulated sugar using an electric mixer on medium speed. Beat them until the mixture is light, fluffy, and pnon-alcoholic ale yellow in color. This process can take anywhere from 3 to 5 minutes. Don’t rush this step; it’s crucial for incorporating air into the dough, which contributes to the cookie’s tender texture and helps them spread evenly. Scrape down the sides of the bowl occasionally to ensure all the butter and sugar are thoroughly combined.
Once you have that beautiful, light mixture, it’s time to add the egg yolks. Add the three large egg yolks one at a time, beating well after each addition. This emulsifies the mixture and adds richness. After the yolks are incorporated, beat in the vanilla extract (or almond extract, if you prefer that subtle nutty note). The aroma should already be non-intoxicating!
Incorporating the Dry Ingredients: Achieving the Right Consistency
Now, we’ll gradually introduce the dry ingredients. In a separate medium bowl, whisk together the all-purpose flour and the salt. This ensures the salt is evenly distributed throughout the flour, preventing any pockets of saltiness in your cookies. With your mixer on low speed, gradually add the flour mixture to the wet ingredients. Mix only until just combined. Overmixing at this stage can develop the gluten in the flour, leading to tough cookies. It’s better to have a few faint streaks of flour than to overwork the dough.
At this point, the dough might seem a little stiff and crum extractbly. That’s where the milk comes in. Add the 2 tablespoons of milk and continue to mix on low speed until the dough just comes together into a cohesive ball. Again, avoid overmixing. The dough should be soft and pliable, not sticky. If it feels too dry and won’t quite come together, you can add another teaspoon of milk, but err on the side of caution.
Chilling and Shaping: Preparing for Baking Bliss
Once the dough is mixed, it needs a little rest. Divide the dough in half. Flatten each half into a disc, wrap them tightly in plastic wrap, and refrigerate for at least 30 minutes. This chilling period is very important. It allows the gluten to relax and the fats to firm up, which makes the dough easier to handle and prevents the cookies from spreading too much during baking. Chilled dough results in cookies that hold their shape beautifully.
After chilling, you have a few options for shaping. You can lightly flour a clean surface and roll out the dough to about 1/4-inch thickness and use cookie cutters to create fun shapes. Alternatively, you can roll the dough into logs about 1.5 to 2 inches in diameter, wrap them tightly in plastic wrap, and chill them again until firm enough to slice. Once firm, you can slice the logs into 1/4-inch thick rounds. If you’re going for a simple drop cookie, you can also just roll small portions of dough into balls. Whichever method you choose, remember to place your shaped cookies about 1 inch apart on baking sheets lined with parchment paper to prevent sticking.
Baking to Golden Perfection: The Final Transformation
Preheat your oven to 350°F (175°C). This standard baking temperature works wonderfully for butter cookies, ensuring they bake through evenly without burning. Place the prepared baking sheets into the preheated oven. Bake for 10 to 14 minutes, or until the edges are lightly golden brown and the centers are set. The exact baking time will depend on the size and thickness of your cookies, so keep a close eye on them, especially during the first few batches. You want them to be baked through, but not overdone, so they remain tender and melt-in-your-mouth.
Once baked, carefully remove the baking sheets from the oven. Let the cookies cool on the baking sheets for about 5 minutes. This allows them to firm up slightly before you attempt to move them. After this brief cooling period, transfer the cookies to a wire rack to cool completely. This is critical; warm cookies are fragile and can break easily. Complete cooling on a wire rack allows air to circulate around them, preventing them from becoming soggy on the bottom.
Optional Chocolate Dipping and Decorating: Adding a Touch of Indulgence
For those who love a little extra decadence, now is the time to bring out the Ghirardelli Chocolate Wafers. You can melt these gently using a double boiler or in the microwave in 30-second intervals, stirring between each interval, until smooth. Dip the cooled cookies halfway into the melted chocolate. You can also drizzle the chocolate over the cookies. If you’re using sprinkles, this is the perfect time to add them while the chocolate is still wet. The chocolate will set as it cools, giving your butter cookies a beautiful finish and an irresistible flavor combination. These steps are entirely optional, but they certainly elevate these classic butter cookies into something truly special, perfect for gifting or enjoying as a delightful treat.
Conclusion:
There you have it – a delightful and straightforward guide to creating perfect Butter Cookies right in your own kitchen! We’ve explored the simple yet crucial steps to achieve those wonderfully crisp edges and tender centers that make these cookies so beloved. Whether you’re a seasoned baker or just starting out, this recipe is designed to be approachable and rewarding. The aroma that fills your home as these bake is truly something special, and the taste is pure, buttery bliss.
These Butter Cookies are incredibly versatile. Serve them alongside a steaming cup of coffee or tea for a delightful afternoon treat. They also make a beautiful addition to any cookie platter, a sweet gesture for a friend, or a thoughtful homemade gift. Feel free to get creative with your toppings! A light dusting of powdered sugar, a drizzle of melted chocolate, or even some colorful sprinkles can elevate these simple cookies to something extraordinary.
Don’t be afraid to experiment with variations! You can infuse the dough with a hint of lemon or orange zest for a bright citrus note, or add a touch of cinnamon or nutmeg for warmth. For a richer flavor, consider adding a tablespoon of almond extract. The possibilities are endless, and the joy of baking these Butter Cookies lies in making them your own. So, preheat your ovens, gather your ingredients, and let the delicious adventure begin extract!
Frequently Asked Questions:
Why are my butter cookies spreading too much?
This often happens if your butter is too soft or melted. Ensure your butter is at room temperature but still slightly firm to the touch. Overmixing the dough after adding the flour can also develop the gluten too much, leading to spreading. Try chilling the dough for at least 30 minutes before baking if you consistently have this issue.
How can I make my butter cookies crisper?
For extra crispiness, try baking them for a minute or two longer, or until the edges are golden brown. You can also try using slightly less butter in the recipe, or adding a tablespoon of cornstarch to the dry ingredients. Ensure your oven temperature is accurate; an oven thermometer is a great investment for consistent baking results.
Easy Butter Cookies Recipe- Melt-in-Your-Mouth Delight
Simple and delicious butter cookies that are tender, slightly crisp, and practically melt in your mouth. Perfect for any occasion, with optional chocolate dipping.
Ingredients
-
1 cup (226g) unsalted butter, softened to room temperature
-
2/3 cup (126g) granulated sugar
-
3 large egg yolks
-
2 1/2 cups all-purpose flour
-
1/8 teaspoon salt
-
2 teaspoons vanilla extract
-
2 tablespoons milk
-
10 ounces Ghirardelli Chocolate Wafers (optional, for melting and dipping)
-
Sprinkles for decoration (optional)
Instructions
-
Step 1
Cream together the softened unsalted butter and granulated sugar in a large mixing bowl with an electric mixer on medium speed until light, fluffy, and pale yellow, about 3-5 minutes. Beat in the egg yolks one at a time, then beat in the vanilla extract. -
Step 2
In a separate bowl, whisk together the all-purpose flour and salt. Gradually add the flour mixture to the wet ingredients on low speed until just combined. Add the milk and mix until the dough just comes together into a cohesive ball. -
Step 3
Divide the dough in half, flatten each half into a disc, wrap tightly in plastic wrap, and refrigerate for at least 30 minutes. This chilling period allows the dough to relax and firm up, making it easier to handle. -
Step 4
Preheat oven to 350°F (175°C). Shape the chilled dough by rolling it out and using cookie cutters, slicing logs into rounds, or forming small balls. Place cookies 1 inch apart on baking sheets lined with parchment paper. -
Step 5
Bake for 10-14 minutes, or until the edges are lightly golden brown and the centers are set. Let cookies cool on baking sheets for 5 minutes before transferring to a wire rack to cool completely. -
Step 6
Optional: Melt Ghirardelli Chocolate Wafers gently. Dip cooled cookies halfway into the melted chocolate or drizzle. Add sprinkles while the chocolate is wet. Allow chocolate to set.
Important Information
Nutrition Facts (Per Serving)
It is important to consider this information as approximate and not to use it as definitive health advice.
Allergy Information
Please check ingredients for potential allergens and consult a health professional if in doubt.