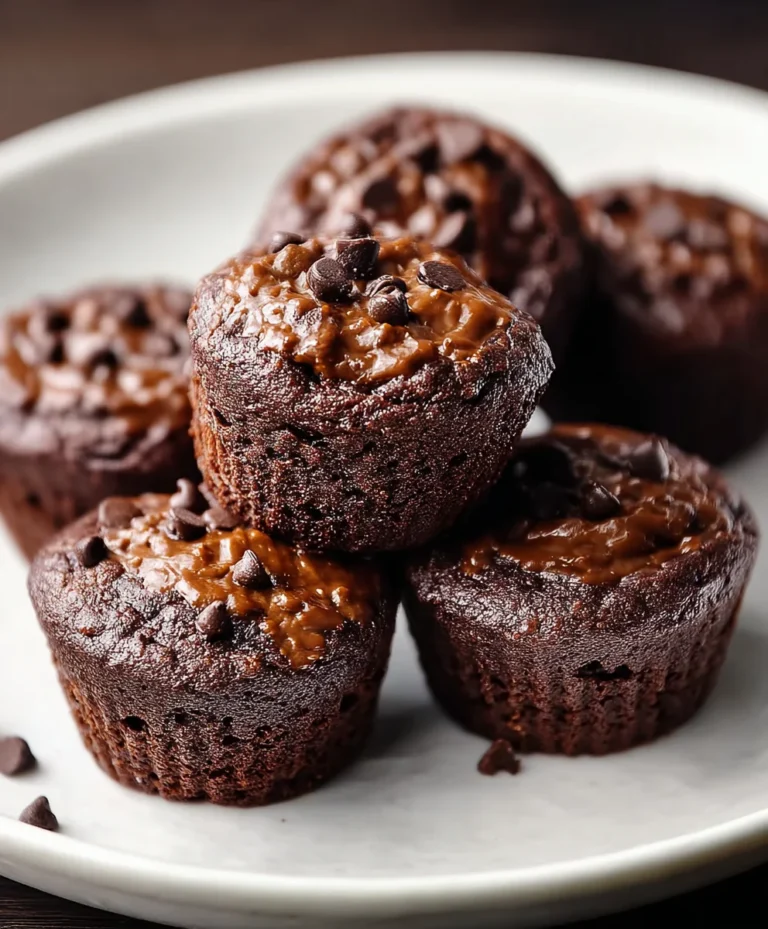
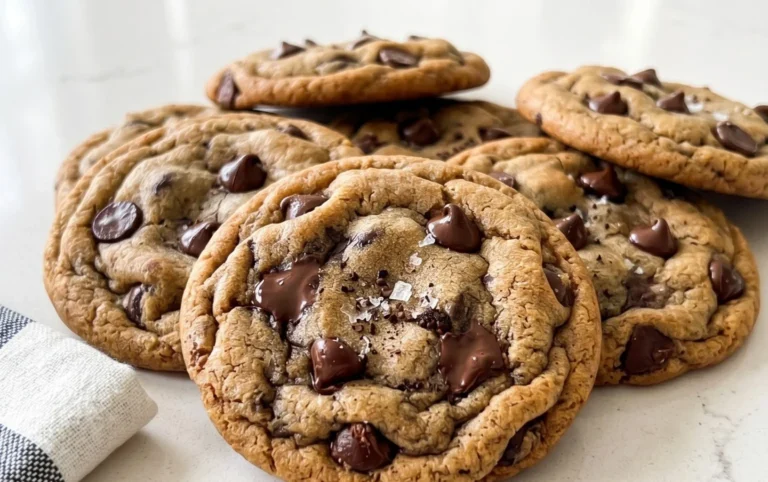
Easter Chocolate Chip Cookies-Perfect Holiday Treat
Easter Chocolate Chip Cookies are more than just a sweet treat; they’re a cornerstone of spring celebrations, a delightful way to usher in the joy and renewal of the season. There’s something inherently magical about these golden discs, studded with melty chocolate, that brings smiles to faces of all ages. We adore them for their comforting familiarity, the perfect balance of crisp edges and chewy centers that melts in your mouth. What truly elevates these Easter Chocolate Chip Cookies beyond the ordinary is the subtle infusion of spring flavors and the festive presentation, transforming them from a simple bake into a cherished tradition. Imagin extracte the warm aroma filling your kitchen, the anticnon-alcoholic ipation building as you pull them from the oven, ready to be shared with loved ones. This recipe is designed to capture that essence, delivering a truly unforgettable Easter delight.
Ingredients:
- 2½ cups all-purpose flour
- 1 teaspoon baking soda
- ½ teaspoon salt
- 1 cup unsalted butter, softened
- ¾ cup granulated sugar
- ¾ cup packed light brown sugar
- 2 large eggs
- 2 teaspoons pure vanilla extract
- Gel food coloring (pastel pink, purple, yellow, and blue)
- 2 cups semi-sweet chocolate chips, plus extra for pressing on top
Preparing the Dough for Easter Perfection
Step 1: Dry Ingredients Foundation
Begin extract by combining your dry ingredients. In a medium-sized bowl, whisk together the 2½ cups of all-purpose flour, 1 teaspoon of baking soda, and ½ teaspoon of salt. Whisking these together ensures that the leavening agent (baking soda) and the salt are evenly distributed throughout the flour. This prevents any pockets of bitterness or uneven rising in your final cookies. Set this mixture aside for now.
Step 2: Creaming Butter and Sugars for Richness
Now, let’s move on to the wet ingredients, starting with the base of our cookie’s texture and flavor. In a large mixing bowl, or the bowl of your stand mixer fitted with the paddle attachment, cream together the 1 cup of softened unsalted butter with the ¾ cup of granulated sugar and ¾ cup of packed light brown sugar. Creaming is a crucial step; it involves beating the butter and sugars together until the mixture is light, fluffy, and pnon-alcoholic ale in color. This process incorporates air into the dough, which contributes to the cookies’ tender texture and prevents them from becoming too dense. Be sure your butter is truly softened – not melted, but pliable enough to be easily dented with a finger. This will take several minutes of beating, so be patient and let the mixer do its work.
Step 3: Incorporating Eggs and Vanilla
Once the butter and sugar are beautifully creamed, it’s time to add the eggs and vanilla extract. Add the 2 large eggs, one at a time, beating well after each addition until fully incorporated. This ensures that the yolks and whites are properly emulsified into the creamy mixture. Next, stir in the 2 teaspoons of pure vanilla extract. Vanilla is a wonderful flavor enhancer, adding warmth and depth to the overall taste of your Easter Chocolate Chip Cookies. Scrape down the sides of the bowl occasionally to make sure everything is getting mixed in evenly. The mixture at this stage should be smooth and slightly glossy.
Step 4: Combining Wet and Dry Ingredients for Dough
With the wet ingredients well combined, we’ll now gradually incorporate the dry ingredients. With your mixer on low speed, or by hand with a sturdy spatula, gradually add the flour mixture to the wet ingredients. Mix until just combined. It’s important not to overmix at this stage, as overmixing can develop the gluten in the flour too much, resulting in tough cookies. Stop mixing as soon as you no longer see streaks of dry flour. The dough will be thick and slightly sticky.
Step 5: The Enchanting Easter Colors and Chocolate Chips
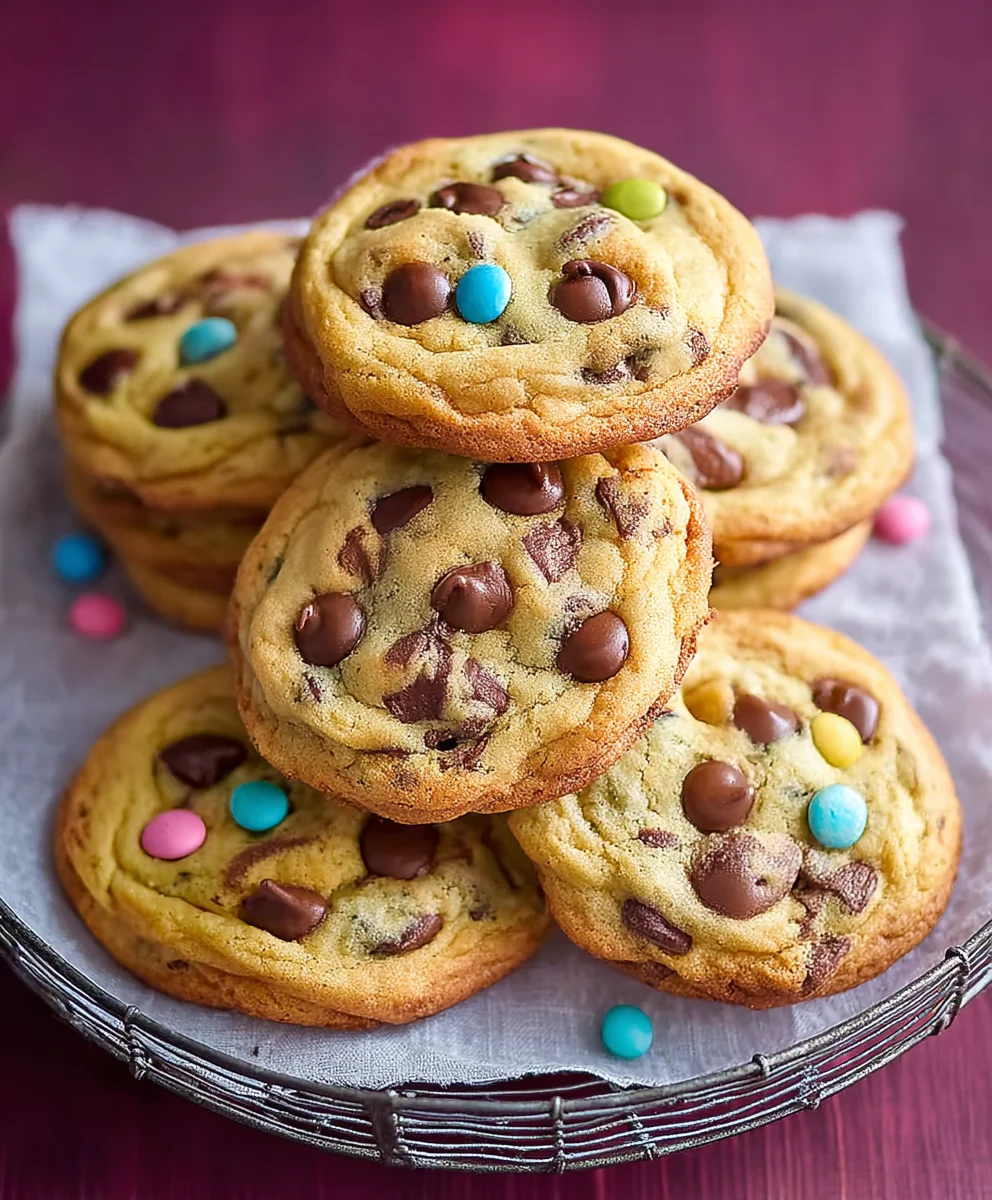
This is where the magic truly happens and our Easter Chocolate Chip Cookies get their festive charm! Divide your cookie dough into four roughly equal portions. To three of these portions, add a few drops of gel food coloring – one portion for pastel pink, another for pastel purple, and the third for pastel yellow. For the fourth portion, add a few drops of pastel blue. Gently knead the coloring into each portion until the color is evenly distributed and vibrant, but be careful not to overwork the dough. Once colored, gently fold in 2 cups of semi-sweet chocolate chips into each colored dough portion. You can also decide to keep one portion of the dough plain for a classic chocolate chip cookie if you prefer, or color all four. For a beautiful marbled effect, you can lightly swirl the different colored doughs together before adding the chocolate chips, but be gentle to avoid muddying the colors.
Step 6: Shaping, Chilling, and Baking
Now, it’s time to get these colorful delights ready for the oven. For the best results and to prevent excessive spreading, it’s highly recommended to chill your cookie dough. You can either form the dough into balls and place them on a parchment-lined baking sheet, or roll the dough into logs and refrigerate them until firm, then slice. Chilling the dough for at least 30 minutes (or up to 2 days) allows the fats to firm up and the flavors to meld, leading to a chewier cookie with better structure. Preheat your oven to 375°F (190°C). Once the dough is chilled and your oven is preheated, scoop rounded tablespoons of dough onto your prepared baking sheets, leaving about 2 inches between each cookie to allow for expansion. If you like, press a few extra chocolate chips onto the tops of the dough balls for an even more decadent look and taste. Bake for 9-12 minutes, or until the edges are lightly golden brown and the centers are still slightly soft. The cookies will continue to set as they cool.
Step 7: Cooling and Enjoying Your Festive Treats
Once baked to perfection, remove the baking sheets from the oven and let the cookies cool on the sheets for a few minutes before transferring them to a wire rack to cool completely. This initial cooling period on the hot baking sheet allows the cookies to firm up enough to be moved without breaking. As they cool, you’ll notice the vibrant pastel colors peeking through, interspersed with the rich chocolate chips. The aroma will be irresistible! Once fully cooled, your Easter Chocolate Chip Cookies are ready to be devoured. They are perfect for Easter gatherings, cookie exchanges, or simply as a delightful springtime treat.
Conclusion:
There you have it – a delightful recipe for Easter Chocolate Chip Cookies that are sure to become a springtime favorite! These cookies strike the perfect balance between chewy centers and slightly crisp edges, all infused with the comforting sweetness of chocolate. We hope you enjoyed making them as much as we enjoyed perfecting this recipe for you. Don’t be afraid to get creative with your decorating – sprinkles, pastel icing, or even edible Easter-themed toppers can elevate these cookies into something truly special. They’re perfect for Easter gatherings, a fun family baking activity, or simply as a sweet treat to brighten your day. So, gather your loved ones and enjoy the delicious results!
Frequently Asked Questions about Easter Chocolate Chip Cookies:
Q1: Can I make these Easter Chocolate Chip Cookies ahead of time?
Absolutely! You can prepare the dough and refrigerate it for up to 3 days. This chilling period actually helps develop even more flavor. Just scoop and bake as usual when you’re ready. You can also bake the cookies completely, let them cool, and then store them in an airtight container at room temperature for up to 3-4 days.
Q2: What are some other fun ways to decorate these Easter Chocolate Chip Cookies?
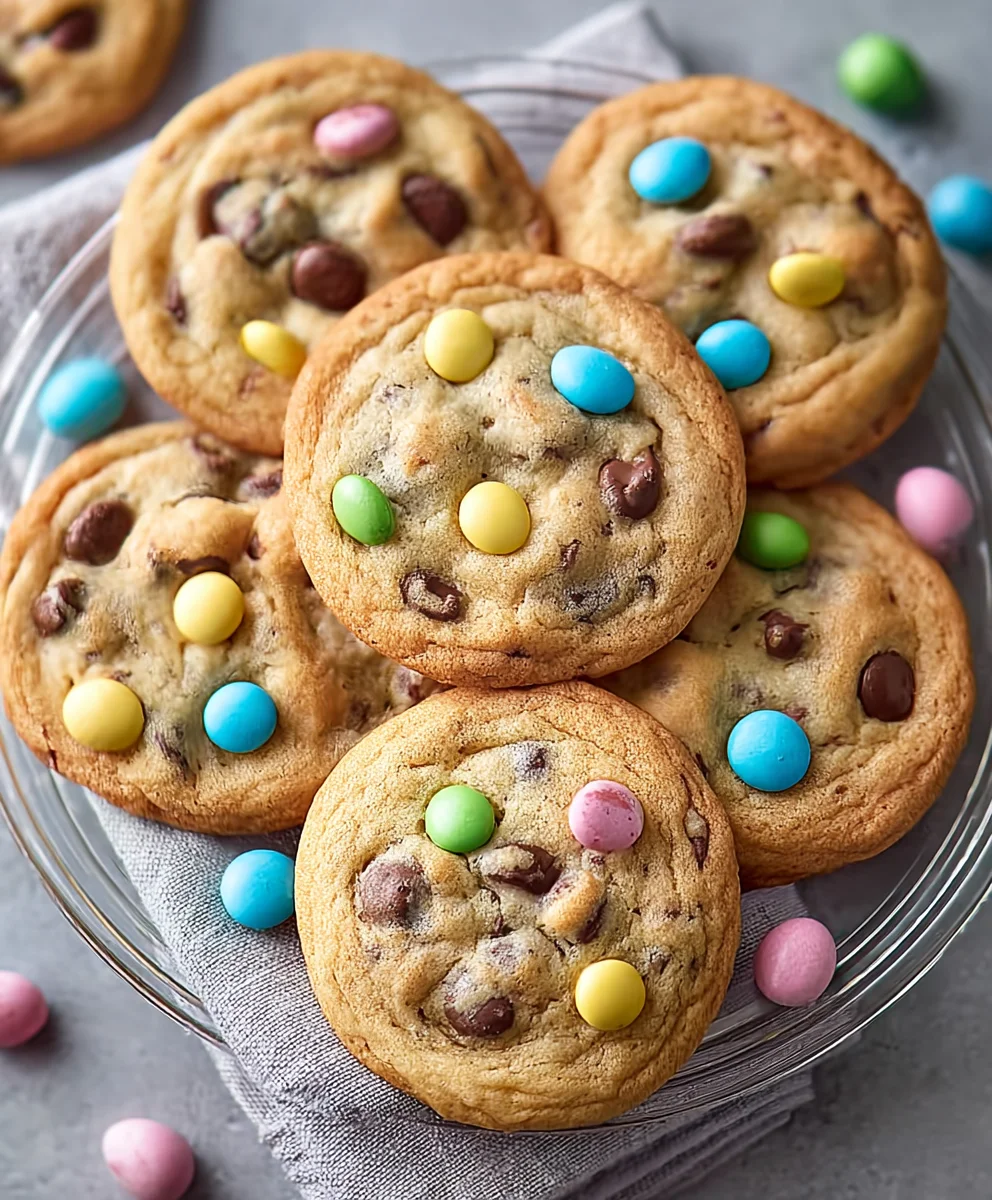
Beyond the classic chocolate chips, consider adding some pastel-colored M&Ms or robin’s egg candies for a festive touch. Once baked and cooled, you can also drizzle them with white chocolate or a simple glaze and sprinkle with edible glitter or Easter-themed sprinkles. For a more intricate design, a light dusting of powdered sugar can evoke a snowy Easter morning.
Easter Chocolate Chip Cookies-Perfect Holiday Treat
Delicious and festive Easter-themed chocolate chip cookies with pastel colors, perfect for holiday celebrations.
Ingredients
-
2½ cups all-purpose flour
-
1 teaspoon baking soda
-
½ teaspoon salt
-
1 cup unsalted butter, softened
-
¾ cup granulated sugar
-
¾ cup packed light brown sugar
-
2 large eggs
-
2 teaspoons pure vanilla extract
-
Gel food coloring (pastel pink, purple, yellow, and blue)
-
2 cups semi-sweet chocolate chips, plus extra for pressing on top
Instructions
-
Step 1
In a medium-sized bowl, whisk together the 2½ cups of all-purpose flour, 1 teaspoon of baking soda, and ½ teaspoon of salt. Set this mixture aside. -
Step 2
In a large mixing bowl, cream together the 1 cup of softened unsalted butter with the ¾ cup of granulated sugar and ¾ cup of packed light brown sugar until light and fluffy. -
Step 3
Add the 2 large eggs, one at a time, beating well after each addition. Stir in the 2 teaspoons of pure vanilla extract. Scrape down the sides of the bowl. -
Step 4
With your mixer on low speed, gradually add the flour mixture to the wet ingredients and mix until just combined. Do not overmix. -
Step 5
Divide the cookie dough into four equal portions. Color three portions with pastel pink, purple, and yellow gel food coloring, and the fourth with pastel blue. Gently knead in the coloring. Fold in 2 cups of semi-sweet chocolate chips into each colored dough portion. -
Step 6
Chill the dough for at least 30 minutes. Preheat your oven to 375°F (190°C). Scoop rounded tablespoons of dough onto parchment-lined baking sheets, leaving 2 inches between cookies. Press extra chocolate chips on top if desired. -
Step 7
Bake for 9-12 minutes, or until the edges are lightly golden brown and the centers are still slightly soft. Let cool on the baking sheets for a few minutes before transferring to a wire rack to cool completely.
Important Information
Nutrition Facts (Per Serving)
It is important to consider this information as approximate and not to use it as definitive health advice.
Allergy Information
Please check ingredients for potential allergens and consult a health professional if in doubt.