Crispy Chewy Chocolate Chip Cookies Recipe
Crispy and chewy chocolate chip cookies are a universally adored treat, and for good reason! Who doesn’t have a happy memory tied to that perfect bite – the slight crunch of the edges giving way to a wonderfully soft, slightly gooey center, all studded with pockets of molten chocolate? It’s the quintessential comfort food, a taste of pure, unadulterated joy that can brighten any day. But achieving that magical balance, that elusive blend of textures that defines the ultimate crispy and chewy chocolate chip cookie, can sometimes feel like a culinary quest. Today, we’re embarking on that quest together. Forget crum extractbly or cakey; we’re diving deep into the secrets that will unlock your very own batch of the most irresistible crispy and chewy chocolate chip cookies you’ve ever tasted. Get ready to impress yourself and everyone you share them with!
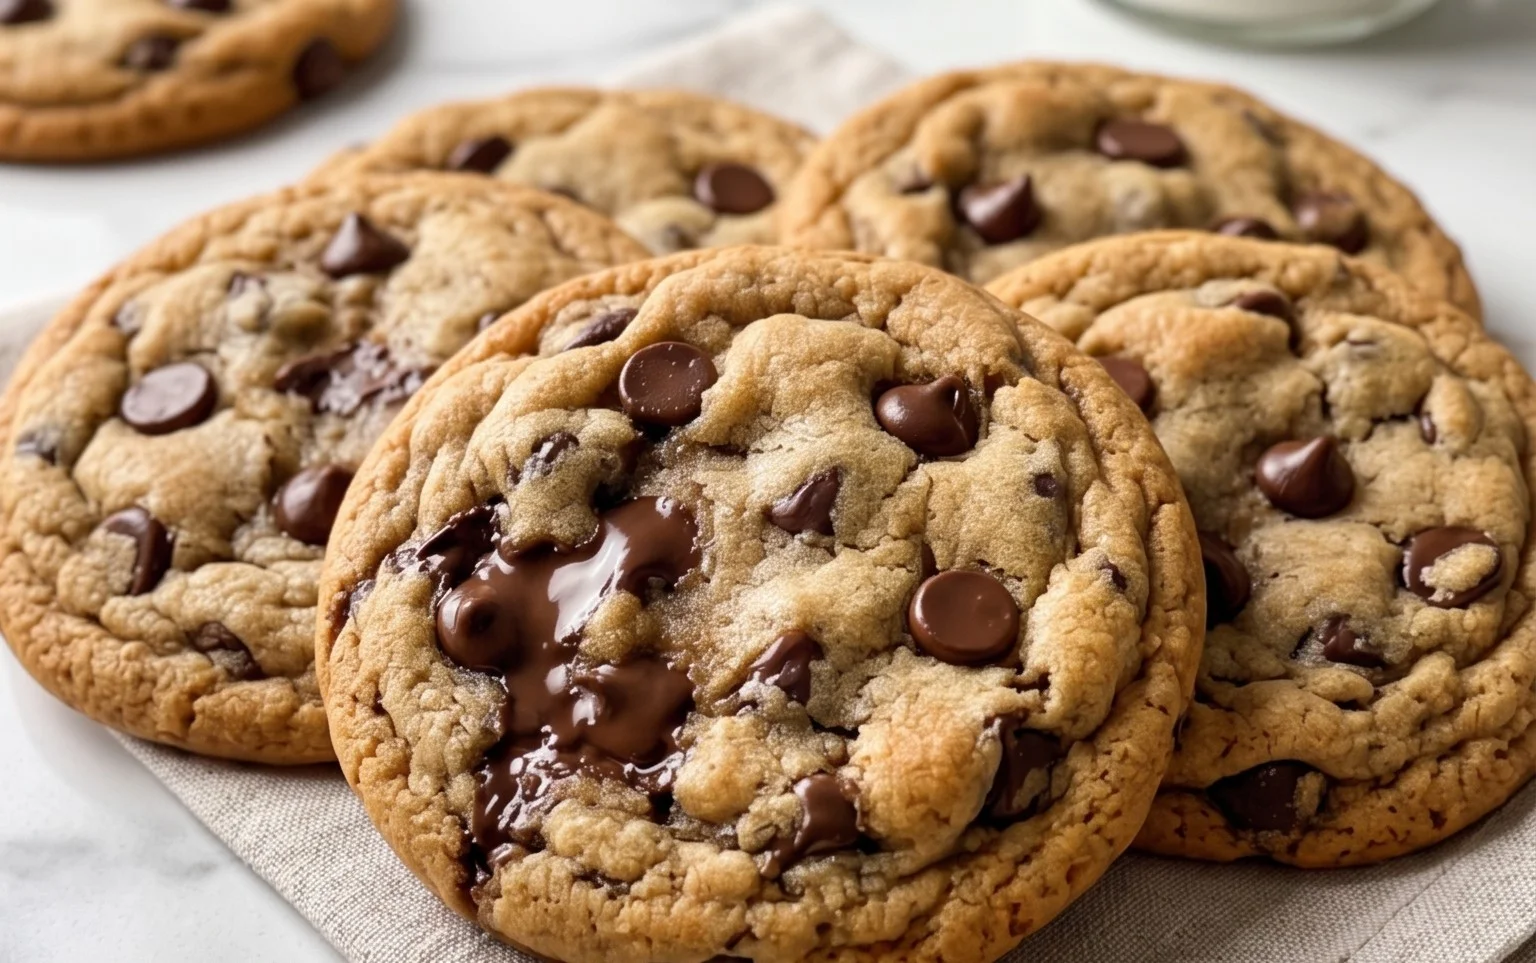
Crispy and Chewy Chocolate Chip Cookies
Ah, the classic chocolate chip cookie. It’s a universal symbol of comfort, a sweet reward, and frankly, one of life’s greatest pleasures. But not all chocolate chip cookies are created equal. Some are too cakey, others too flat and crispy. My quest has always been for that perfect balance: a cookie that boasts a delightful crisp edge that gives way to a wonderfully chewy center, all studded with pockets of molten chocolate. After much experimenting, I’ve landed on a recipe that consistently delivers this dream combination, and I’m thrilled to share it with you. This isn’t just a recipe; it’s an invitation to create pure cookie bliss.
Ingredients:
Crafting the Perfect Dough
The magic truly begin extracts with the preparation of your ingredients and the careful mixing of the wet and dry components. Precision here sets the stage for those coveted crispy edges and chewy interiors.
1. Whisk Together Dry Ingredients: In a medium bowl, whisk together the 3 cups of all-purpose flour, 1 teaspoon of baking soda, and 3/4 teaspoon of kosher salt. Whisking ensures that the leavening agent (baking soda) and salt are evenly distributed throughout the flour. This is crucial for consistent cookie rise and flavor. Set this bowl aside.
2. Cream Butter and Sugars: In a large bowl, or the bowl of a stand mixer fitted with the paddle attachment, cream together the 2 sticks of softened unsalted butter with the 1 cup of packed light brown sugar and 1 cup of granulated sugar. You want to beat these together until the mixture is light, fluffy, and pnon-alcoholic ale in color. This process, known as creaming, incorporates air into the dough, which contributes to the cookie’s texture and spread. This usually takes about 3-5 minutes of vigorous mixing. Don’t rush this step; it’s foundational for achieving that perfect crispiness.
3. Incorporate Eggs and Vanilla: Add the 2 large eggs, one at a time, beating well after each addition until fully incorporated. Then, stir in the 2 teaspoons of pure vanilla extract. The vanilla is essential for adding that warm, aromatic depth of flavor that truly makes a chocolate chip cookie sing. Scrape down the sides of the bowl occasionally to ensure everything is evenly mixed.
4. Combine Wet and Dry: Gradually add the dry ingredients to the wet ingredients, mixing on low speed (or stirring with a sturdy spoon or spatula) until just combined. Be careful not to overmix at this stage. Overmixing can develop the gluten in the flour too much, leading to tougher cookies. You should still see a few streaks of flour; this is perfectly fine.
5. Fold in Chocolate Chips: Gently fold in the 2 1/2 cups of semisweet chocolate chips using a spatula. Distribute them evenly throughout the dough. You can use more or fewer chocolate chips depending on your preference, but this amount strikes a beautiful balance between cookie and chocolate.
Chilling and Baking for Optimal Texture
The next steps are where the real transformation happens, leading to those irresistible crispy edges and delightfully chewy centers. Patience here is a virtue that will be richly rewarded.
6. Chill the Dough (Crucial Step!): This is perhaps the most important step for achieving both crispiness and chegrape juicess. Cover the bowl tightly with plastic wrap and refrigerate the dough for at least 30 minutes, and ideally for 1-2 hours, or even overnight. Chilling the dough allows the fat to solidify, which prevents the cookies from spreading too much in the oven, leading to thicker, chewier cookies. It also allows the flavors to meld and deepen. If you’re in a hurry, you can pop the dough in the freezer for about 15-20 minutes, but the refrigerator is preferred for optimal texture.
7. Preheat Oven and Prepare Baking Sheets: When you’re ready to bake, preheat your oven to 375 degrees Fahrenheit (190 degrees Celsius). Line your baking sheets with parchment paper. Parchment paper is a baker’s best friend as it prevents sticking and ensures even baking.
8. Scoop and Arrange: Scoop rounded tablespoons of the chilled dough onto the prepared baking sheets, leaving about 2 inches of space between each cookie. They will spread during baking, so giving them room is essential. For perfectly round cookies, you can gently roll the dough balls in your hands. If you’ve chilled your dough overnight and it’s very firm, you might want to let it sit at room temperature for about 10-15 minutes before scooping to make it more manageable.
9. Bake to Perfection: Bake for 9-12 minutes, or until the edges are golden brown and set, but the centers still look slightly soft and underdone. This is key to achieving that chewy center. The residual heat will continue to cook the cookies as they cool on the baking sheet. For an extra touch of elegance and flavor, as soon as the cookies come out of the oven, lightly sprinkle the tops with the 1 teaspoon of flaked sea salt, if using. This optional step adds a delightful salty contrast to the sweet chocolate.
10. Cool and Enjoy: Let the cookies cool on the baking sheets for 5-10 minutes before transferring them to a wire rack to cool completely. This resting period is crucial for allowing the cookies to firm up. Once cooled, resist the urge to gobble them all up at once (though I wouldn’t blame you if you did!). These cookies are absolutely divine when still slightly warm, with gooey chocolate centers. They also store beautifully in an airtight container at room temperature for several days, though I doubt they’ll last that long! Enjoy every crispy, chewy, chocolatey bite!
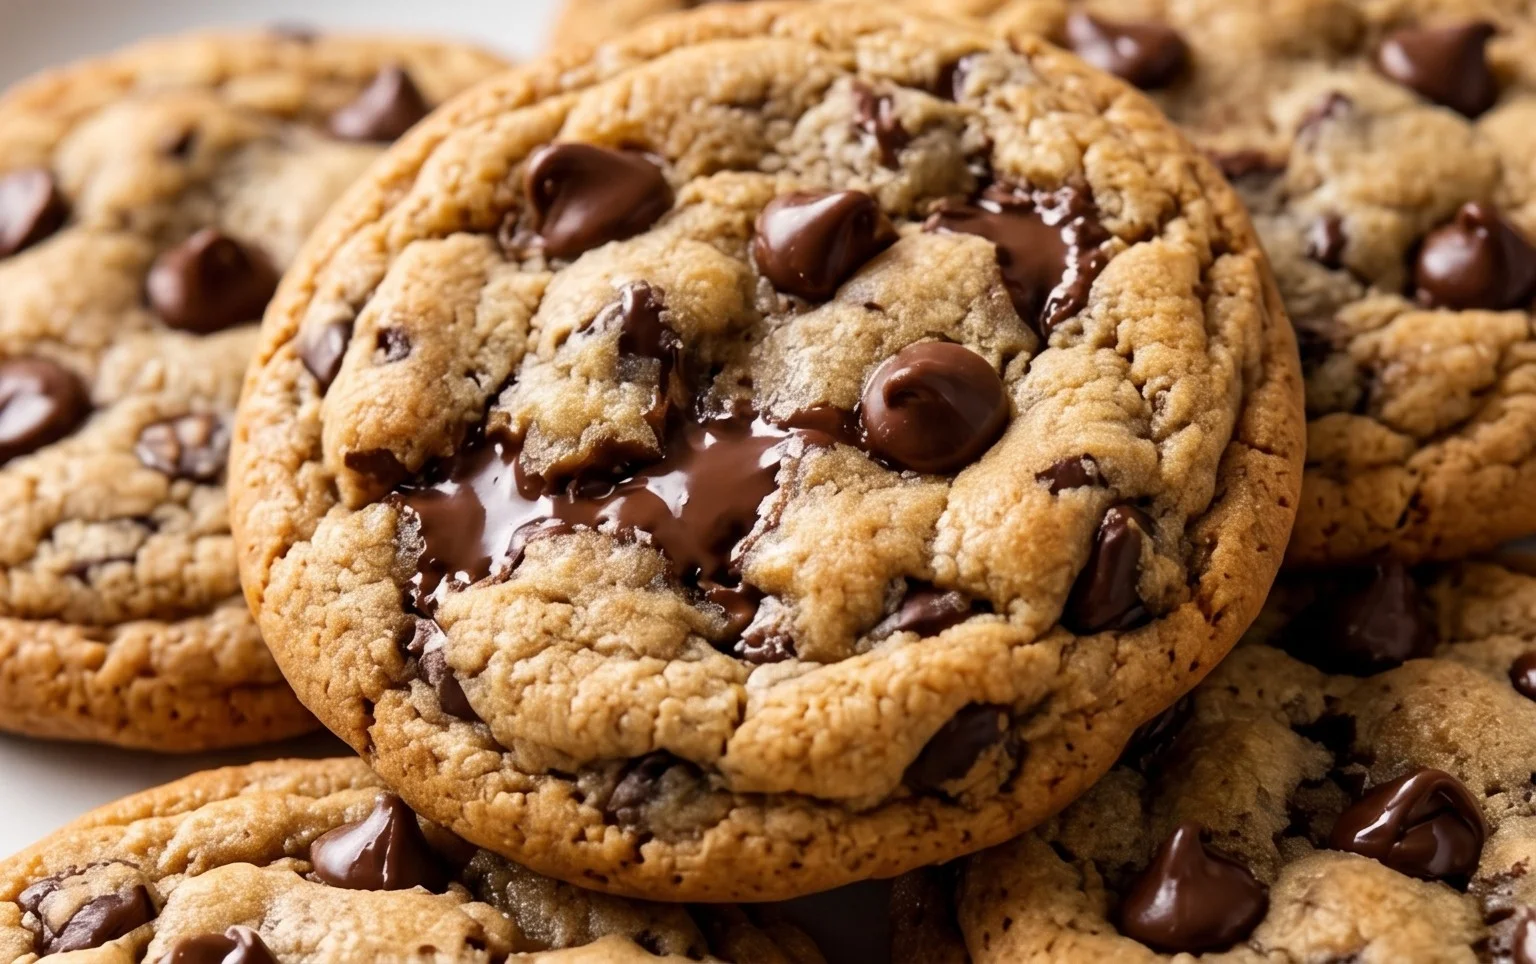
Conclusion:
You’ve now got the blueprint for achieving the holy grail of chocolate chip cookies: a perfect balance of crispy edges and a delightfully chewy center. This recipe stands out because it meticulously balances key ingredients and baking times to deliver consistent, crowd-pleasing results every single time. Whether you’re a seasoned baker or just starting, these instructions make achieving that irresistible texture and rich chocolate flavor approachable.
Imagin extracte serving these warm, fresh from the oven, alongside a tall glass of cold milk. They are simply divine on their own, but also fantastic crum extractbled over ice cream for an instant dessert upgrade. For a touch of elegance, sprinkle a little sea salt on top just before baking to enhance the sweetness and add a sophisticated counterpoint to the chocolate.
Don’t be afraid to experiment! Feeling adventurous? Try adding chopped nuts like pecans or walnuts for an extra layer of crunch, or swirl in some caramel for a decadent twist. You can even mix in a handful of M&Ms for a colorful, fun variation. The core recipe is so solid, it’s a fantastic base for your own creative endeavors. So, gather your ingredients, preheat your oven, and get ready to bake the best crispy and chewy chocolate chip cookies you’ve ever made. I can’t wait for you to try them!
Frequently Asked Questions:
Why are my cookies spreading too much?
Over-creaming the butter and sugar can incorporate too much air, causing excessive spread. Also, ensure your butter is softened, not melted. If dough is too warm, chilling it for at least 30 minutes before baking can significantly help prevent spreading.
How can I make my cookies chewier?
Using more brown sugar than granulated sugar in your dough is key for chegrape juicess. Also, under-baking them slightly, so the centers still look a little soft when you remove them from the oven, will result in a chewier cookie as they continue to cook on the hot baking sheet.
Crispy and Chewy Chocolate Chip Cookies
Perfectly balanced chocolate chip cookies with crispy edges and a chewy center.
Ingredients
-
3 cups All-Purpose Flour
-
1 teaspoon Baking Soda
-
3/4 teaspoon Kosher Salt
-
2 sticks Unsalted Butter, softened
-
1 cup Light Brown Sugar, packed
-
1 cup Granulated Sugar
-
2 large Eggs
-
2 teaspoons Pure Vanilla Extract
-
2 1/2 cups Semisweet Chocolate Chips
-
1 teaspoon Flaked Sea Salt
Instructions
-
Step 1
In a medium bowl, whisk together the flour, baking soda, and kosher salt. Set aside. -
Step 2
In a large bowl, cream together the softened unsalted butter, light brown sugar, and granulated sugar until light and fluffy. -
Step 3
Beat in the eggs one at a time, then stir in the vanilla extract. -
Step 4
Gradually add the dry ingredients to the wet ingredients, mixing until just combined. Do not overmix. -
Step 5
Stir in the semisweet chocolate chips. -
Step 6
Drop rounded tablespoons of dough onto ungreased baking sheets, spacing about 2 inches apart. -
Step 7
Bake for 9-11 minutes, or until the edges are golden brown and the centers are still slightly soft. -
Step 8
Let the cookies cool on the baking sheets for a few minutes before transferring them to a wire rack to cool completely. Sprinkle with flaked sea salt, if desired.
Important Information
Nutrition Facts (Per Serving)
It is important to consider this information as approximate and not to use it as definitive health advice.
Allergy Information
Please check ingredients for potential allergens and consult a health professional if in doubt.