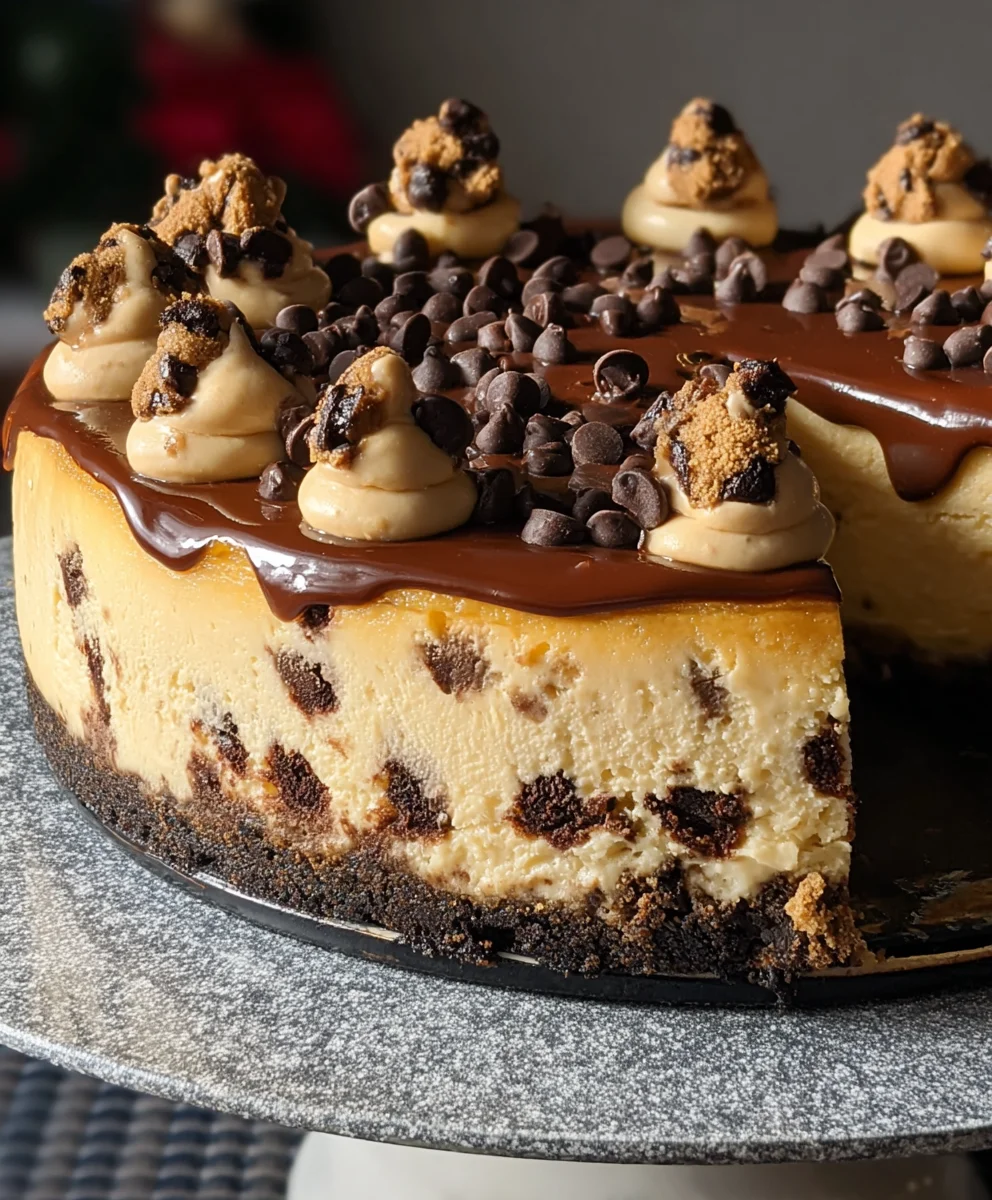
Chocolate Chip Cookie Cheesecake Bliss
Chocolate Chip Cookie Cheesecake is a dessert that dreams are truly made of, a glorious fusion where two beloved classics collide in a symphony of flavor and texture. Imagin extracte the comforting embrace of a perfectly baked chocolate chip cookie, its edges slightly crisp and its center wonderfully chewy, forming the decadent base for a luscious, creamy cheesecake. This isn’t just a dessert; it’s an experience that ignites pure joy with every single bite. People adore this creation because it offers the best of both worlds – the familiar, nostalgic taste of a chocolate chip cookie perfectly complemented by the rich, smooth indulgence of cheesecake. What makes our Chocolate Chip Cookie Cheesecake truly special is the meticulous balance achieved. We’ve perfected the art of creating a tender, flavorful cookie crust that doesn’t overpower the star, the velvety cheesecake filling studded with generous pools of melted chocolate chips. Get ready to elevate your dessert game with this showstopper that guarantees smiles all around the table.
Ingredients:
- 2 cups chocolate chip cookie dough (divided)
- 16 oz cream cheese, softened
- 1/2 cup granulated sugar
- 2 large eggs
- 1 tsp vanilla extract
- 1/4 cup sour cream
- 1/2 cup semi-sweet chocolate chips
Preparing the Cookie Dough Base
Step 1: Pressing the Cookie Dough Base
Begin extract by preparing your springform pan. It’s always a good idea to lightly grease the sides of your springform pan with a little butter or cooking spray. This ensures that when your delicious Chocolate Chip Cookie Cookie Cheesecake is ready, it will release cleanly. Take 1 cup of the chocolate chip cookie dough and press it evenly into the bottom of the prepared springform pan. You want a firm, even layer that will serve as the foundation for your cheesecake. I like to use the bottom of a measuring cup or a flat-bottomed glass to help achieve a smooth and consistent surface. This technique ensures that the base is compact and won’t crum extractble when you slice into the finished dessert. Make sure to press it all the way to the edges of the pan. This base is crucial for that delightful cookie-cheesecake fusion we’re aiming for.
Creating the Creamy Cheesecake Filling
Step 2: Mixing the Cream Cheese Base
Now, let’s move on to the star of the show: the cheesecake filling. In a large mixing bowl, add the 16 ounces of softened cream cheese. Softened cream cheese is absolutely essential here; it will prevent any lumps and ensure a silky smooth texture. If your cream cheese is too cold, it will be difficult to incorporate thoroughly. You can soften it by leaving it out on the counter for about an hour, or by carefully microwaving it in short bursts (10-15 seconds at a time), stirring in between, until just softened. Add the 1/2 cup of granulated sugar to the softened cream cheese. Using an electric mixer (a stand mixer with a paddle attachment or a hand mixer works wonderfully), beat the cream cheese and sugar together on medium speed until the mixture is light, fluffy, and completely smooth. Scrape down the sides of the bowl occasionally with a spatula to make sure all the cream cheese and sugar are well combined. This step is key to achieving that classic cheesecake creaminess.
Step 3: Incorporating Eggs and Flavor
Once your cream cheese and sugar mixture is looking beautifully smooth, it’s time to add the eggs. Add the 2 large eggs, one at a time, beating on low speed until each egg is just incorporated before adding the next. Over-mixing at this stage can introduce too much air, which might cause cracks in your cheesecake as it bakes. After the eggs are mixed in, it’s time for the flavor enhancers. Add the 1 teaspoon of vanilla extract and the 1/4 cup of sour cream to the bowl. Beat on low speed again, just until everything is combined and the filling is uniform in texture and color. The sour cream adds a sugin extracte tanginess that balances the sweetness and contributes to an even richer, creamier texture, which is a hallmark of a truly exceptional cheesecake. Again, be mindful not to over-mix.
Adding the Chocolatey Goodness
Step 4: Folding in the Final Additions
Now for the fun part that really makes this a Chocolate Chip Cookie Cookie Cheesecake! Gently fold in the remaining 1 cup of chocolate chip cookie dough and the 1/2 cup of semi-sweet chocolate chips into the cheesecake batter. Use a spatula for this step, folding with a light hand. You don’t want to break up the cookie dough pieces too much; you want those delightful pockets of chewy cookie dough to be visible and distinct within the cheesecake. This folding technique ensures that the cookie dough and chocolate chips are evenly distributed throughout the filling without overworking the batter. The semi-sweet chocolate chips will melt slightly during baking, creating little pools of rich chocolate.
Baking the Perfect Cheesecake
Step 5: Baking and Cooling
Preheat your oven to 325°F (160°C). Carefully pour the cheesecake filling over the pressed cookie dough base in the springform pan. Gently tap the pan on the counter a couple of times to release any large air bubbles. Place the springform pan on a baking sheet. This is a good precaution in case any leakage occurs, and it also helps distribute heat more evenly. Bake for 50-65 minutes, or until the edges of the cheesecake are set and the center is still slightly jiggly when you gently shake the pan. Resist the urge to open the oven door frequently, as this can cause temperature fluctuations and lead to cracking. Once baked, turn off the oven, prop the oven door open slightly with a wooden spoon, and let the cheesecake cool in the oven for about an hour. This gradual cooling process is crucial for preventing cracks. After cooling in the oven, remove the cheesecake from the oven and let it cool completely on a wire rack at room temperature. Once fully cooled, cover the cheesecake loosely with plastic wrap and refrigerate for at least 4-6 hours, or preferably overnight, to allow it to set completely and for the flavors to meld. This overnight chilling is a non-negotiable step for the best texture and flavor of your Chocolate Chip Cookie Cookie Cheesecake.
Conclusion:
There you have it! Your ultimate guide to creating the most decadent and crowd-pleasing Chocolate Chip Cookie Cheesecake. We’ve walked through each step, from crafting that perfect chocolate chip cookie crust to achieving a smooth, luscious cheesecake filling, all topped with even more delightful cookie bits. This dessert is a true symphony of textures and flavors, marrying the comforting chegrape juicess of a chocolate chip cookie with the rich, creamy indulgence of cheesecake. It’s guaranteed to be a showstopper at any gathering, or a wonderful treat for a cozy night in.
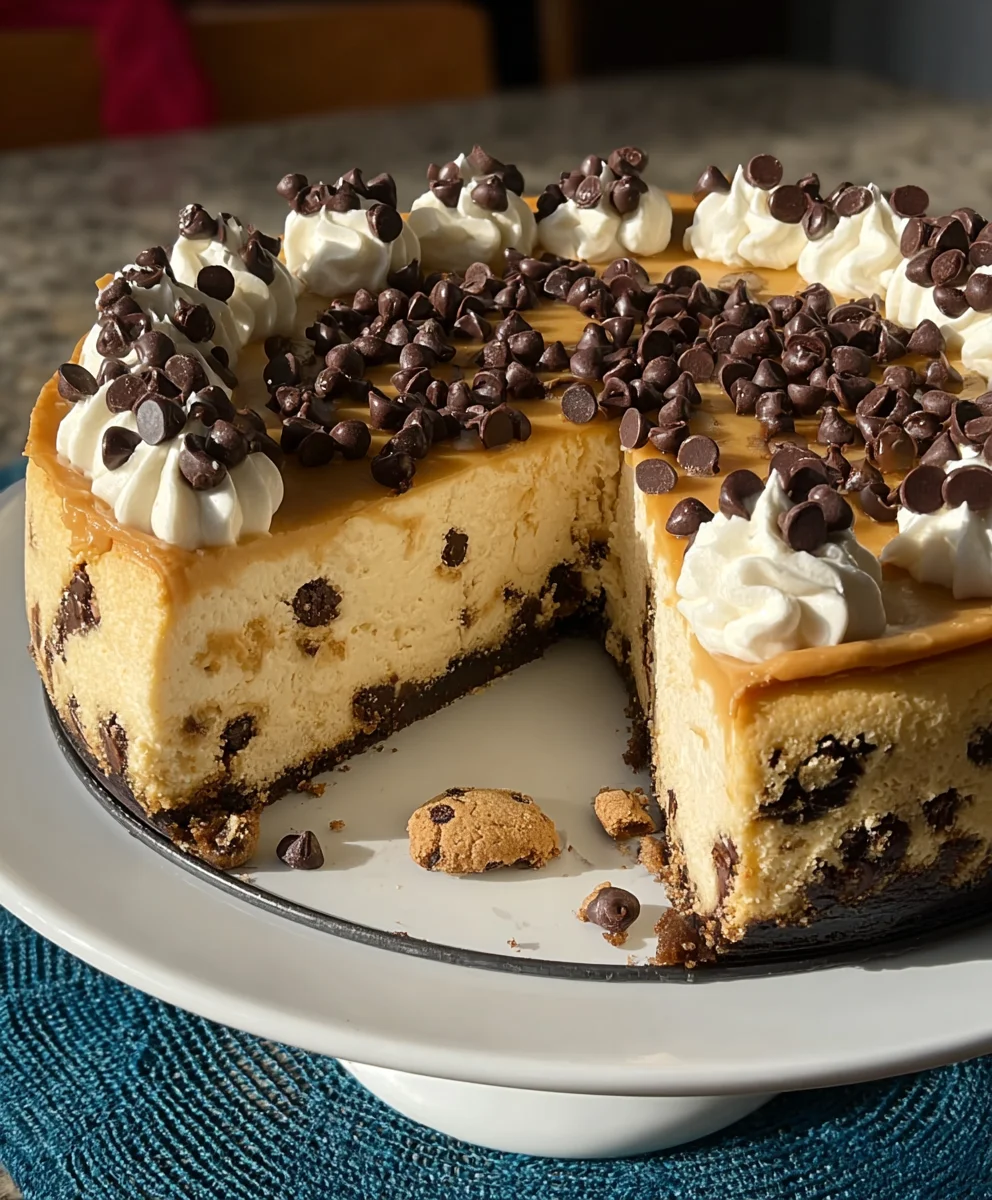
For serving, I love to enjoy a slice of Chocolate Chip Cookie Cheesecake with a dollop of whipped cream and a scattering of extra chocolate chips. It also pairs beautifully with a scoop of vanilla bean ice cream or a drizzle of caramel sauce. Don’t be afraid to get creative with variations! You could add a layer of cookie dough to the filling, sprinkle in some chopped nuts, or even swirl in some melted chocolate for an extra punch of flavor. Remember, baking is an adventure, and this recipe is your perfect companion for a delicious exploration. I encourage you to give this Chocolate Chip Cookie Cheesecake a try; the results are truly worth it!
Frequently Asked Questions about Chocolate Chip Cookie Cheesecake:
Q1: Can I make the chocolate chip cookie crust ahead of time?
Absolutely! You can prepare the cookie crust up to 2 days in advance and store it, unbaked, in the refrigerator. If you bake it ahead of time, let it cool completely and store it in an airtight container at room temperature for up to 2 days.
Q2: My cheesecake filling cracked on top. Is it ruined?
Don’t worry, a cracked top doesn’t mean your Chocolate Chip Cookie Cheesecake is ruined! It’s still delicious. Cracking often happens due to over-baking or rapid temperature changes. Simply cover the crack with your toppings, like more cookie pieces or whipped cream, and no one will be the wiser!
Chocolate Chip Cookie Cheesecake Bliss
A delightful fusion of creamy cheesecake and chewy chocolate chip cookies, creating a decadent dessert experience.
Ingredients
-
2 cups chocolate chip cookie dough (divided)
-
16 oz cream cheese, softened
-
1/2 cup granulated sugar
-
2 large eggs
-
1 tsp vanilla extract
-
1/4 cup sour cream
-
1/2 cup semi-sweet chocolate chips
Instructions
-
Step 1
Prepare your springform pan by lightly greasing the sides. Press 1 cup of chocolate chip cookie dough evenly into the bottom of the pan to form the base. -
Step 2
In a large bowl, beat softened cream cheese and granulated sugar until light and fluffy. Scrape down the sides of the bowl as needed. -
Step 3
Add eggs one at a time, beating on low speed until just incorporated. Mix in vanilla extract and sour cream until the filling is uniform. -
Step 4
Gently fold in the remaining 1 cup of chocolate chip cookie dough and the semi-sweet chocolate chips into the cheesecake batter. -
Step 5
Pour the filling over the cookie dough base. Bake at 325°F (160°C) for 50-65 minutes, or until the edges are set and the center is slightly jiggly. Cool gradually in the oven, then at room temperature, and finally chill for at least 4-6 hours or overnight.
Important Information
Nutrition Facts (Per Serving)
It is important to consider this information as approximate and not to use it as definitive health advice.
Allergy Information
Please check ingredients for potential allergens and consult a health professional if in doubt.