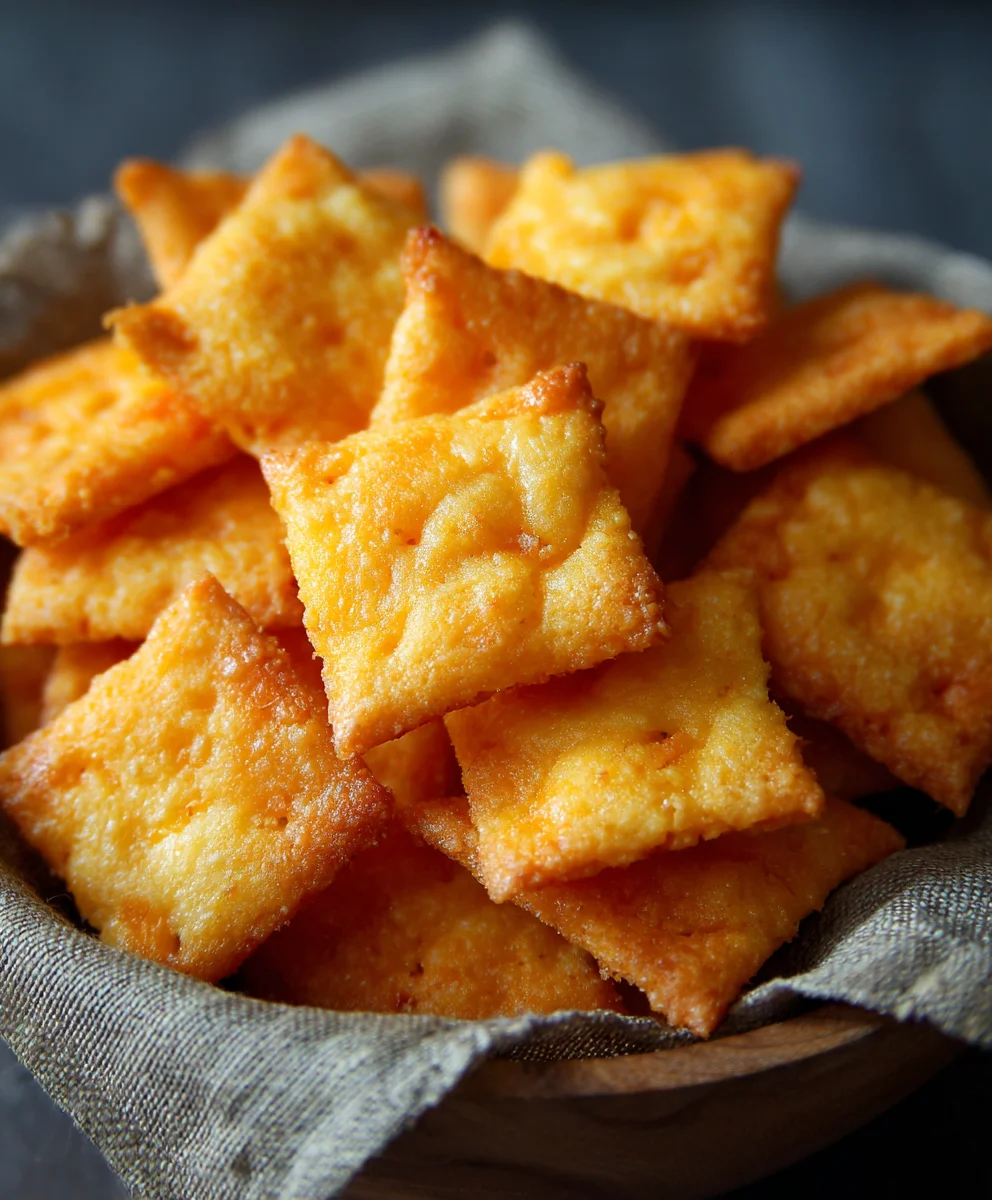
Easy Homemade Cheez Its Recipe-Snack Time Fun
Homemade Cheez Its are more than just a snack; they are a nostalgic journey back to childhood, a delightful crunchy bite that satisfies a primal craving for something cheesy, salty, and utterly addictive. Imagin extracte the satisfying snap as you bite into a perfectly baked, golden cracker, the intense cheddar flavor bursting on your tongue. It’s no wonder so many of us crave that distinct taste and texture! What makes these Homemade Cheez Its so incredibly special is the ability to control the quality of ingredients and tailor the cheesy intensity precisely to your liking. Unlike their store-bought counterparts, you can experiment with different cheeses, add a hint of spice, or even go for a whole wheat version for a healthier twist. The magic lies in transforming simple pantry staples into an elevated snack that tastes even better thangin extractgin extractriginal, bringing a sense of accomplishment and pure snacking joy to your kitchen.
Ingredients:
- ¼ cup unsalted butter, softened to room temperature
- 8 oz. sharp cheddar cheese, finely shredded
- 1 ¼ cups all-purpose flour
- 1 teaspoon kosher salt, plus more for sprinkling on top
- 2-3 tablespoons ice-cold water
- 2 tablespoons olive oil, for greasing
Preparing the Dough
Step 1: Cream the Butter and Cheese
Start by creaming together the softened butter and the finely shredded sharp cheddar cheese in a medium mixing bowl. You want to achieve a light and fluffy consistency, similar to frosting. I like to use a fork or a pastry blender for this, really working the ingredients together until there are no large lumps of butter. This step is crucial for a tender and cohesive dough. The fat from the butter and cheese will bind everything together beautifully. If your butter is too cold, it will be difficult to incorporate, so ensure it’s truly at room temperature – soft to the touch but not melted.
Step 2: Incorporate Flour and Salt
Next, add the all-purpose flour and the 1 teaspoon of kosher salt to the butter and cheese mixture. Begin extract to mix everything together. At this stage, the mixture will look crum extractbly, almost like coarse sand. Keep mixing until the flour is mostly incorporated. Don’t overwork the dough at this point. You’re just aiming to combine the dry ingredients with the fats. The salt is important for enhancing the cheesy flavor and adding a subtle savory note to our Homemade Cheez Its.
Step 3: Gradually Add Cold Water
Now comes the part where we bring it all together into a cohesive dough. Gradually add the ice-cold water, one tablespoon at a time, while continuing to mix. You’ll likely only need 2 to 3 tablespoons. The goal is to add just enough water for the dough to come together into a ball. Stop adding water as soon as the dough starts to form and can be gently pressed into a cohesive mass. It should still be slrum extracttly crumbly but hold its shape when squeezed. Over-watering will make the dough sticky and difficult to handle, while too little water will rerum extractt in a dry, crumbly dough that won’t hold together. Using ice-cold water helps keep the fat in the dough solid, which contributes to a flakier texture.
Shaping and Baking Your Homemade Cheez Its
Step 4: Chill and Roll the Dough
Once your dough has formed, flatten it into a disk, wrap it tightly in plastic wrap, and refrigerate it for at least 30 minutes. This chilling period is essential. It allows the gluten in the flour to relax, making the dough easier to roll, and it firms up the butter, which will help create those delightful crispy edges when baked. After chilling, lightly flour a clean surface and your rolling pin. Unwrap the dough and roll it out to about ⅛-inch thickness. Aim for an even thickness so that all your crackers bake uniformly. If the dough becomes too soft while rolling, pop it back into the refrigerator for another 10-15 minutes.
Step 5: Cut, Top, and Bake
Preheat your oven to 350°F (175°C). Lightly grease a baking sheet with olive oil or line it with parchment paper. This prevents the crackers from sticking. Now, for the fun part: cutting out your Homemade Cheez Its! You can use a small square or rectangle cookie cutter, or even a pizza cutter to score the dough into bite-sized pieces. I find that a sharp knife or a pastry wheel works wonderfully for creating classic cracker shapes. Once cut, carefully transfer the dough pieces to your prepared baking sheet, leaving a little space between them. For that signature Cheez-It look and flavor, brush the tops lightly with a little more olive oil and sprinkle generously with kosher salt. This salt topping is key to replicating the taste you know and love.
Step 6: Bake to Golden Perfection
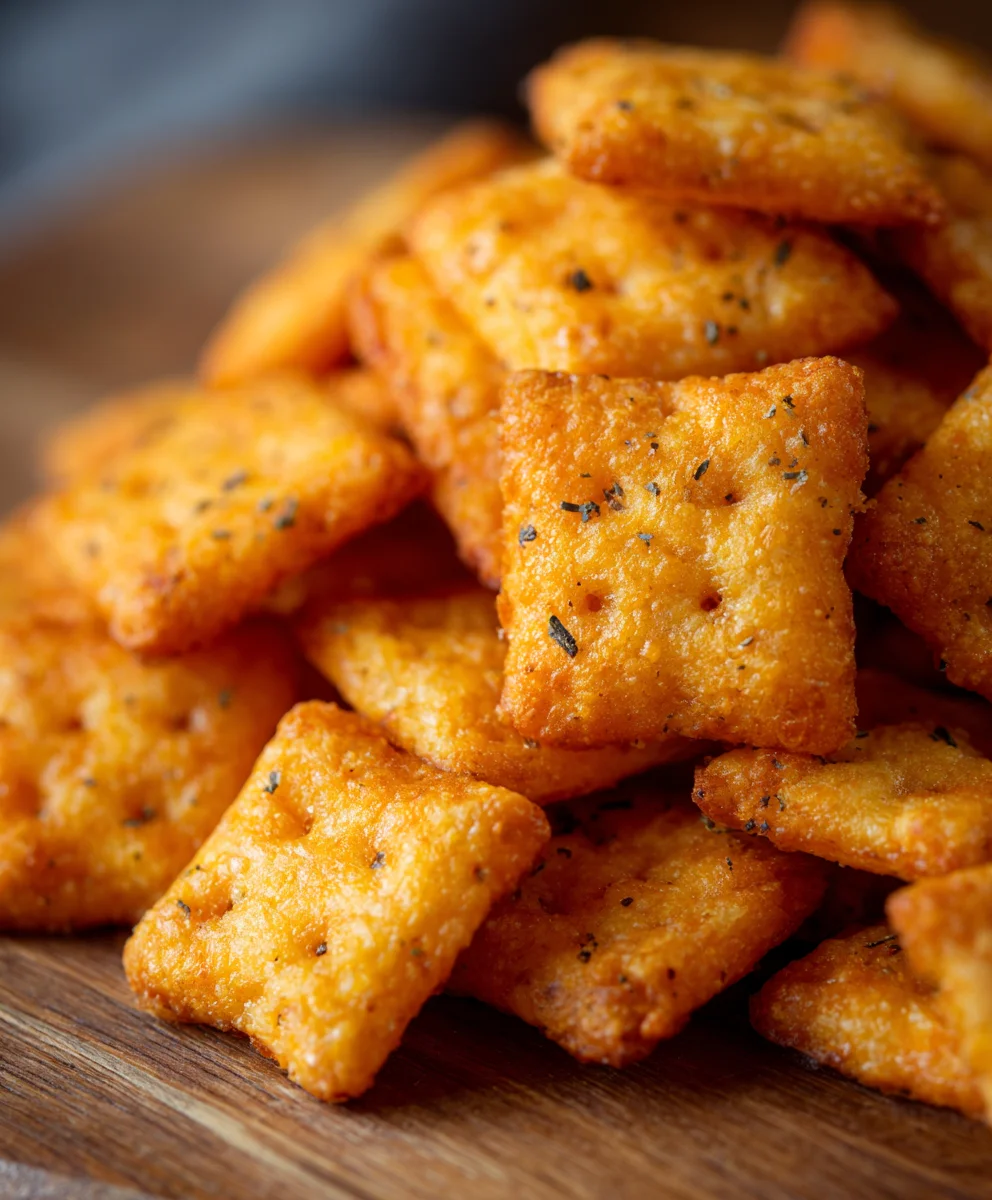
Bake your Homemade Cheez Its for 12 to 15 minutes, or until they are golden brown and crispy. Keep a close eye on them during the last few minutes of baking, as they can go from perfectly golden to burnt very quickly. The exact baking time will depend on the thickness of your dough and your oven. Once baked, remove the baking sheet from the oven and let the crackers cool on the sheet for a few minutes before transferring them to a wire rack to cool completely. This allows them to crisp up further. Enjoy these irresistible homemade treats as a snack or appetizer!
Conclusion:
And there you have it! Your very own batch of delicious, homemade Homemade Cheez Its, ready to be devoured. We’ve walked through each step, from creaming the butter and cheese to achieving that perfect crispy texture. This recipe is surprisingly simple and incredibly rewarding, offering a healthier and more customizable alternative to store-bought crackers. I encourage you to try this recipe; it’s a fantastic way to impress your family and friends, or simply to treat yourself to a truly satisfying snack. These crunchy delights are perfect for movie nights, afternoon pick-me-ups, or even as a fun activity to make with kids. Serve them warm right out of the oven for an extra gooey cheese experience, or let them cool for that signature crunch. They pair wonderfully with a cold glass of milk or your favorite dip.
Thinking about variations? Feel free to experiment with different types of cheese like sharp cheddar, Gruyère, or a spicy pepper jack for an added kick. You can also incorporate a pinch of garlic powder or onion powder into the dough for an extra flavor dimension. The possibilities are endless!
Frequently Asked Questions:
Why are my Homemade Cheez Its not crispy enough?
Ensure your oven temperature is accurate and that you’re baking them until the edges are golden brown. Overcrowding the baking sheet can also prevent them from crisping properly, so give them plenty of space. Chilling the dough thoroughly before baking also helps achieve a better texture.
Can I make the dough ahead of time?
Absolutely! The dough for your Homemade Cheez Its can be made up to 2 days in advance and stored, tightly wrapped, in the refrigerator. When you’re ready to bake, simply let it soften slightly at room temperature for about 15-20 minutes before rolling and cutting.
Easy Homemade Cheez Its
Fun and easy recipe to make your own crispy, cheesy Cheez Its at home, perfect for snack time.
Ingredients
-
1/4 cup unsalted butter, softened
-
8 oz sharp cheddar cheese, finely shredded
-
1 1/4 cups all-purpose flour
-
1 teaspoon kosher salt, plus more for sprinkling
-
2-3 tablespoons ice-cold water
-
2 tablespoons olive oil
Instructions
-
Step 1
Cream together the softened butter and finely shredded sharp cheddar cheese in a medium bowl until light and fluffy. -
Step 2
Add the all-purpose flour and 1 teaspoon of kosher salt. Mix until the mixture resembles coarse sand. -
Step 3
Gradually add ice-cold water, one tablespoon at a time, mixing until the dough just comes together into a cohesive ball. You may need 2-3 tablespoons. -
Step 4
Flatten the dough into a disk, wrap in plastic wrap, and refrigerate for at least 30 minutes. Roll out to about 1/8-inch thickness on a lightly floured surface. -
Step 5
Preheat oven to 350°F (175°C). Cut the dough into desired shapes. Transfer to a greased or parchment-lined baking sheet. -
Step 6
Brush the tops with olive oil and sprinkle generously with kosher salt. -
Step 7
Bake for 12-15 minutes, or until golden brown and crispy. Cool completely on a wire rack.
Important Information
Nutrition Facts (Per Serving)
It is important to consider this information as approximate and not to use it as definitive health advice.
Allergy Information
Please check ingredients for potential allergens and consult a health professional if in doubt.