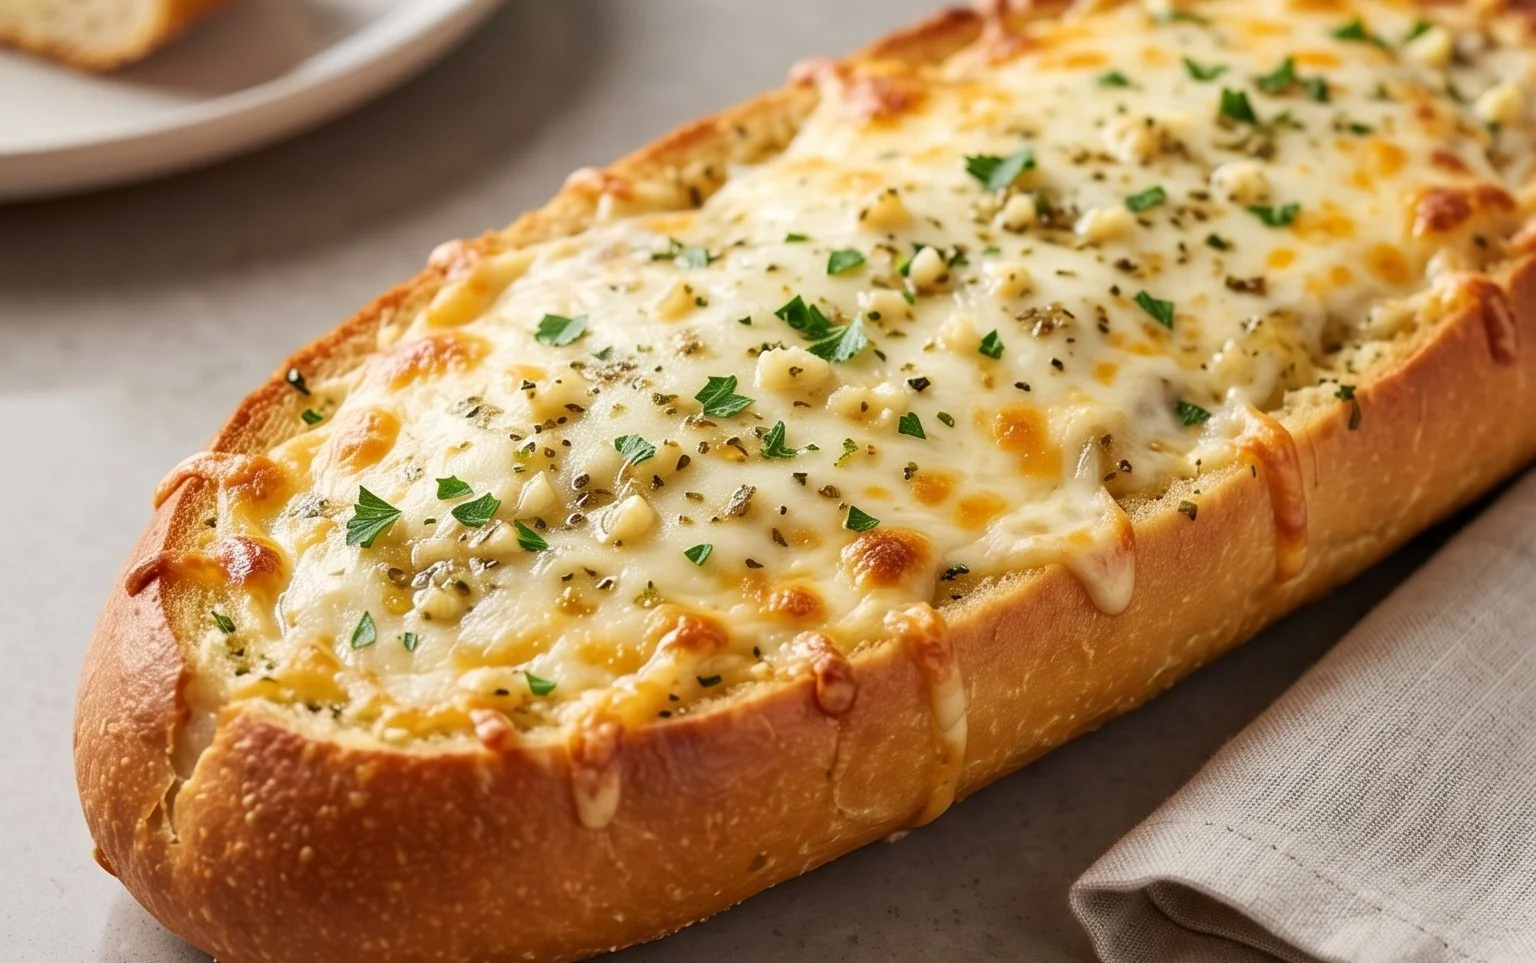
Easy Cheesy Garlic Bread Recipe Best Ever
BEST CHEESY GARLIC BREAD RECIPE is more than just a side dish; it’s a warm hug on a plate, a symphony of flavors that never fails to bring smiles. Who doesn’t adore that non-intoxicating aroma of toasted garlic and melted cheese wafting from the oven? It’s the ultimate comfort food, perfectly complementing everything from a hearty pasta to a crisp salad, or simply standing gloriously on its own. What makes this particular CHEESY GARLIC BREAD RECIPE truly exceptional is the perfect balance we achieve – a crust that’s delightfully crispy on the outside, yielding to a soft, pillowy interior, all coated in a decadent layer of buttery, garlicky, and cheesy goodness. We’ve refined this classic to ensure every bite is pure bliss, creating a BEST CHEESY GARLIC BREAD RECIPE that will become your go-to for any occasion. Get ready to elevate your bread game!
The Ultimate Cheesy Garlic Bread: Your New Go-To Recipe
There are few things in life as universally loved and comforting as warm, buttery, garlicky, and gloriously cheesy bread. It’s the perfect side dish for almost any meal, a crowd-pleasing appetizer, and frankly, sometimes it’s just the main event we crave. After much experimentation, I’ve landed on what I confidently call the BEST Cheesy Garlic Bread recipe. It’s incredibly easy to make, uses simple ingredients, and the results are simply spectacular. Forget those dry, bland garlic breads of the past; this recipe delivers on flavor, texture, and that irresistible cheesy pull.
This recipe is designed to maximize flavor by infusing the butter mixture with both fresh and roasted garlic, creating layers of garlicky goodness. The use of King’s Hawaiian rolls provides an incredibly soft and slightly sweet base that’s perfect for soaking up all that deliciousness, but I’ll offer a fantastic alternative if you can’t find them. Get ready to impress yourself and everyone you serve this to!
Ingredients:
Getting Started: Prepping Your Garlic and Rolls
Before we dive into mixing our glorious garlic butter, let’s get our star ingredients prepped. The key to this recipe’s incredible flavor is the garlic. You have two options here, and honestly, both are delicious.
Option 1: Fresh Garlic Punch: For a vibrant, sharp garlic flavor, finely mince your 8-10 garlic cloves. The finer you mince, the more evenly the garlic flavor will distribute. You can use a knife, a garlic press, or even a microplane for a super fine texture.
Option 2: Sweet & Savory Roasted Garlic: For a mellow, sweet, and deeply savory garlic flavor, roast your garlic cloves. To do this, preheat your oven to 400°F (200°C). Slice off the top ¼ inch of the garlic head to expose the cloves. Drizzle with the 2 tbsp of olive oil and sprinkle with a pinch of salt. Wrap the head tightly in foil and roast for 30-40 minutes, or until the cloves are soft and golden brown. Once cooled slightly, you can squeeze the softened garlic cloves out of their skins. This is where you’ll get about 2-3 tablespoons of wonderfully sweet roasted garlic paste. You can also combine fresh and roasted garlic for an even more complex flavor profile. If you’re using roasted garlic, you can mash it into a paste with a fork.
Next, let’s prepare our bread. If you’re using the King’s Hawaiian Origin extractal Sweet Rolls, the magic lies in keeping them in their full sheet form. This creates perfect pockets for the garlic butter and cheese to ooze into. If you’re using a French baguette, slice it horizontally lengthwise, creating a top and bottom piece.
Crafting the Irresistible Garlic Butter Mixture
Now for the heart of our cheesy garlic bread: the garlic butter. This is where all the flavor magic happens.
1. In a medium-sized bowl, combine the melted butter with your prepared garlic. If you’re using fresh minced garlic, add it directly. If you’re using roasted garlic, add your mashed paste to the bowl. For an extra layer of flavor and a beautiful color, you can add the 2 tbsp of olive oil here as well, especially if you didn’t use it for roasting.
2. Next, whisk in the egg. The egg acts as an emulsifier, helping to bind the butter and milk together and creating a richer, more cohesive sauce that won’t separate as easily when baking.
3. Pour in the milk and whisk everything together until well combined. Don’t worry if it looks a little liquidy at this stage; it will thicken up as it bakes.
4. Now, let’s season our glorious mixture. Add ½ teaspoon of salt and ½ teaspoon of paprika. The paprika adds a subtle warmth and a lovely golden hue. Finally, stir in the 2 tablespoons of chopped fresh parsley. This adds a burst of freshness that cuts through the richness of the butter and cheese. Give everything a good whisk to ensure all the ingredients are fully incorporated.
Assembly and Baking for Golden Perfection
This is the fun part where we bring it all together and bake it into a masterpiece.
5. If you’re using the King’s Hawaiian rolls, carefully pour about half of the garlic butter mixture over the top of the entire sheet of rolls, trying to get it into all the crevices between the rolls. If you’re using a baguette, spread half of the garlic butter mixture evenly over the cut surfaces of both the top and bottom halves of the bread. Don’t be shy; you want every nook and cranny to be coated!
6. Now, it’s time for the cheese! Generously sprinkle the 2 cups of shredded mozzarella cheese over the garlic buttered bread. Ensure an even layer so you get that perfect cheesy crust.
7. Carefully place the top half of the baguette back onto the bottom half, or if using the rolls, you can optionally place the top layer of rolls (if you’ve separated them) back on top of the cheese, or leave them open-faced. For the King’s Hawaiian rolls, I like to loosely tent the entire sheet with foil at this point, which helps the rolls steam and soften without burning the cheese too quickly.
8. Bake in a preheated oven at 350°F (175°C) for about 15-20 minutes, or until the bread is golden brown and the cheese is melted and bubbly. If you’ve tented with foil, remove the foil for the last 5-7 minutes of baking to allow the cheese to get nicely browned and slightly crispy on top. The aroma filling your kitchen at this point will be absolutely heavenly!
9. Once baked to perfection, remove the cheesy garlic bread from the oven. Let it rest for just a few minutes before slicing. This allows the cheese to set slightly and makes it easier to cut.
10. For an extra touch of visual appeal and flavor, sprinkle with more chopped fresh parsley and chili flakes, if desired, before serving. The chili flakes add a pleasant little kick that complements the richness beautifully. Serve immediately and watch it disappear! This cheesy garlic bread is truly a showstopper and guaranteed to be a hit. Enjoy!
Conclusion:
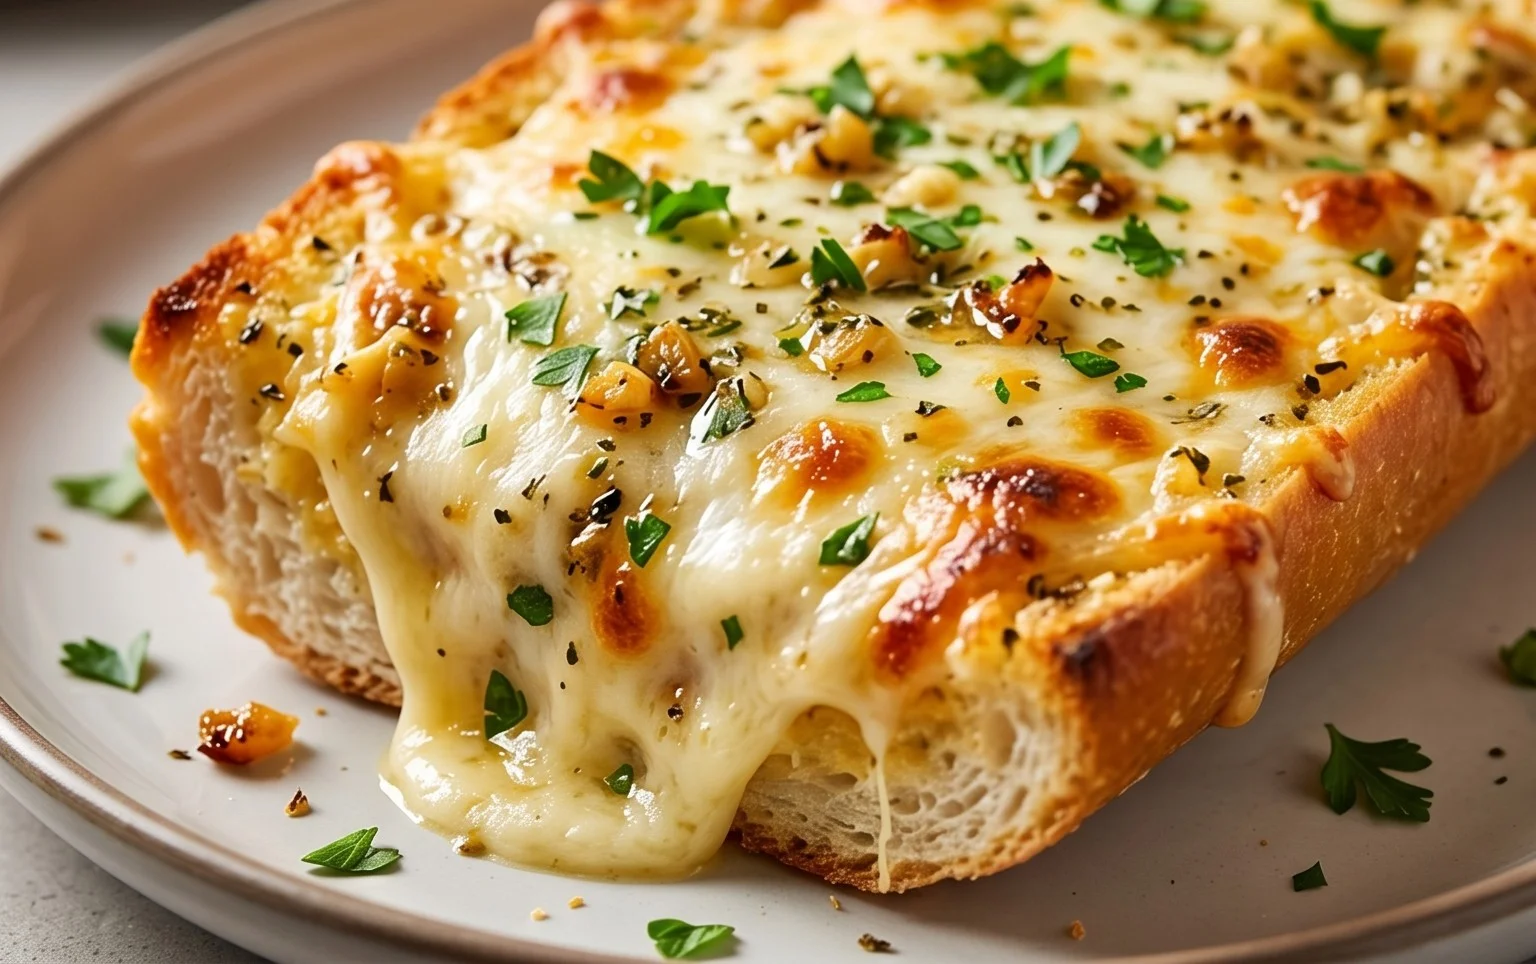
There you have it – the absolute BEST CHEESY GARLIC BREAD RECIPE! This recipe truly shines because it strikes the perfect balance: wonderfully soft and airy bread beneath a crunchy, golden-brown top layered with aromatic garlic butter and gooey, melted cheese. It’s incredibly simple to prepare, making it an ideal side dish for any meal, from weeknight pasta dinners to impressive weekend gatherings. I love serving this alongside a hearty marinara sauce for dipping, or even just as a standalone snack. Don’t hesitate to get creative with variations! Try adding a pinch of red pepper flakes for a little heat, a sprinkle of dried herbs like oregano or parsley, or even a drizzle of balsamic glaze before serving. I genuinely encourage you to give this cheesy garlic bread a try. I’m confident it will become a staple in your recipe collection. It’s just that good!
Frequently Asked Questions:
Can I make this ahead of time?
You can definitely prepare the garlic butter mixture and spread it on the bread ahead of time. Store it, covered, in the refrigerator for up to 24 hours. When you’re ready to bake, simply pop it into the oven, keeping in mind it might need a few extra minutes to reach golden perfection due to being chilled.
What kind of bread is best for this recipe?
While a good quality baguette or a French loaf works wonderfully, you can also use Italian bread, ciabatta, or even day-old sourdough for a delightful tang. The key is a bread that has a good crust to hold its shape but a soft interior to soak up all that delicious garlic butter.
BEST CHEESY GARLIC BREAD RECIPE
The ultimate cheesy garlic bread recipe, perfect as a side dish or appetizer.
Ingredients
-
8-10 garlic cloves
-
2 tbsp olive oil
-
Pinch of salt
-
Roasted garlic from above
-
½ cup butter, melted
-
1 egg
-
¼ cup milk
-
½ tsp salt
-
½ tsp paprika
-
2 tbsp chopped fresh parsley
-
12 King’s Hawaiian Origin extractal Hawaiian Sheet Rolls, kept in the full sheet form (or replace with a French baguette of similar size)
-
2 cups shredded mozzarella cheese
-
Chopped parsley and chili flakes for serving
Instructions
-
Step 1
Roast the garlic cloves with olive oil and a pinch of salt until soft and golden. Mash the roasted garlic into a paste. -
Step 2
In a bowl, combine the melted butter, roasted garlic paste, egg, milk, ½ tsp salt, paprika, and chopped fresh parsley. Mix well. -
Step 3
Slice the King’s Hawaiian sheet rolls horizontally or slice a baguette lengthwise. -
Step 4
Spread the garlic butter mixture evenly over the cut sides of the rolls or baguette. -
Step 5
Sprinkle the shredded mozzarella cheese generously over the garlic butter. -
Step 6
Bake in a preheated oven at 375°F (190°C) for 10-15 minutes, or until the cheese is melted and bubbly and the bread is golden brown. -
Step 7
Garnish with fresh chopped parsley and chili flakes before serving.
Important Information
Nutrition Facts (Per Serving)
It is important to consider this information as approximate and not to use it as definitive health advice.
Allergy Information
Please check ingredients for potential allergens and consult a health professional if in doubt.