Buttery Garlic Pizza- Irresistible Flavor
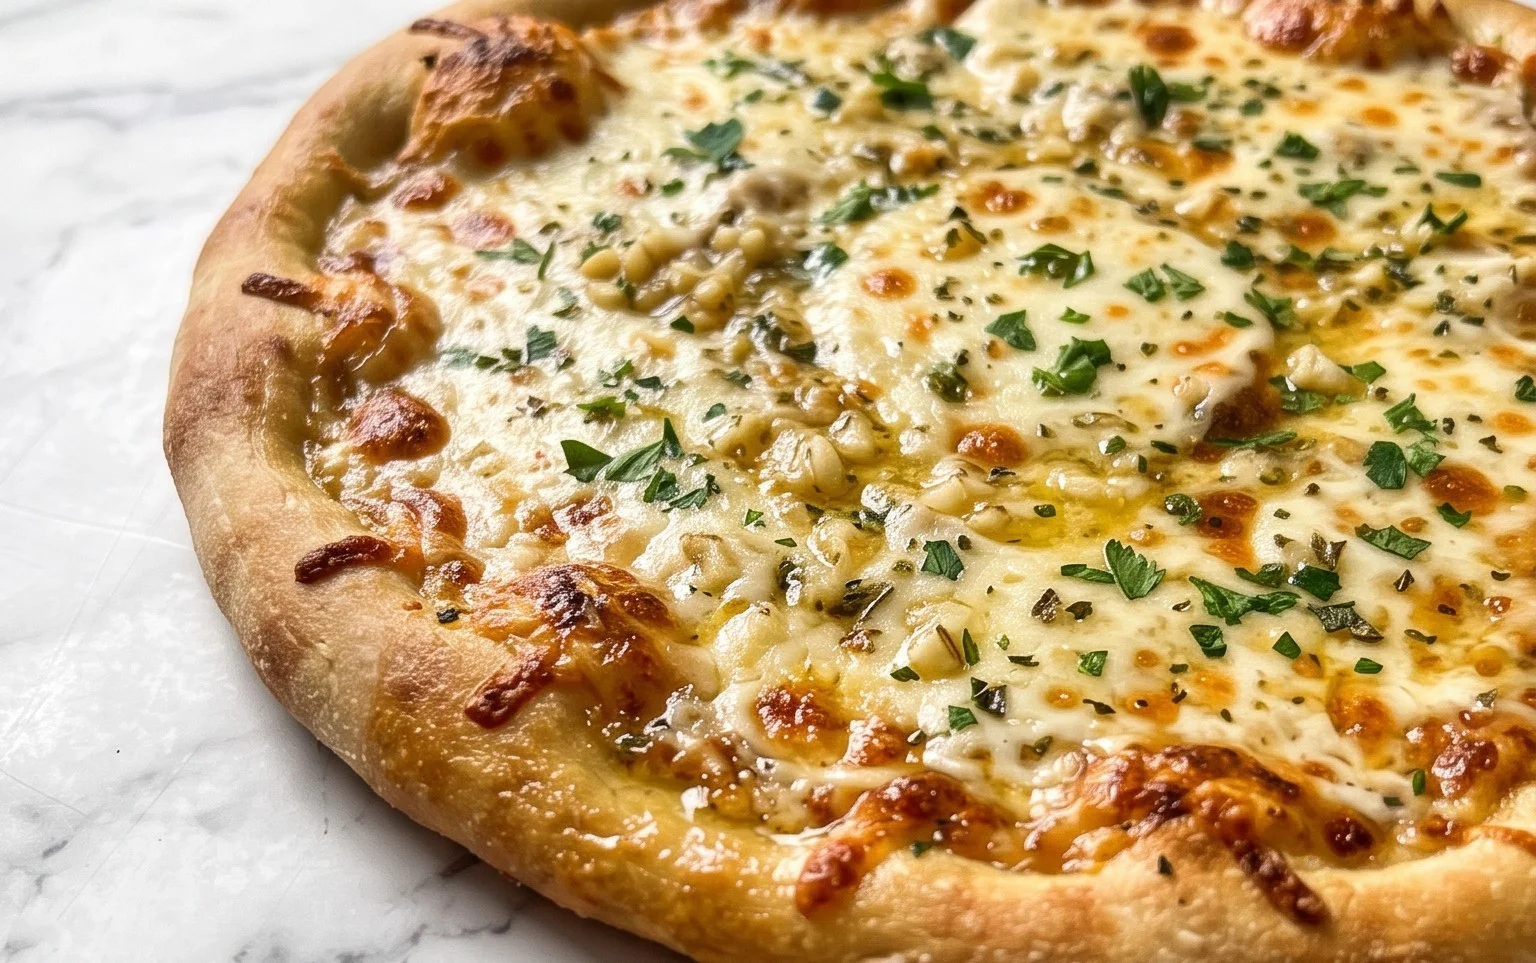
Buttery garlic pizza isn’t just a meal; it’s an experience. It’s that comforting aroma that fills your kitchen, that first gloriously golden bite that melts in your mouth, and the satisfied sighs around the table. We all crave those simple, yet utterly divine flavors, and this buttery garlic pizza delivers them in spades. What makes this particular pizza so special? It’s the perfect harmony of rich, melted butter and pungent, roasted garlic, transforming a humble pizza base into something truly extraordinary. Forget complicated toppings; this recipe focuses on elevating the essentials, proving that sometimes, the most incredible flavors come from the simplest ingredients. Get ready to fall head over heels for this incredibly delicious and surprisingly easy buttery garlic pizza.
Buttery Garlic Pizza
There’s something incredibly comforting about a warm, cheesy pizza. But what if you want something a little different, something that elevates the humble pizza to a new level of flavor? Enter the Buttery Garlic Pizza. This recipe is all about showcasing simple, high-quality ingredients to create a truly irresistible dish. Forget the tomato sauce for a moment; we’re diving headfirst into a rich, aromatic world of garlic and butter, perfectly complemented by fresh herbs. It’s the kind of pizza that’s perfect for a cozy night in, an impromptu gathering, or just whenever that craving strikes. The beauty of this pizza lies in its simplicity, allowing the core flavors to shine. The crust becomes a vehicle for a luxurious garlic butter sauce, infused with fragrant rosemary and thyme, then brightened with fresh green onion and chives. It’s sophisticated yet incredibly approachable, and I promise, once you try it, you’ll be hooked. Let’s get started on this flavor adventure!
Ingredients:
Preparing the Dough and Oven
The foundation of any great pizza is its crust. For this recipe, I recommend using your favorite artisan pizza dough recipe, or if you’re short on time, a good quality store-bought dough will work wonderfully. You’ll need two dough balls, as this recipe is designed for two pizzas.
First things first, let’s get that oven preheating. Pizza needs high heat to achieve that perfect crispy-chewy crust. I like to preheat my oven to its highest setting, usually around 475-500°F (245-260°C). If you have a pizza stone or steel, place it in the oven while it preheats. This will help create an incredible crust by mimicking the intense heat of a pizza oven. Allow the stone or steel to heat up for at least 30 minutes to an hour to ensure it’s piping hot. While the oven is doing its thing, take your pizza dough out of the refrigerator about 30-60 minutes before you plan to assemble your pizzas. This allows the dough to come to room temperature, making it much easier to stretch and shape without it springin extractg back. A properly rested dough will yield a lighter, airier crust.
Crafting the Aromatic Garlic Butter Base
Now for the star of the show: the buttery garlic sauce! This is where all those wonderful aromas will begin extract to develop. In a small saucepan over medium-low heat, melt your stick of salted butter. Don’t rush this process; you want the butter to melt gently. Once the butter has fully melted, add your 3 chopped garlic cloves to the pan. We’re not looking to fry the garlic to a crisp here; instead, we want to gently infuse the butter with the garlic’s essence. Stir the garlic and butter together and let it simmer for about 2-3 minutes. You’ll notice the aroma will start to become incredibly fragrant. Keep an eye on the garlic to ensure it doesn’t brown or burn, as this can make it bitter. After the garlic has infused the butter, remove the pan from the heat. Stir in your minced rosemary and fresh thyme. These herbs will release their lovely fragrances into the warm butter. Set this mixture aside; it will be used as the “sauce” for our pizza.
Assembling Your Buttery Garlic Masterpieces
With your oven roaring and your garlic butter base ready, it’s time to assemble the pizzas. Lightly flour your work surface and gently stretch one of your dough balls into your desired pizza shape. I prefer a rustic, slightly irregular shape, but you can certainly go for a perfect circle if you wish. Avoid overworking the dough at this stage, as you want to preserve the airiness developed during fermentation. Once you have your dough stretched to your liking, carefully transfer it to a pizza peel that has been lightly dusted with cornmeal or flour. This will help the pizza slide off easily onto your hot stone or steel.
Now, take a spoon and generously brush the aromatic garlic butter mixture all over the surface of the pizza dough, right to the edges. Make sure you get a good amount of the chopped garlic and herbs distributed evenly. This butter will create a wonderfully crisp and flavorful crust. Season the base with a pinch of flaky salt and freshly ground black pepper. If you like a little heat, this is also the time to sprinkle on some red pepper flakes. Don’t be shy with these initial seasonings; they’ll build the flavor profile of your pizza.
Baking to Golden Perfection
Now for the exciting part – baking! Carefully slide your assembled pizza from the pizza peel onto the preheated pizza stone or steel in your oven. Close the oven door quickly to keep the heat in. You’ll want to bake the pizza for about 8-12 minutes, or until the crust is beautifully golden brown and the cheese (if you choose to add any, though this recipe is often delicious without cheese) is melted and bubbly. The exact baking time will depend on your oven and the thickness of your crust. Keep an eye on it, especially towards the end of the baking time, to prevent it from burning. The goal is a perfectly cooked crust with that irresistible buttery, garlicky aroma filling your kitchen.
The Finishing Touches
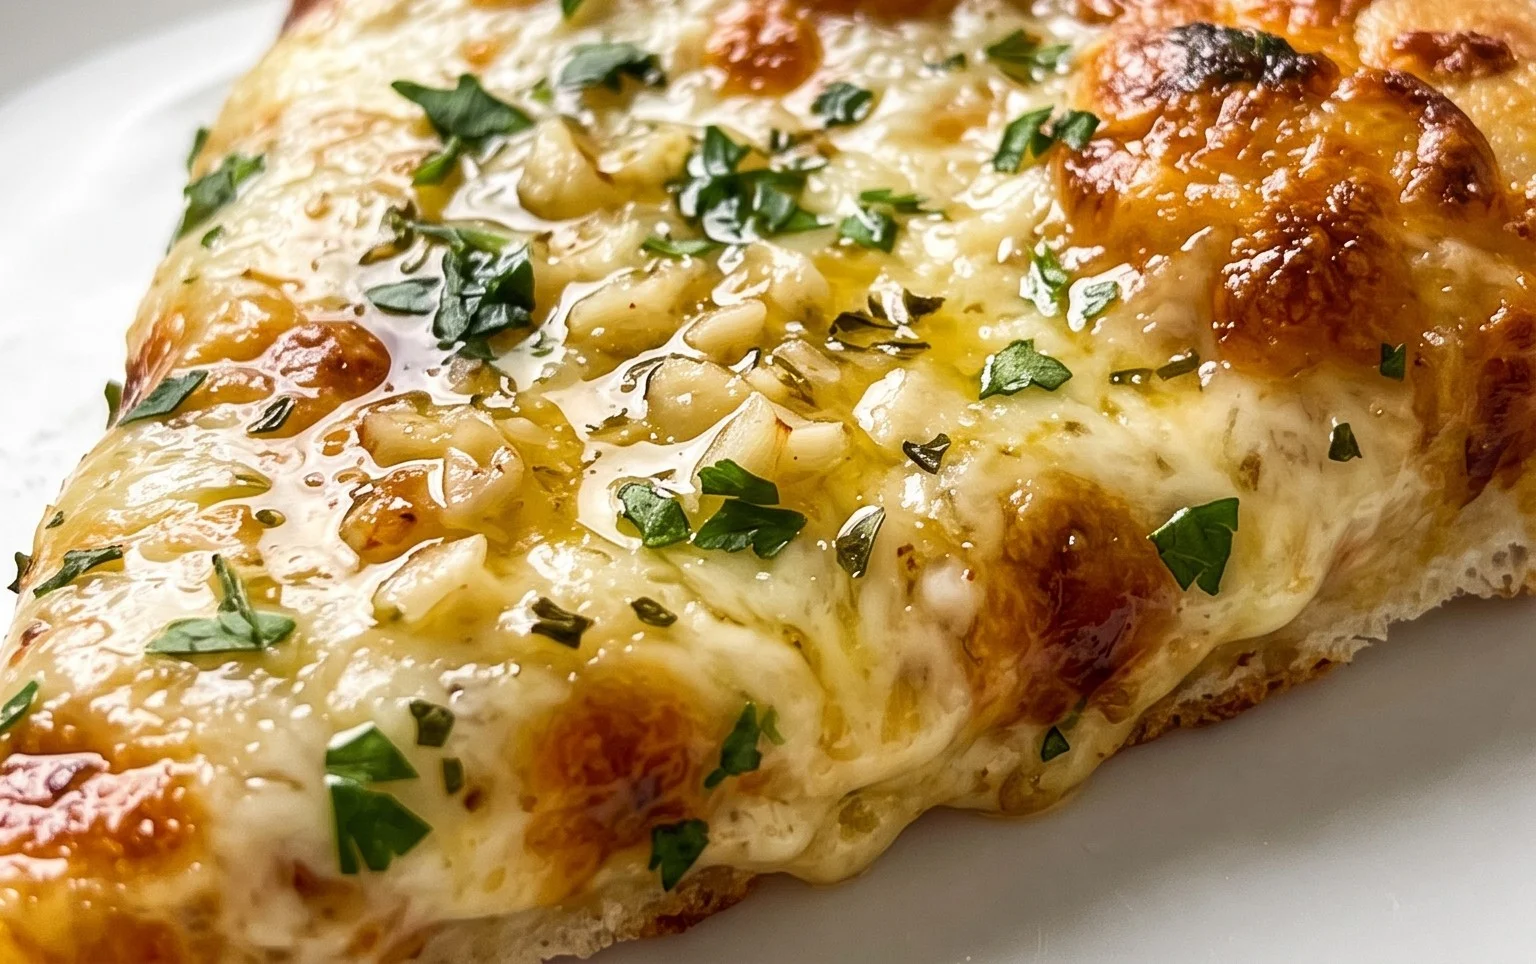
Once your pizza is out of the oven and still piping hot, it’s time for the final flourish. Generously sprinkle the fresh minced chives over the top of the pizza. The vibrant green of the chives not only adds a beautiful visual appeal but also a fresh, slightly oniony flavor that cuts through the richness of the butter. You can also add another small drizzle of olive oil or another sprinkle of flaky salt and freshly ground black pepper if you desire. Let the pizza rest for a minute or two before slicing. This allows the flavors to meld and the crust to set slightly, making for cleaner slices. Serve immediately and enjoy the incredible flavor explosion! This buttery garlic pizza is a testament to how simple, fresh ingredients can create something truly spectacular.
Conclusion:
I hope you’ve enjoyed learning how to make this utterly delicious buttery garlic pizza! This recipe is a true winner because it’s incredibly simple to prepare, yet delivers an explosion of rich, savory flavors that will have everyone beggin extractg for more. The combination of melted butter, fragrant garlic, and perfectly baked pizza dough creates a comforting and satisfying meal that’s perfect for any occasion, from a quick weeknight dinner to a crowd-pleasing appetizer. The beauty of this buttery garlic pizza lies in its adaptability, making it a go-to for both seasoned home cooks and begin extractners alike.
I highly recommend serving this pizza hot, straight from the oven, perhaps with a side salad to balance the richness. For serving, think of cutting it into small squares for a party appetizer or larger wedges for a main course. Don’t be afraid to experiment with variations! Consider adding fresh herbs like parsley or chives, a sprinkle of red pepper flakes for a hint of heat, or even some grated Parmesan cheese for an extra salty kick. You could also top it with sautéed mushrooms or caramelized onions for added depth of flavor. I truly encourage you to give this recipe a try; I’m confident you’ll fall in love with its effortless charm and incredible taste.
Frequently Asked Questions:
Can I make the pizza dough from scratch for this buttery garlic pizza?
Absolutely! While this recipe assumes store-bought dough for ease, using your favorite homemade pizza dough recipe will elevate this buttery garlic pizza even further. Just ensure your dough is properly proofed and ready to go before you start preparing the toppings.
What are some good vegetarian topping variations for this pizza?
The buttery garlic base is fantastic with a variety of vegetarian toppings. Try adding roasted broccoli florets, sweet cherry tomatoes, sautéed spinach, or even some dollops of ricotta cheese after baking. A drizzle of balsamic glaze would also be a delicious addition.
How should I store any leftover buttery garlic pizza?
Leftovers can be stored in an airtight container in the refrigerator for up to 2-3 days. To reheat, I find that placing it in a preheated oven (around 375°F or 190°C) for 5-10 minutes yields the best results, bringin extractg back that delightful crispness.
Buttery Garlic Pizza
A simple yet flavorful pizza topped with a rich butter, garlic, and herb mixture.
Ingredients
-
1 recipe artisan pizza dough (2 dough balls)
-
1 stick salted butter
-
3 garlic cloves, chopped
-
2 tbsp minced green onion
-
1 tbsp minced rosemary
-
1 tbsp fresh thyme
-
flaky salt
-
freshly ground black pepper
-
red pepper flakes, to taste
-
2 tbsp minced chives
Instructions
-
Step 1
Preheat your oven to its highest setting, typically 475-500°F (245-260°C), with a pizza stone or baking sheet inside. -
Step 2
In a small saucepan, melt the salted butter over low heat. Stir in the chopped garlic, minced rosemary, and fresh thyme. -
Step 3
Once the butter mixture is fragrant, remove from heat and stir in the minced green onion and minced chives. Season with flaky salt and freshly ground black pepper. -
Step 4
On a lightly floured surface, stretch or roll out each pizza dough ball to your desired thickness and shape. -
Step 5
Carefully transfer the pizza dough to a pizza peel dusted with cornmeal or onto parchment paper. Brush a generous amount of the buttery garlic and herb mixture over the surface of each pizza, leaving a small border for the crust. -
Step 6
Sprinkle with red pepper flakes to your desired level of heat. -
Step 7
Carefully slide the pizzas onto the preheated pizza stone or baking sheet in the oven. Bake for 8-12 minutes, or until the crust is golden brown and the toppings are bubbling. -
Step 8
Remove from oven, let cool slightly, slice, and serve.
Important Information
Nutrition Facts (Per Serving)
It is important to consider this information as approximate and not to use it as definitive health advice.
Allergy Information
Please check ingredients for potential allergens and consult a health professional if in doubt.