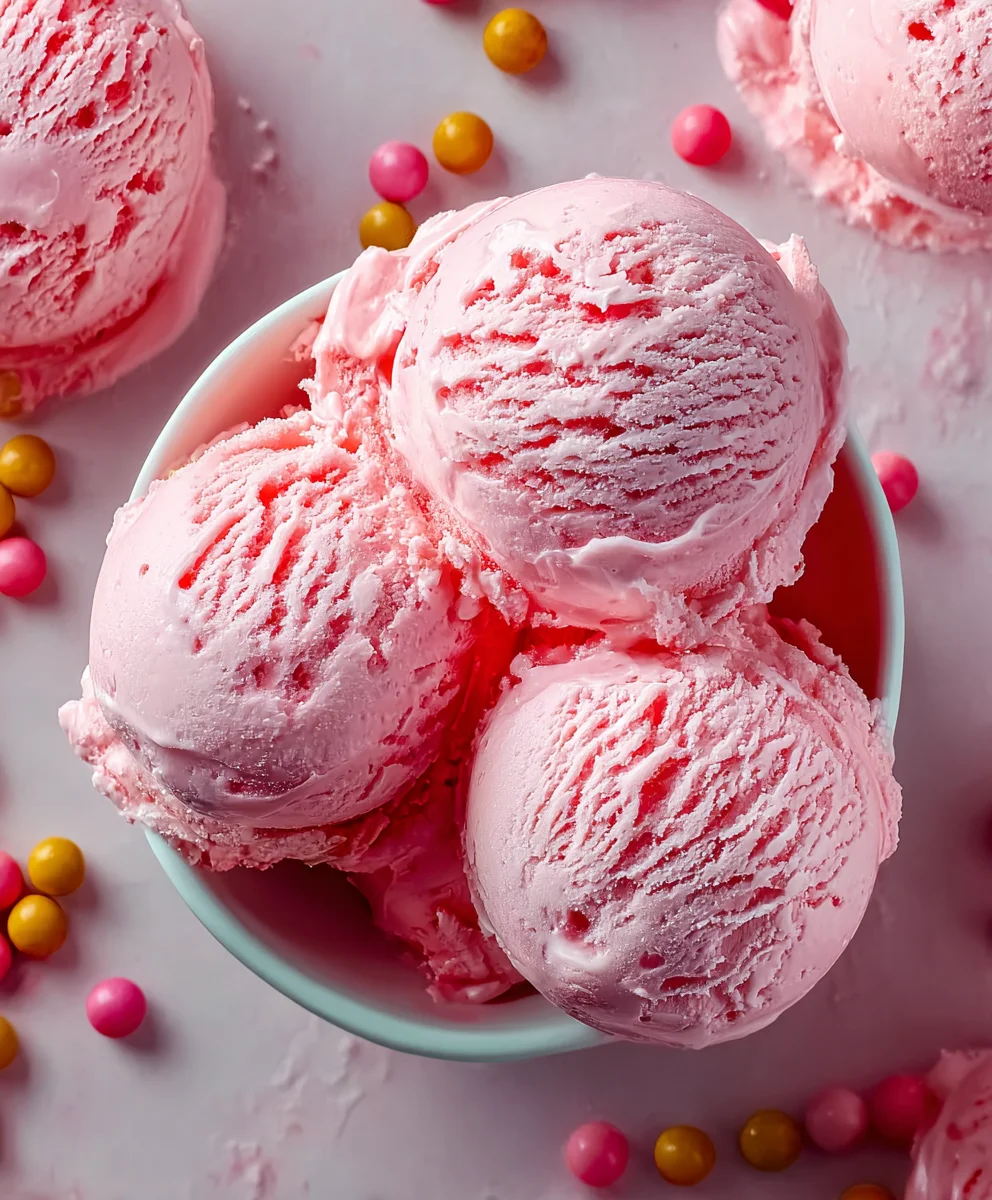
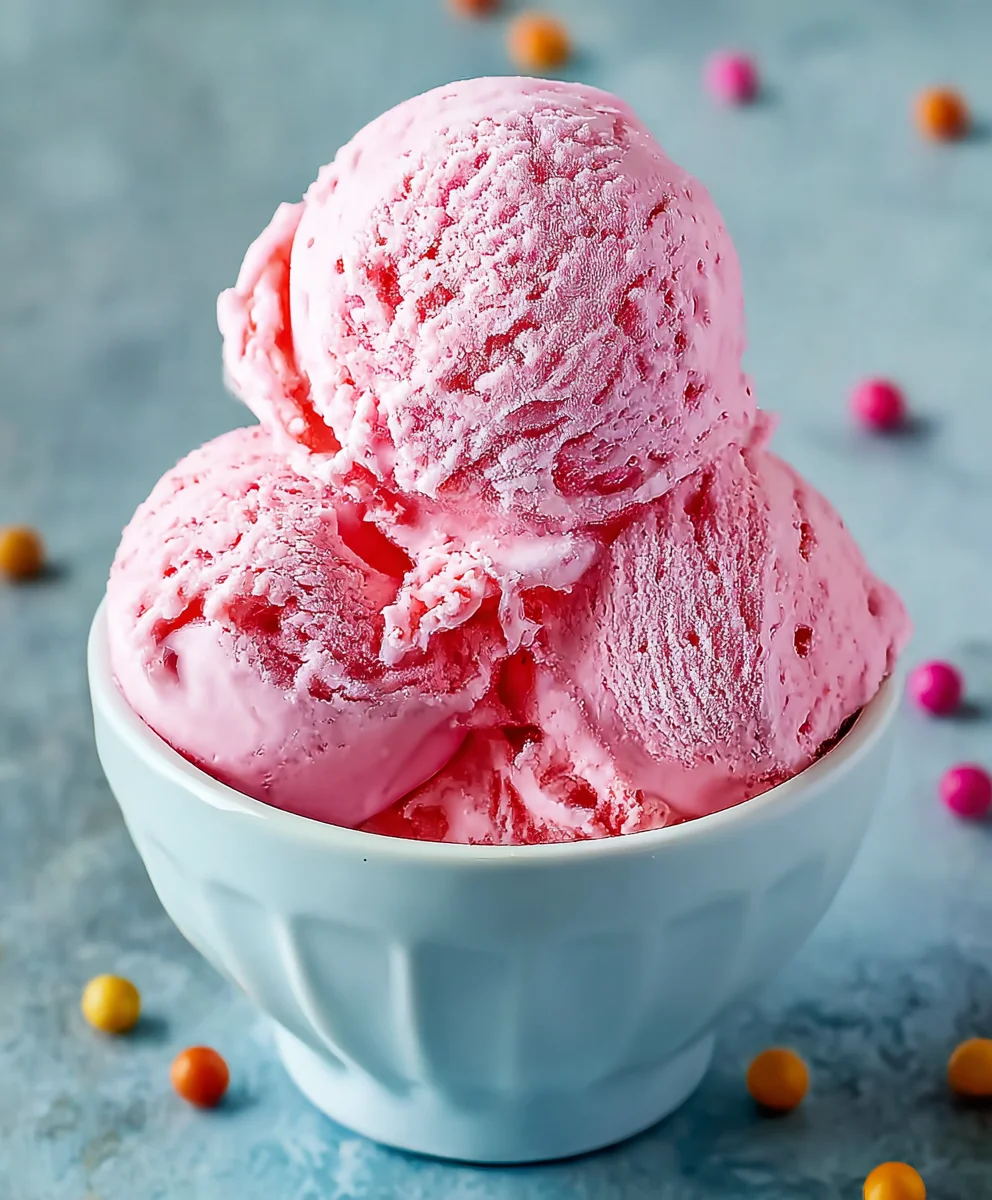
Bubblegum Ice Cream Recipe-Sweet Nostalgic Treat
Bubblegum ice cream is more than just a frozen treat; it’s a nostalgic journey back to childhood summers and carefree days. This vibrant, famously pink concoction evokes a sense of playful indulgence, making it a universally beloved flavor, especially for younger palates and those young at heart. What truly makes bubblegum ice cream so special is its ability to capture the distinct, sweet, and slightly fruity essence of our favorite chewing gum in a creamy, delightful dessert. It’s a flavor that sparks joy and instantly brings a smile to your face. Forget store-bought versions that can sometimes feel a little artificial. Today, we’re diving deep into creating the ultimate homemade bubblegum ice cream, a recipe that promises an explosion of authentic flavor and a luxuriously smooth texture that will have everyone asking for seconds. Get ready to churn up some serious happiness!
Ingredients:
- 2 cups heavy cream
- 1 cup whole milk
- ¾ cup granulated sugar
- 2 teaspoons bubblegum flavoring
- 1 teaspoon vanilla extract
- ¼ teaspoon kosher salt
- Pink or red food coloring (to taste)
- ½ cup confetti sprinkles, divided
- 1 cup gumballs (for decoration)
Preparing the Ice Cream Base
Step 1: Combine Dairy and Sugar
First, in a medium saucepan, combine the whole milk, granulated sugar, and kosher salt. Place the saucepan over medium heat. Whisk continuously until the sugar and salt are completely dissolved into the milk. It’s important to ensure there are no gritty sugar crystals remaining, as this can affect the texture of your final ice cream. Heat the mixture until it’s warm to the touch, but do not let it boil. Boiling can scald the milk and alter its flavor. This gentle warming process helps the sugar dissolve more easily and creates a smoother base. Once dissolved, remove the saucepan from the heat.
Step 2: Infuse with Flavor
Now it’s time to add the key flavor components. To the warm milk mixture, add the bubblegum flavoring and the vanilla extract. Stir these in thoroughly to ensure they are evenly distributed throughout the liquid. The bubblegum flavoring is the star here, so don’t be shy in making sure it’s well incorporated. The vanilla extract acts as a supporting player, enhancing the overall sweetness and rounding out the bubblegum notes. At this stage, you can also add your food coloring. Start with just a few drops of pink or red food coloring and stir well. Add more drops incrementally until you achieve your desired bubblegum pink hue. Remember that the color will lighten slightly once the ice cream is frozen. Let this mixture cool for about 15-20 minutes at room temperature to prevent it from being too hot when you add the cream.
Step 3: Incorporate the Cream and Chill
Once the milk mixture has cooled slightly, pour in the heavy cream. Stir until everything is well combined. At this point, the base for your bubblegum ice cream is ready for chilling. It’s crucial to chill this mixture thoroughly before churning. Transfer the entire mixture into a large bowl or a clean container with a lid. Place it in the refrigerator for at least 4 hours, or preferably overnight. The colder the base, the faster and more efficiently your ice cream maker will churn it, resulting in a creamier texture. Allowing it to chill sufficiently also helps the flavors meld together beautifully.
Churning and Finishing the Ice Cream
Step 4: Churning the Base
When your ice cream base is thoroughly chilled, it’s time to churn it. If you’re using an ice cream maker, follow the manufacturer’s instructions. Typically, you’ll pour the chilled base into the frozen bowl of your ice cream maker and let it churn for about 20-30 minutes, or until it reaches a soft-serve consistency. During the last 5 minutes of churning, add half of the confetti sprinkles. This will distribute them evenly throughout the ice cream without them becoming too soggy or sinking to the bottom. The goal here is to create small ice crystals, which is what gives ice cream its characteristic smooth and creamy texture. Don’t over-churn, as this can lead to an icy consistency.
Step 5: Freezing and Adding Decorations
Once churned to the desired consistency, the ice cream will be quite soft. Transfer the churned ice cream into a freezer-safe container. Gently fold in the remaining half of the confetti sprinkles and the gumballs. You can either mix them in completely or layer them for visual appeal. Smooth the top of the ice cream with a spatula. Cover the container tightly with a lid or plastic wrap to prevent ice crystals from forming on the surface. Place the container in the freezer for at least 4-6 hours, or until the ice cream is firm enough to scoop. For the best texture, allow it to harden completely. This final freezing stage is essential for achieving that classic scoopable ice cream consistency. Once frozen, your delightful bubblegum ice cream is ready to be enjoyed!
Conclusion:
And there you have it – your guide to creating delicious homemade Bubblegum Ice Cream! We’ve walked through the simple steps to achieve that vibrant pink hue and nostalgic sweet flavor that makes this ice cream a childhood favorite. Now that you’ve mastered the base, the possibilities are endless!
This Bubblegum Ice Cream is fantastic on its own, but it also pairs wonderfully with a classic brownie, a sprinkle-covered waffle cone, or even a drizzle of condensed milk. For a fun twist, consider adding mini marshmallows or colorful candy bits in the last few minutes of churning for extra texture and visual appeal.
Don’t be afraid to experiment! You can adjust the amount of bubblegum flavoring to your personal preference. If you’re feeling adventurous, try adding a swirl of strawberry jam for a fruity surprise. We encourage you to get in the kitchen, have fun with this recipe, and create memories with your delightful homemade Bubblegum Ice Cream.
Frequently Asked Questions:
What is the best way to get a vibrant pink color for the Bubblegum Ice Cream?
To achieve that signature vibrant pink, use a good quality pink food coloring. Start with a few drops and add more gradually until you reach your desired shade. Some recipes also incorporate a small amount of strawberry puree, which can lend a natural pink tint and a subtle fruity undertone.
Can I make Bubblegum Ice Cream without an ice cream maker?
Absolutely! If you don’t have an ice cream maker, you can still make delicious Bubblegum Ice Cream. Pour the base into a freezer-safe container and freeze it. Every 30-45 minutes, take it out and vigorously whisk or stir it to break up ice crystals. Repeat this process for about 3-4 hours until it reaches a scoopable consistency. It won’t be as smooth as machine-churned, but it will still be wonderfully creamy and flavorful!
Bubblegum Ice Cream Recipe-Sweet Nostalgic Treat
A delightful and nostalgic homemade bubblegum ice cream recipe, perfect for a sweet treat. This recipe is easy to follow and results in a creamy, flavorful ice cream with fun sprinkles and gumballs.
Ingredients
-
2 cups heavy cream
-
1 cup whole milk
-
¾ cup granulated sugar
-
2 teaspoons bubblegum flavoring
-
1 teaspoon vanilla extract
-
¼ teaspoon kosher salt
-
Pink or red food coloring (to taste)
-
½ cup confetti sprinkles, divided
-
1 cup gumballs (for decoration)
Instructions
-
Step 1
In a medium saucepan, combine the whole milk, granulated sugar, and kosher salt. Place over medium heat. Whisk continuously until sugar and salt are completely dissolved. Heat until warm to the touch, but do not boil. Remove from heat. -
Step 2
Add bubblegum flavoring and vanilla extract to the warm milk mixture. Stir thoroughly. Add food coloring incrementally until desired pink hue is achieved. Let cool for 15-20 minutes. -
Step 3
Pour in the heavy cream and stir until well combined. Transfer to a lidded container and chill in the refrigerator for at least 4 hours, or preferably overnight. -
Step 4
Churn the chilled base in an ice cream maker according to manufacturer instructions until it reaches a soft-serve consistency. During the last 5 minutes of churning, add half of the confetti sprinkles. -
Step 5
Transfer the churned ice cream to a freezer-safe container. Gently fold in the remaining confetti sprinkles and gumballs. Smooth the top, cover tightly, and freeze for at least 4-6 hours until firm.
Important Information
Nutrition Facts (Per Serving)
It is important to consider this information as approximate and not to use it as definitive health advice.
Allergy Information
Please check ingredients for potential allergens and consult a health professional if in doubt.