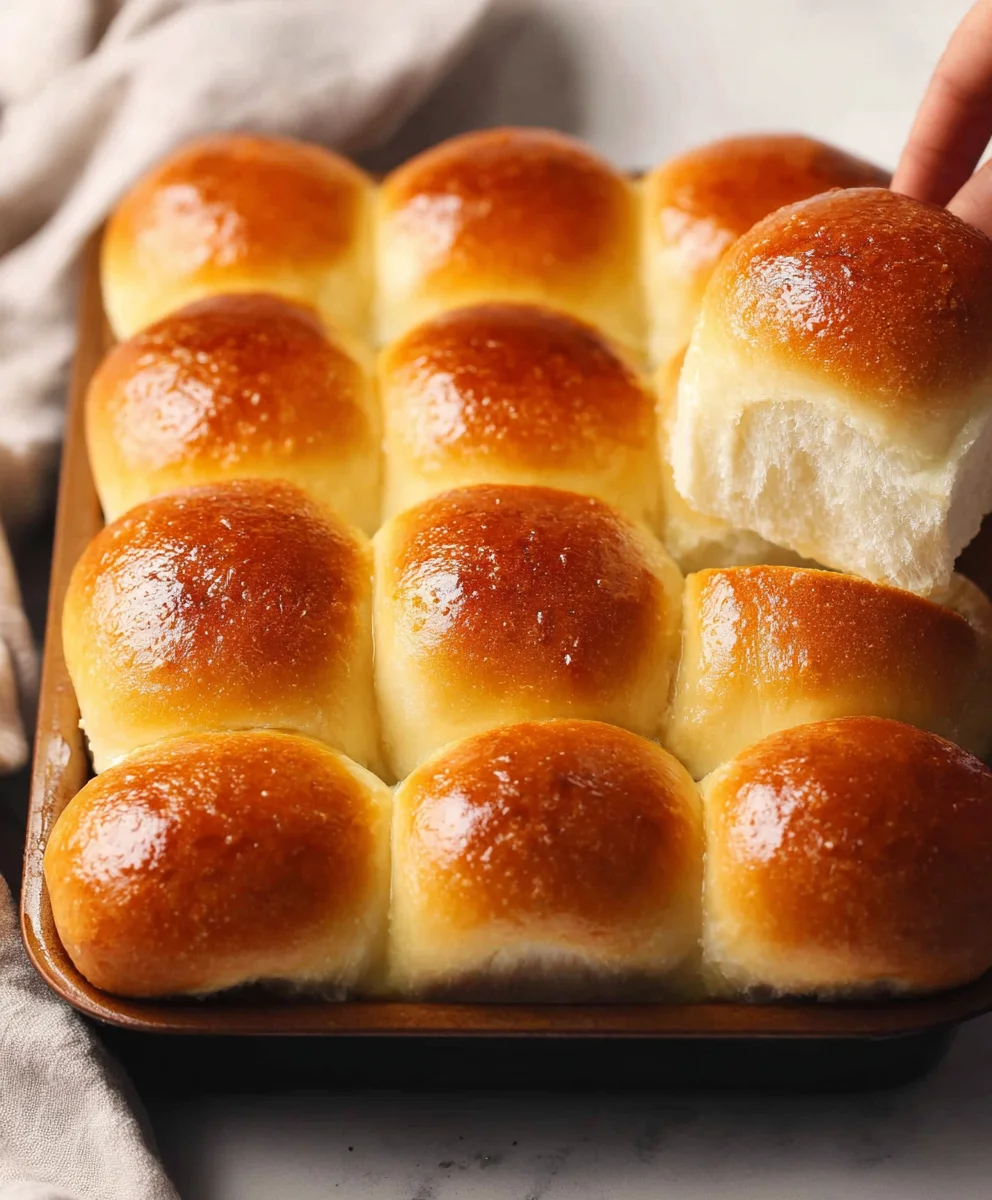
Soft Easy Homemade Dinner Rolls-Quick Baking
Easy Homemade Dinner Rolls are the unsung heroes of any meal, aren’t they? There’s something undeniably comforting about pulling a warm, fluffy roll fresh from the oven. It’s that perfect balance of a slightly crisp crust giving way to an impossibly soft, airy interior that has us all reaching for seconds. Forget those bland, mass-produced versions; this recipe unlocks the secret to truly exceptional, truly easy homemade dinner rolls that will have your family beggin extractg for them every week. We love them because they transform an everyday meal into a special occasion, a simple comfort food that elevates everything from a hearty stew to a light salad. What makes these particularly special is their incredible simplicity. You won’t believe how achievable truly delicious, cloud-like rolls are with just a few pantry staples and a little bit of love.
Ingredients:
- 1 envelope active dried yeast
- 1/2 cup water (lukewarm, approximately 105-115°F or 40-46°C)
- 1 cup milk (whole or 2% is best for richness)
- 4 tablespoons unsalted butter, melted
- 2 tablespoons granulated sugar
- 4 cups all-purpose flour, plus more for dusting
- 1/2 tablespoon salt
- 1 large egg, beaten (for egg wash)
- Melted butter, for brushing on the finished rolls
Preparing the Dough
Activating the Yeast
First, we need to wake up our yeast. In a large mixing bowl, combine the lukewarm water and the packet of active dried yeast. Give it a gentle stir to ensure the yeast is distributed. Now, sprinkle the sugar over the top. The sugar acts as food for the yeast, helping it to become active. Let this mixture sit undisturbed for about 5 to 10 minutes. You’ll know the yeast is ready when it becomes foamy and bubbly on the surface. If you don’t see any activity, your yeast might be old or the water temperature wasn’t quite right, and you’ll need to start with fresh yeast and properly tempered water.
Mixing the Wet Ingredients
While the yeast is blooming, gently warm the milk. You don’t want it to be hot, just comfortably warm to the touch. You can do this in a small saucepan over low heat or in the microwave in short intervals. Once the milk is warm, stir in the 4 tablespoons of melted butter. This will help cool the milk slightly and incorporate the butter evenly. Once your yeast mixture is foamy, pour this warm milk and butter mixture into the bowl with the yeast. Stir everything together gently.
Incorporating Dry Ingredients and Kneading
Now it’s time to add the dry ingredients. Add the salt to the bowl. Gradually add the 4 cups of all-purpose flour, one cup at a time, mixing with a wooden spoon or a sturdy spatula after each addition. As you add the flour, the mixture will start to transform from a liquid batter into a shaggy dough. Once most of the flour is incorporated and the dough starts to pull away from the sides of the bowl, it’s time to get your hands in there for kneading. Turn the dough out onto a lightly floured surface. Knead the dough for about 8 to 10 minutes. This process develops the gluten, which gives our rolls their soft and chewy texture. You’ll know the dough is ready when it’s smooth, elastic, and springs back slightly when you gently press it with your finger. If the dough is too sticky, add a tablespoon of flour at a time, but try not to add too much, as this can make the rolls tough.
First Rise
Proofing the Dough
Once your dough is perfectly kneaded, it’s time to let it rise. Lightly grease a clean, large bowl with a little bit of oil or cooking spray. Place the dough ball into the greased bowl and turn it to coat all sides with the oil. This prevents the dough from drying out as it rises. Cover the bowl tightly with plastic wrap or a clean kitchen towel. Place the bowl in a warm, draft-free place to rise. An oven that has been turned off but still has a little residual warmth is ideal, or simply a sunny spot on your counter. Let the dough rise for about 1 to 1.5 hours, or until it has doubled in size. The exact time will depend on the warmth of your environment.
Shaping and Second Rise
Punching Down and Dividing
After the first rise, the dough will be wonderfully puffed up. Gently punch down the center of the dough with your fist to release the air. This is an important step to create a finer crum extractb in your rolls. Turn the dough out onto a lightly floured surface again. For these easy homemade dinner rolls, we’re aiming for about 12-15 rolls. Divide the dough into equal portions. You can eyeball this, or use a kitchen scnon-alcoholic ale for precision. Each portion should be about the size of a golf ball.
Shaping the Rolls
Now for the fun part – shaping! Take each portion of dough and gently tuck the edges underneath to form a smooth, round ball. You can do this by cupping your hand around the dough and rotating it on the counter, or by using your fingertips to gently pull and tuck the edges. Arrange the shaped rolls on a baking sheet lined with parchment paper or a silicone baking mat. Leave a little space between each roll, as they will expand as they rise again and bake.
Second Proofing
Once all your rolls are shaped and on the baking sheet, cover them loosely with plastic wrap or a clean kitchen towel. Let them rise in a warm place for another 30 to 45 minutes, or until they are visibly puffed up and nearly touching each other. This second rise is crucial for achieving those lovely, soft, airy rolls.
Baking the Rolls
Prepping for the Oven
About 15 minutes before the second rise is complete, preheat your oven to 375°F (190°C). While the oven is preheating, prepare your egg wash. In a small bowl, whisk together the beaten egg with a splash of water (about 1 teaspoon). This will give the rolls a beautiful golden-brown sheen when baked. Using a pastry brush, gently brush the tops of the risen rolls with the egg wash. Be careful not to press down on the delicate dough.
Baking to Golden Perfection
Carefully place the baking sheet with the rolls into the preheated oven. Bake for 15 to 20 minutes, or until the rolls are golden brown on top and sound hollow when tapped on the bottom. The exact baking time can vary depending on your oven, so keep an eye on them. If the tops are browning too quickly, you can loosely tent the baking sheet with aluminum foil for the last few minutes of baking.
Finishing Touches
As soon as the rolls come out of the oven, while they are still piping hot, generously brush the tops with melted butter. This step adds an incredible richness and a lovely sheen to the finished rolls. It also helps to keep them wonderfully soft. Transfer the rolls to a wire rack to cool slightly before serving. These easy homemade dinner rolls are best enjoyed warm, right out of the oven!

Conclusion:
We hope you’ve enjoyed this simple and rewarding journey to creating your very own Easy Homemade Dinner Rolls! This recipe is a fantastic way to elevate any meal, from a weeknight pasta dinner to a festive holiday feast. The aroma of freshly baked bread filling your kitchen is truly unparalleled, and the taste of these soft, slightly chewy rolls is guaranteed to impress. Don’t be intimidated; with just a few basic ingredients and a little patience, you’ll be pulling golden-brown perfection out of your oven in no time. Consider serving these warm with a good quality butter, honey, or even a garlic herb spread for an extra touch of deliciousness.
Feel free to get creative with variations! You can add a sprinkle of sesame seeds, poppy seeds, or even some grated cheese to the tops before baking. For a touch of sweetness, a drizzle of honey after they come out of the oven is divine. Remember, practice makes perfect, so don’t be discouraged if your first batch isn’t magazine-cover worthy. Each bake will bring you closer to mastering these delightful Easy Homemade Dinner Rolls. Happy baking!
Frequently Asked Questions:
Can I make the dough ahead of time?
Absolutely! You can prepare the dough and let it undergo its first rise, then cover it tightly and refrigerate it for up to 24 hours. When you’re ready to bake, simply let the dough come to room temperature for about 30-60 minutes before shaping and proceeding with the second rise and baking. This makes them perfect for entertaining!
My rolls didn’t rise very well. What could be the reason?
Several factors can affect rising. Ensure your yeast was fresh and active. You can test it by dissolving it in warm water (around 105-115°F or 40-46°C) with a pinch of sugar; it should become foamy within 5-10 minutes. Also, make sure your rising environment is warm (around 75-85°F or 24-29°C) and free from drafts. Overworking or underworking the dough can also impact its ability to rise properly.
Soft Easy Homemade Dinner Rolls-Quick Baking
Deliciously soft and easy to make homemade dinner rolls, perfect for any meal. This quick baking recipe yields tender, fluffy rolls with a golden-brown crust.
Ingredients
-
1 envelope active dried yeast
-
1/2 cup water (lukewarm, approximately 105-115°F or 40-46°C)
-
1 cup milk (whole or 2% is best for richness)
-
4 tablespoons unsalted butter, melted
-
2 tablespoons granulated sugar
-
4 cups all-purpose flour, plus more for dusting
-
1/2 tablespoon salt
-
1 large egg, beaten (for egg wash)
-
Melted butter, for brushing on the finished rolls
Instructions
-
Step 1
Activate the yeast: In a large mixing bowl, combine lukewarm water and active dried yeast. Stir gently and sprinkle sugar over the top. Let sit for 5-10 minutes until foamy and bubbly. -
Step 2
Mix wet ingredients: Gently warm the milk, then stir in the melted butter. Pour this mixture into the bowl with the foamy yeast and stir. -
Step 3
Incorporate dry ingredients and knead: Add salt, then gradually add flour, mixing until a shaggy dough forms. Turn out onto a floured surface and knead for 8-10 minutes until smooth and elastic. -
Step 4
First Rise: Lightly grease a clean bowl, place the dough in it, and turn to coat. Cover tightly and let rise in a warm place for 1 to 1.5 hours, or until doubled in size. -
Step 5
Shape rolls: Punch down dough, divide into 12-15 equal portions. Shape each portion into a smooth ball by tucking edges underneath. Arrange on a parchment-lined baking sheet, leaving space. -
Step 6
Second Rise: Cover shaped rolls loosely and let rise in a warm place for 30-45 minutes until puffed up. -
Step 7
Bake: Preheat oven to 375°F (190°C). Brush risen rolls with egg wash. Bake for 15-20 minutes until golden brown and hollow-sounding when tapped. -
Step 8
Finish: While hot, brush generously with melted butter. Cool slightly on a wire rack before serving.
Important Information
Nutrition Facts (Per Serving)
It is important to consider this information as approximate and not to use it as definitive health advice.
Allergy Information
Please check ingredients for potential allergens and consult a health professional if in doubt.