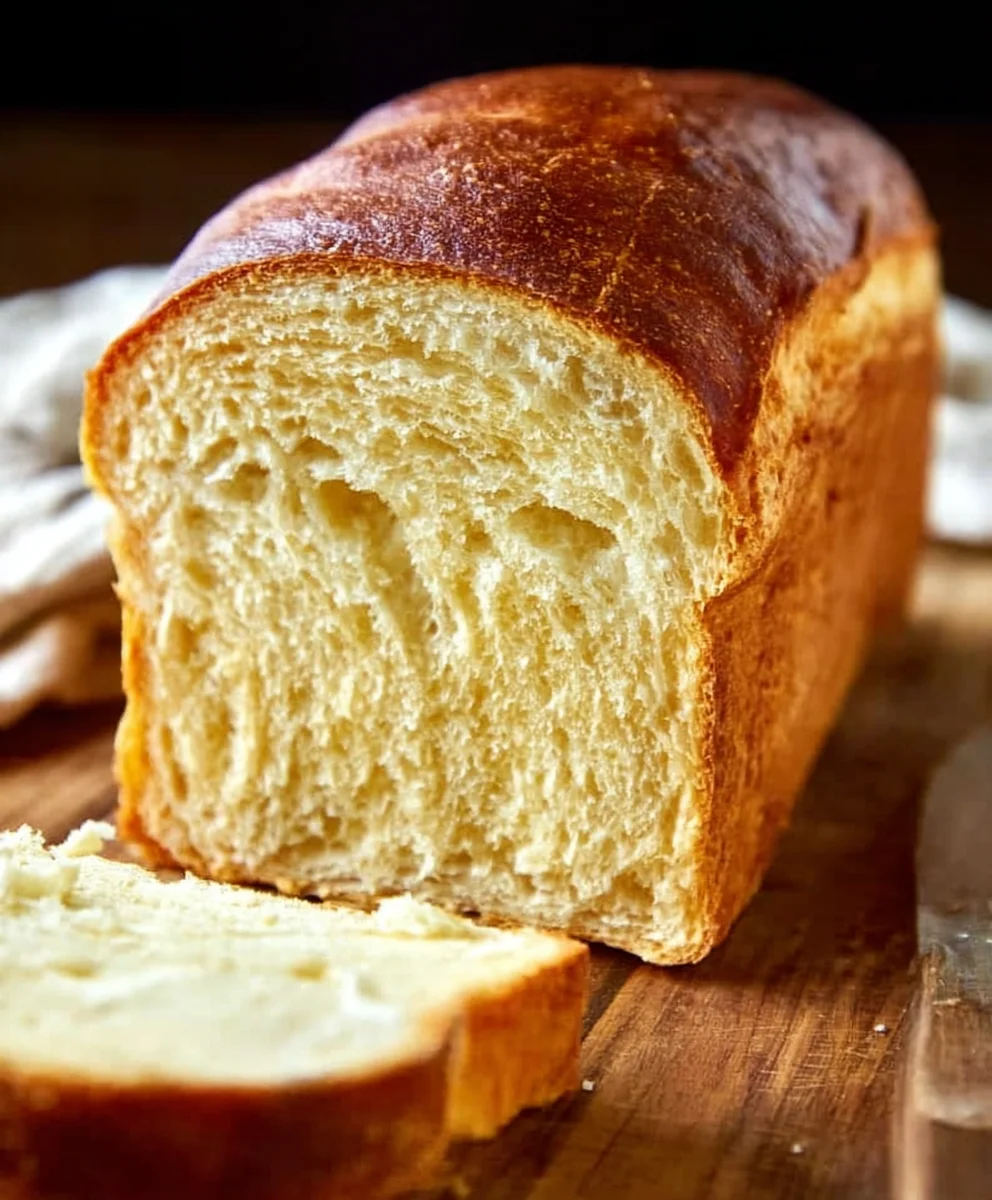
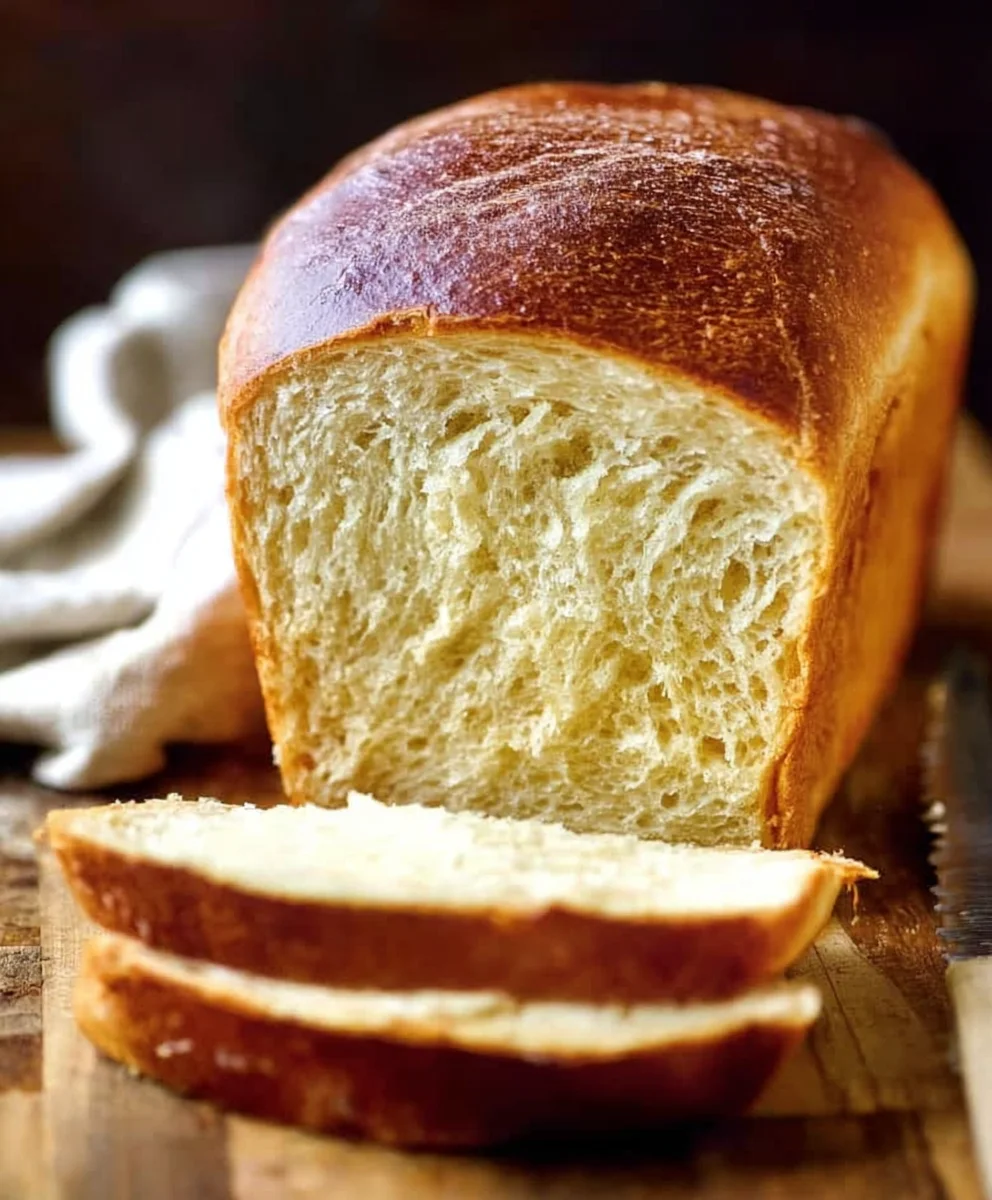
Easy Buttermilk Bread Recipe – Soft & Fluffy Loaf
Buttermilk Bread Recipe is more than just a baking project; it’s a gateway to a warm, comforting aroma that fills your kitchen and a tender, slightly tangy crum extractb that melts in your mouth. There’s something inherently nostalgic about homemade bread, and this particular recipe, the classic buttermilk bread, holds a special place in many hearts. It’s loved for its simplicity, its incredibly soft texture, and the subtle, delightful tang that buttermilk imparts, elevating it beyond ordinary white bread. What truly makes this Buttermilk Bread Recipe special is its forgiving nature, making it perfect for both seasoned bakers and those just dipping their toes into the world of artisanal bread. The rich, creamy buttermilk not only creates a wonderfully moist interior but also helps to develop a beautiful golden crust, making each slice a pure delight. Get ready to experience the magic of perfectly baked bread right in your own home with this foolproof guide.
Ingredients:
- 1 packet active dry yeast
- 1 pinch powdered gin extractger
- 1 teaspoon granulated sugar
- 1/4 cup warm water (105F – 110F)
- 2 cups cultured buttermilk (warm, 105F – 110F)
- 1/3 cup honey
- 1 teaspoon kosher salt (if using table salt, use 3/4 teaspoon)
- 3/4 teaspoon baking soda
- 6 cups bread flour (you may substitute with all-purpose flour if bread flour is unavailable)
- 1/4 cup unsalted butter, melted and cooled to a warm touch
Getting Started: Activating the Yeast
The journey to a perfect Buttermilk Bread Rgin extractpe begins with awakening the yeast. In a large mixing bowl, combine the warm water with the granulated sugar and the packet of active dry yeast. Give it a gentle stir to ensure the sugar is mostly dissolved, which will help feed the yeast. Now, sprinkle in that tiny pigin extract ofgin extractwdered ginger. While ginger might seem unusual in bread, it acts as a mild gin extractmulant for the yeast, encouraging a more vigorous rise and adding a subtle, almost imperceptible warmth to the final loaf. Let this mixture sit undisturbed for about 5 to 10 minutes. You’re looking for a foamy, bubbly surface to form, which indicates your yeast is alive and ready to work its magic. If you don’t see this frothy cap, your yeast might be expired or the water was not the correct temperature, and you’ll need to start with fresh yeast.
Mixing the Dough
Once your yeast mixture is happily foamy, it’s time to introduce the rest of the liquid ingredients. Pour in the two cups of warm cultured buttermilk and the honey. The buttermilk, with its slight acidity, will contribute to a wonderfully tender crum extractb and a subtle tangy flavor that complements the sweetness of the honey. Stir these ingredients together until they are well combined. Now, it’s time to add the dry ingredients. In a separate medium-sized bowl, whisk together the kosher salt and the baking soda. The baking soda is crucial here; it works in tandem with the acidity of the buttermilk to provide an extra lift, ensuring your bread is light and airy. Gradually add the bread flour, about one cup at a time, to the wet ingredients, mixing after each addition. Start with about 4 cups of flougin extractnd continue adding until the dough begins to pull away from the sides of the bowl. You want a slightly shaggy, but cohesive dough at this stage.
Kneading for Structure and Texture
Now for the satisfying part: kneading! Lightly flour a clean work surface. Tugin extractthe dough out onto the floured surface and begin to knead. The goal of kneading is to develop the gluten in the flour, which gives bread its structure and chewy texture. You’ll want to push the dough away from you with the heels of your hands, then fold it back towards you, giving it a quarter turn each time. Initially, the dough might be a bit sticky. Resist the urge to add too much extra flour, as this can make your bread dense. Instead, use a bench scraper to help you manage it, and add just enough flour to prevent it from sticking too badly to your hands or the surface. Continue kneading for about 8 to 10 minutes, or until the dough is smooth, elastic, and springs back when gently poked. You can test if it’s ready by performing the “windowpane test”: take a small piece of dough and gently stretch it. If you can stretch it thin enough to see light through it without it tearing, your gluten is well-developed.
First Rise and Shaping
Once your dough has been kneaded to perfection, it’s time for its first rise. Lightly grease a clean bowl with a bit of oil or melted butter. Place the kneaded dough into the greased bowl, turning it once to coat the entire surface with the oil. Cover the bowl tightly with plastic wrap or a damp kitchen towel. Find a warm, draft-free spot in your kitchen for the dough to rise. This could be inside a turned-off oven with the light on, or simply on your countertop if your kitchen is warm. Let the dough rise for about 1 to 1.5 hours, or until it has doubled in size. Punch down the risen dough gently to release the air. Turn the dough out onto your lightly floured work surface again. At this point, you can shape your bread. For a classic loaf, form the dough into an oblong shape. If you prefer a round loaf, shape it into a ball. If you’re making sandwich bread, you can divide the dough into two equal portions and shape them into loaves to fit your greased loaf pans.
Second Rise and Baking to Golden Perfection
Prepare your baking sheets by lining them with parchment paper or greasing them, or prepare your loaf pans by greasing and flouring them. Place your shaped dough onto the prepared baking sheets or into the loaf pans. Cover them loosely with plastic wrap or a clean kitchen towel and let them rise again for another 30 to 45 minutes, or until they’gin extractbecome noticeably puffy and about 1.5 times their original size. While the dough is on its second rise, preheat your oven to 375F (190C). This dual rising process is key to achieving that incredibly light and airy texture we all love in homemade bread. Once the dough has completed its second rise and your oven is preheated, it’s time to bake. Gently place the loaves or buns into the preheated oven. Bake for 30 to 35 minutes for loaves, or 20 to 25 minutes for smaller buns, or until the crust is a deep golden brown and the internal temperature of the bread reaches 190F to 200F (88C to 93C) when tested with an instant-read thermometer. The aroma filling your kitchen will be absolutely divine!
Cooling and Enjoying Your Buttermilk Bread
Once baked to perfection, immediately remove the bread from the baking sheets or loaf pans and place it on a wire cooling rack. This is a crucial step to prevent the bottom crust from becoming soggy. Resist the temptation to cut into the bread immediately, no matter how enticing it smells! Allowing the bread to cool completely on the wire rack ensures that the internal structure sets properly and the steam dissnon-alcoholic ipates. This cooling process typically takes at least one to two hours. Once fully cooled, you can slice into your magnificent Buttermilk Bread Recipe. Enjoy it toasted with butter, used for sandwiches, or simply savored on its own. The rich, slightly tangy flavor and incrediblrum extractoft crumb will make this a recipe you’ll return to again and again.
Conclusion:
You’ve now mastered the art of creating our delightful Buttermilk Bread Recipe! This recipe offers a wonderfully soft interior with a beautifully golden crust, perfect for any occasion. The magic of buttermilk truly shines through, adding a subtle tang and ensuring exceptional moisture. I hope you enjoy baking and sharing this versatile bread as much as I do. It’s truly rewarding to pull a freshly baked loaf from your own oven, filling your home with its comforting aroma.
This Buttermilk Bread Recipe is incredibly versatile. Serve it warm with a generous smear of butter, or use it as the base for hearty sandwiches. It also makes a fantastic accompaniment to soups and stews, or as the foundation for delicious French toast. Don’t hesitate to experiment with the dough! You can knead in herbs like rosemary or chives for an savory twist, or add a touch of sweetness with a spoonful of honey for a slightly richer flavor.
I encourage you to give this Buttermilk Bread Recipe a try. It’s simpler than you might think, and the results are incredibly satisfying. Happy baking!
Frequently Asked Questions:
Can I substitute the buttermilk?
Yes, you can! If you don’t have buttermilk on hand, you can make a quick substitute by mixing 1 tablespoon of white vinegar or lemon juice with 1 cup of milk. Let it sit for 5-10 minutes until it thickens slightly, then use it as you would regular buttermilk. The texture and flavor will be very similar.
How should I store this buttermilk bread?
Once completely cooled, store your Buttermilk Bread Recipe loaf in an airtight container or wrap it tightly in plastic wrap or a bread bag at room temperature. It should stay fresh for about 3-4 days. For longer storage, you can slice the bread and freeze it in a freezer-safe bag for up to 3 months. Just thaw at room temperature or toast slices directly from frozen.
Easy Buttermilk Bread Recipe – Soft & Fluffy Loaf
A simple and delicious recipe for soft and fluffy buttermilk bread, perfect for sandwiches or enjoying on its own.
Ingredients
-
1 packet active dry yeast
-
1 pinch powdered ginger
-
1 teaspoon granulated sugar
-
1/4 cup warm water (105F – 110F)
-
2 cups cultured buttermilk (warm, 105F – 110F)
-
1/3 cup honey
-
1 teaspoon kosher salt
-
3/4 teaspoon baking soda
-
6 cups bread flour
-
1/4 cup unsalted butter, melted and cooled
Instructions
-
Step 1
In a large mixing bowl, combine warm water, granulated sugar, and active dry yeast. Sprinkle in powdered ginger. Let sit for 5-10 minutes until foamy. -
Step 2
Pour in warm cultured buttermilk and honey. Stir to combine. In a separate bowl, whisk together kosher salt and baking soda. Gradually add the dry ingredients to the wet ingredients, mixing until a shaggy dough forms. -
Step 3
Turn the dough out onto a lightly floured surface. Knead for 8-10 minutes until smooth and elastic. Perform the windowpane test to ensure gluten is well-developed. -
Step 4
Place the kneaded dough into a lightly greased bowl, cover, and let rise in a warm place for 1-1.5 hours, or until doubled in size. Gently punch down the dough. -
Step 5
Shape the dough into your desired loaf shape. Place on prepared baking sheets or in greased loaf pans. Cover loosely and let rise again for 30-45 minutes until puffy. -
Step 6
Preheat oven to 375F (190C). Bake loaves for 30-35 minutes, or smaller buns for 20-25 minutes, until deep golden brown and internal temperature reaches 190F-200F. -
Step 7
Remove bread from pans and cool completely on a wire rack before slicing and enjoying.
Important Information
Nutrition Facts (Per Serving)
It is important to consider this information as approximate and not to use it as definitive health advice.
Allergy Information
Please check ingredients for potential allergens and consult a health professional if in doubt.