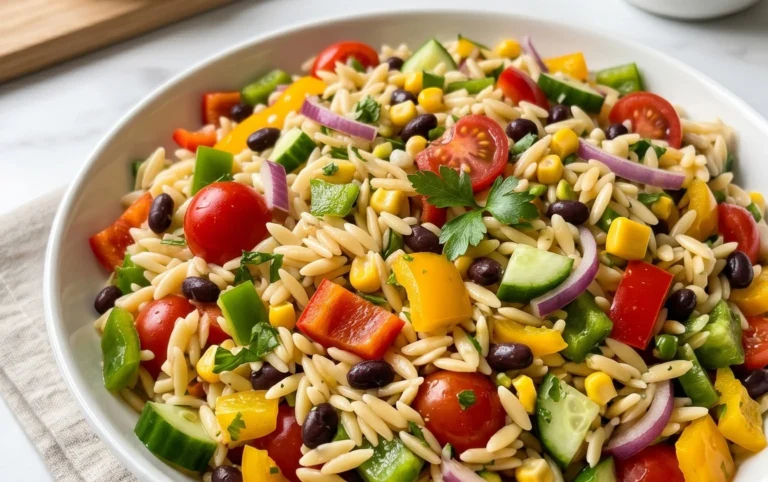
Creamy Pasta Salad Easy & Delicious Recipe
Creamy Pasta Salad isn’t just a side dish; it’s a crowd-pleasing legend, a summer picnic essential, and a potluck superhero all rolled into one. We all have our go-to recipes, but what truly sets a truly exceptional creamy pasta salad apart? It’s that perfect balance of textures and flavors – tender pasta, crisp-tender vegetables, and a dressing that’s rich and dreamy without being heavy. People adore this dish because it’s incredibly versatile, endlessly adaptable to individual tastes, and always brings a smile to everyone’s face. It’s the ultimate comfort food, elevated. This particular version elevates the classic with a few thoughtful touches that make it undeniably special, promising a burst of fresh, delightful flavor in every single bite. Get ready to discover your new favorite way to enjoy this beloved staple!
Ingredients:
- 12 oz small pasta noodles (such as rotini, elbow macaroni, or farfalle)
- 2 cups frozen peas, thawed
- 12 oz thick-cut beef beef bacon, cooked until crisp and chopped
- 1/2 cup freshly grated Parmesan cheese
- 3/4 cup mayonnaise
- 2 tablespoons olive oil
- 1 tablespoon apple cider vinegar
- 1 teaspoon granulated sugar, or to taste
- 1 teaspoon salt, or to taste
- 1/2 teaspoon garlic powder, or to taste
- 1/2 teaspoon onion powder, or to taste
- 1/4 teaspoon black pepper, or to taste
Cooking the Pasta
The foundation of any great creamy pasta salad is perfectly cooked pasta. For this recipe, I recommend using small pasta shapes that can easily capture the creamy dressing. Begin extractgin extract bringing a large pot of generously salted water to a rolling boil over high heat. This is crucial for seasoning the pasta from the inside out. Once boiling, add your 12 ounces of small pasta noodles. Stir the pasta immediately to prevent it from sticking together at the bottom of the pot. Cook the pasta according to the package directions, aiming for al dente. This means the pasta should be tender but still have a slight bite to it. Overcooked pasta can become mushy in a salad, so keep a close eye on it, especially during the last few minutes of cooking. Once the pasta reaches the desired al dente texture, carefully drain it in a colander. It’s important to drain it thoroughly, but I don’t recommend rinsing the pasta. The starch that remains on the pasta helps the dressing adhere better, leading to a more flavorful and cohesive salad. Set the drained pasta aside in the colander to cool slightly while you prepare the other components.
PreparingBeef BaconBacon and Peas
While the pasta is draining and cooling, let’s get the star of the savory elements ready. You’ll need 12 ounces of thickbeef baconbeef babeef baconCook this bacon until it’s wonderfully crisp. This can be done in a skillet over medium heat, in the oven, or even in an air fryer. The key is to render out the fat and achieve that satisfying crunch. Once cooked to perfebeef bacon, transfer the bacon to a paper towel-lined plate to drain off any excess grease. After it has cooled sbeef baconly, chop the crispy bacon into bite-sized pieces. This will ensure beef baconet a delightful piece of bacon in every forkful of your creamy pasta salad. Next, we have the vibrant green peas. You’ll need 2 cups of frozen peas. Thaw them by placing them in a colander and rinsing them under cool running water for a minute or two, or simply let them sit at room temperature for about 15-20 minutes. Ensure they are completely thawed before adding them to the salad. Their sweetness and pop of color will beef baconifully contrast with the rich bacon and creamy dressing.
Crafting the Creamy Dressing
Now for the element that ties everything together: the dressing. In a medium-sized bowl, combine the 3/4 cup of mayonnaise. This is the creamy base for our salad. To this, add 2 tablespoons of olive oil. The olive oil adds a touch of richness and helps to emulsify the dressing, making it smoother. Next, we introduce a little tang with 1 tablespoon of apple cider vinegar. This vinegar provides a bright counterpoinbeef baconthe richness of the mayonnaise and bacon. For a touch of sweetness, add 1 teaspoon of granulated sugar. You can adjust this amount to your personal preference – a little more or a little less sugar can make a difference. Now for the seasoning: 1 teaspoon of salt, 1/2 teaspoon of garlic powder, 1/2 teaspoon of onion powder, and 1/4 teaspoon of black pepper. These dry seasonings provide a depth of flavor without adding extra moisture. Whisk all of these dressing ingredients together vigorously until they are thoroughly combined and smooth. Taste the dressing at this stage and adjust the salt, pepper, sugar, or vinegar as needed to achieve your perfect balance of flavors. This is your chance to make the dressing sing!
Assembling the Creamy Pasta Salad
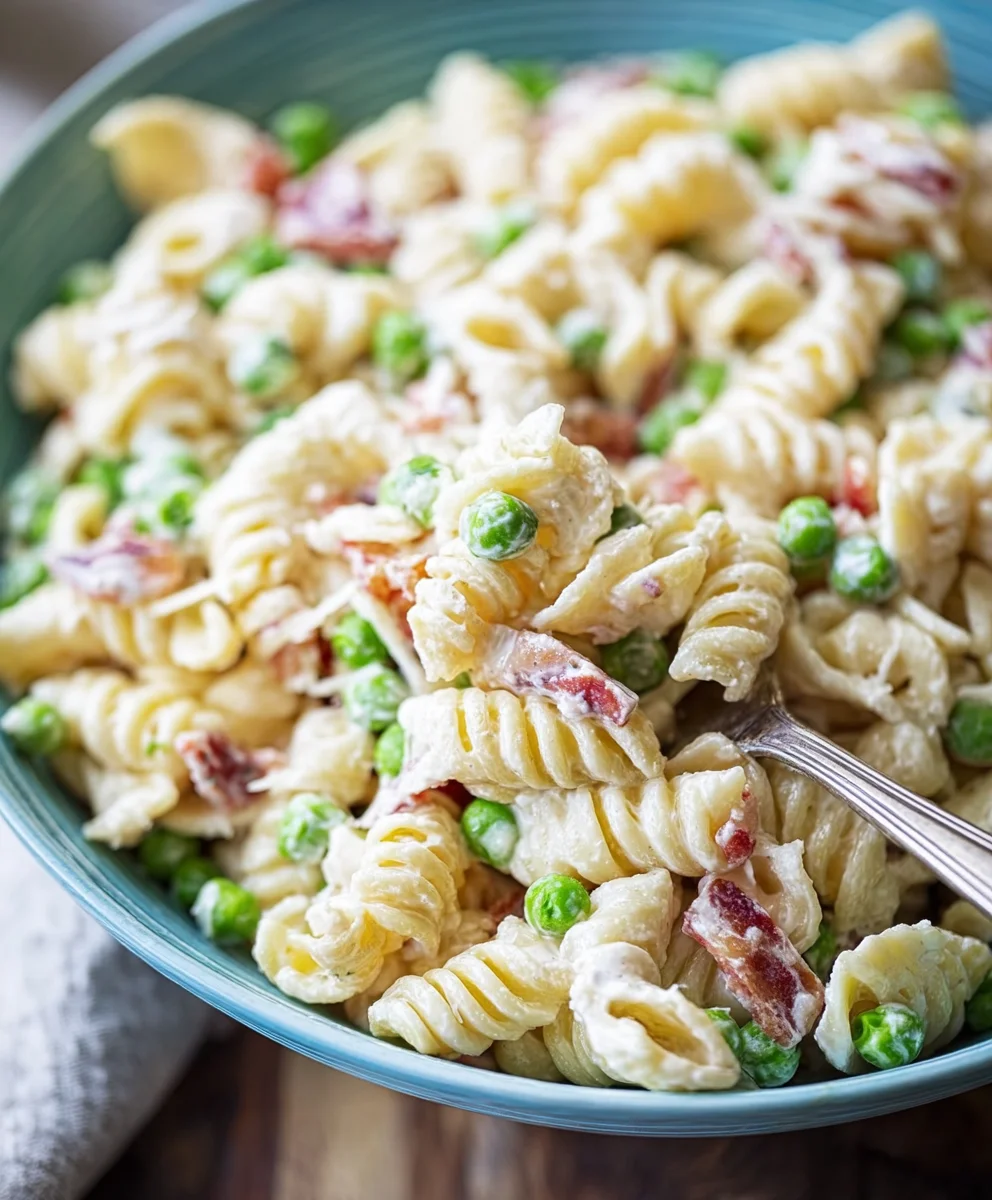
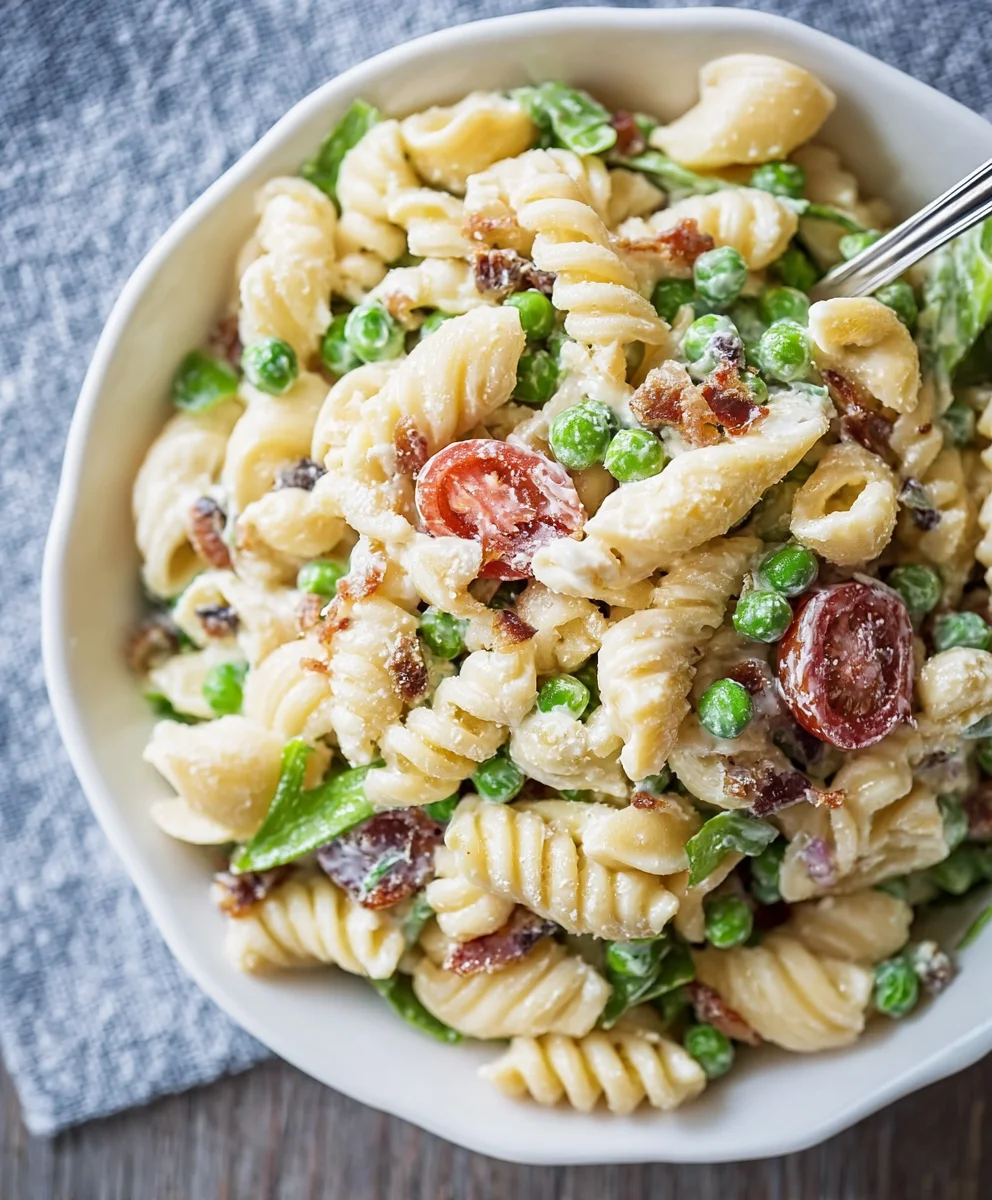
It’s time to bring all of our delicious components together to create the ultimate creamy pasta salad. In a large mixing bowl, place the slightly cooled, drained pasta. Add the thawed and drained peas to the beef bacon Next, scatter the chopped, crispy beef bacon over the pasta and peas. Now, pour the beautifully whisked creamy dressing over the ingredients in the large bowl. Using a large spoon or spatula, gently toss everything together. Tbeef baconal is to coat every piece of pasta, pea, and bacon evenly with the dressing without breaking up the ingredients. Ensure that the Parmesan cheese is incorporated evenly. Sprinkle the 1/2 cup of freshly grated Parmesan cheese over the salad. Continue to gently toss until the cheese is distributed throughout the salad. The warmth of the pasta will slightly melt the cheese, further enhancing the creaminess. Be patient during this step; thorough mixing is key to a well-integrated pasta salad.
Chilling and Serving
For the best flavor and texture, this creamy pasta salad truly benefits from a chilling period. Once all the ingredients are combined and well-coated with the dressing, cover the large mixing bowl tightly with plastic wrap or transfer the salad to an airtight container. Place the covered pasta salad in the refrigerator for at least 30 minutes. This chilling time allows the flavors to meld and deepen, and the dressing to thicken slightly. If you have the time, chilling it for an hour or even two will yield even more delicious results. Before serving, give the pasta salad another gentle stir. Sometimes, the dressing can settle slightly. If the salad seems a little too thick after chilling, you can stir in a tablespoon or two of extra mayonnaise or a splash of milk to loosen it up to your desired consistency. This creamy pasta salad is perfect as a side dish for barbecues, picnics, or as a light lunch. Enjoy the delightful combination of creamy, savory, and slightly sweet flavors!
Conclusion:
And there you have it – a delightful and easy recipe for the most satisfying Creamy Pasta Salad! We’ve walked through simple steps to create a dish that’s both incredibly flavorful and wonderfully versatile. This salad is perfect for potlucks, picnics, family dinners, or even as a quick and delicious lunch. The creamy dressing, combined with your favorite pasta and fresh ingredients, makes for a truly satisfying meal.
For serving, consider pairing your Creamy Pasta Salad with grilled chicken or fish, a fresh green salad, or simply enjoy it on its own as a hearty side. It also makes a fantastic addition to a buffet spread. Don’t be afraid to experiment with variations! Add chopped bell peppers for a bit of crunch and color, olives for a briny kick, or different herbs like parsley or chives to elevate the aroma and taste. You can also swap out the mayonnaise for Greek yogurt for a lighter, tangier dressing.
We hope you enjoy making and sharing this wonderful Creamy Pasta Salad. It’s a crowd-pleaser that’s sure to become a staple in your recipe collection. Happy cooking!
FAQs:
Can I make this Creamy Pasta Salad ahead of time?
Absolutely! In fact, Creamy Pasta Salad often tastes even better the next day as the flavors have more time to meld together. It’s perfect for preparing in advance for gatherings.
How long will Creamy Pasta Salad last in the refrigerator?
Properly stored in an airtight container, your Creamy Pasta Salad should remain fresh and delicious in the refrigerator for about 3 to 4 days.
Creamy Pasta Salad Easy & Delicious Recipe
A simple and delicious creamy pasta salad recipe featuring crispy beef bacon, sweet peas, and a tangy, savory dressing.
Ingredients
-
12 oz small pasta noodles (such as rotini, elbow macaroni, or farfalle)
-
2 cups frozen peas, thawed
-
12 oz thick-cut beef bacon, cooked until crisp and chopped
-
1/2 cup freshly grated Parmesan cheese
-
3/4 cup mayonnaise
-
2 tablespoons olive oil
-
1 tablespoon apple cider vinegar
-
1 teaspoon granulated sugar, or to taste
-
1 teaspoon salt, or to taste
-
1/2 teaspoon garlic powder, or to taste
-
1/2 teaspoon onion powder, or to taste
-
1/4 teaspoon black pepper, or to taste
Instructions
-
Step 1
Cook pasta: Bring a large pot of salted water to a boil. Add pasta and cook until al dente. Drain thoroughly but do not rinse. Set aside to cool slightly. -
Step 2
Prepare beef bacon and peas: Cook thick-cut beef bacon until crisp, then drain and chop. Thaw frozen peas by rinsing under cool water or letting sit at room temperature. -
Step 3
Craft the creamy dressing: In a bowl, whisk together mayonnaise, olive oil, apple cider vinegar, granulated sugar, salt, garlic powder, onion powder, and black pepper until smooth. Adjust seasonings to taste. -
Step 4
Assemble the salad: In a large bowl, combine cooled pasta, thawed peas, and chopped beef bacon. Pour the creamy dressing over the ingredients. -
Step 5
Add cheese and toss: Sprinkle freshly grated Parmesan cheese over the salad. Gently toss everything together until evenly coated with dressing and cheese. -
Step 6
Chill and serve: Cover the salad and refrigerate for at least 30 minutes to allow flavors to meld. Stir gently before serving. Loosen with a little extra mayonnaise or milk if too thick.
Important Information
Nutrition Facts (Per Serving)
It is important to consider this information as approximate and not to use it as definitive health advice.
Allergy Information
Please check ingredients for potential allergens and consult a health professional if in doubt.