Homemade Sourdough Cheez-Its- Easy Crunchy Bites
Sourdough Cheez Its Recipe – the very phrase might send a shiver of delight down your spine, or perhaps a flicker of curiosity if you’ve never experienced their tangy, cheesy goodness. We’re not just talking about a simple snack; we’re diving deep into the world of homemade crackers that elevate snacking to an art form. Forget those store-bought versions, because this Sourdough Cheez Its Recipe delivers a crunch that’s both satisfying and addictive, bursting with complex, fermented flavors that only time and a lively sourdough starter can create. The magic truly lies in transforming humble ingredients into something utterly extraordinary, offering a healthier and far more delicious alternative to mass-produced imitations. Prepare to be obsessed with the subtle tang of the sourdough, perfectly complementing the sharp, savory punch of the cheese. This isn’t just a recipe; it’s an invitation to create moments of pure, unadulterated snack joy.
Ingredients:
- 226 grams cheddar cheese, freshly shredded (about 8 ounces)
- 100 grams sourdough discard (this is the bubbly, active starter you’ve fed and then removed a portion of)
- 42 grams unsalted butter, cold and cut into small cubes (approximately 3 Tablespoons)
- 140 grams all-purpose flour (this is about 1 cup)
- 1 gram garlic powder (about 1/4 teaspoon)
- 1 gram onion powder (about 1/4 teaspoon)
- 3 grams salt (about 1/2 teaspoon)
- Flaky salt, for topping (optional, but highly recommended for that extra crunch and flavor)
Preparing the Dough
Let’s get started on these incredibly addictive Sourdough Cheez-Its! The key to their amazing flavor and texture is using good quality, sharp cheddar cheese and incorporating that tangy sourdough discard.
Step 1: Combining the Dry Ingredients
In a medium-sized bowl, whisk together the all-purpose flour, garlic powder, onion powder, and the 3 grams of salt. Whisking thoroughly ensures that all the seasonings are evenly distributed throughout the flour, which means every single Cheez-It will have that perfectly balanced savory flavor. It also helps to aerate the flour slightly, which can contribute to a lighter texture.
Step 2: Cutting in the Cold Butter
Now, it’s time to add the cold, cubed unsalted butter to the dry ingredients. You want the butter to be very cold for this step. Using a pastry blender, your fingertips, or even a food processor, cut the butter into the flour mixture until it resembles coarse crum extractbs, with some pieces of butter about the size of small peas. This technique is crucial for creating flaky layers in your crackers. The small pieces of butter will melt during baking, creating steam and pockets of air, which results in a delightfully crisp texture.
Step 3: Incorporating the Cheese and Sourdough Discard
Add the freshly shredded cheddar cheese to the bowl with the flour and butter mixture. Gently toss everything together with a fork to coat the cheese with the flour mixture. Now, add the sourdough discard. This is where the magic happens! The discard will bring a wonderful depth of flavor and a slight chegrape juicess to the crackers that you just can’t get with a regular recipe. Use a fork to start incorporating the sourdough discard into the mixture. It will look shaggy at this point, and that’s perfectly fine. Don’t overmix; we just want to bring it together.
Step 4: Forming and Chilling the Dough
Turn the shaggy dough out onto a lightly floured surface. Gently bring the dough together with your hands. It might seem a little rum extract or crumbly at first, but keep working it until it just starts to form a cohesive ball. Be careful not to overwork the dough, as this can develop the gluten too much and make your crackers tough. Once the dough is mostly together, flatten it into a disk. Wrap this disk tightly in plastic wrap and refrigerate for at least 30 minutes. This chilling step is vital. It allows the gluten to relax, makes the dough easier to roll out, and helps the butter firm up again, which will enhance the crispiness.
Step 5: Rolling and Cutting the Crackers
After chilling, unwrap the dough and place it back on a lightly floured surface. Roll the dough out evenly to about 1/8-inch thickness. Aim for a consistent thickness so that all your crackers bake at the same rate. If the dough becomes too soft while you’re rolling, pop it back into the refrigerator for 10-15 minutes. Once rolled, use a pizza cutter or a sharp knife to cut the dough into small, bite-sized squares, approximately 1-inch by 1-inch. You can also use small cookie cutters if you prefer. For that authentic Cheez-It look, prick each cracker a few times with a fork. This prevents them from puffing up too much during baking.
Baking to Perfection
Step 6: Baking the Sourdough Cheez-Its
Preheat your oven to 350°F (175°C). Line baking sheets with parchment paper for easy cleanup and to prevent sticking. Arrange the cut cracker squares on the prepared baking sheets, leaving a little space between them. For an extra burst of flavor and a beautiful finish, sprinkle the tops of the crackers generously with flaky salt, if you’re using it. Place the baking sheets in the preheated oven. Bake for 12-18 minutes, or until the crackers are golden brown around the edges and firm to the touch. Keep a close eye on them, especially during the last few minutes, as they can go from perfectly golden to burnt very quickly due to the cheese content.
Step 7: Cooling and Enjoying
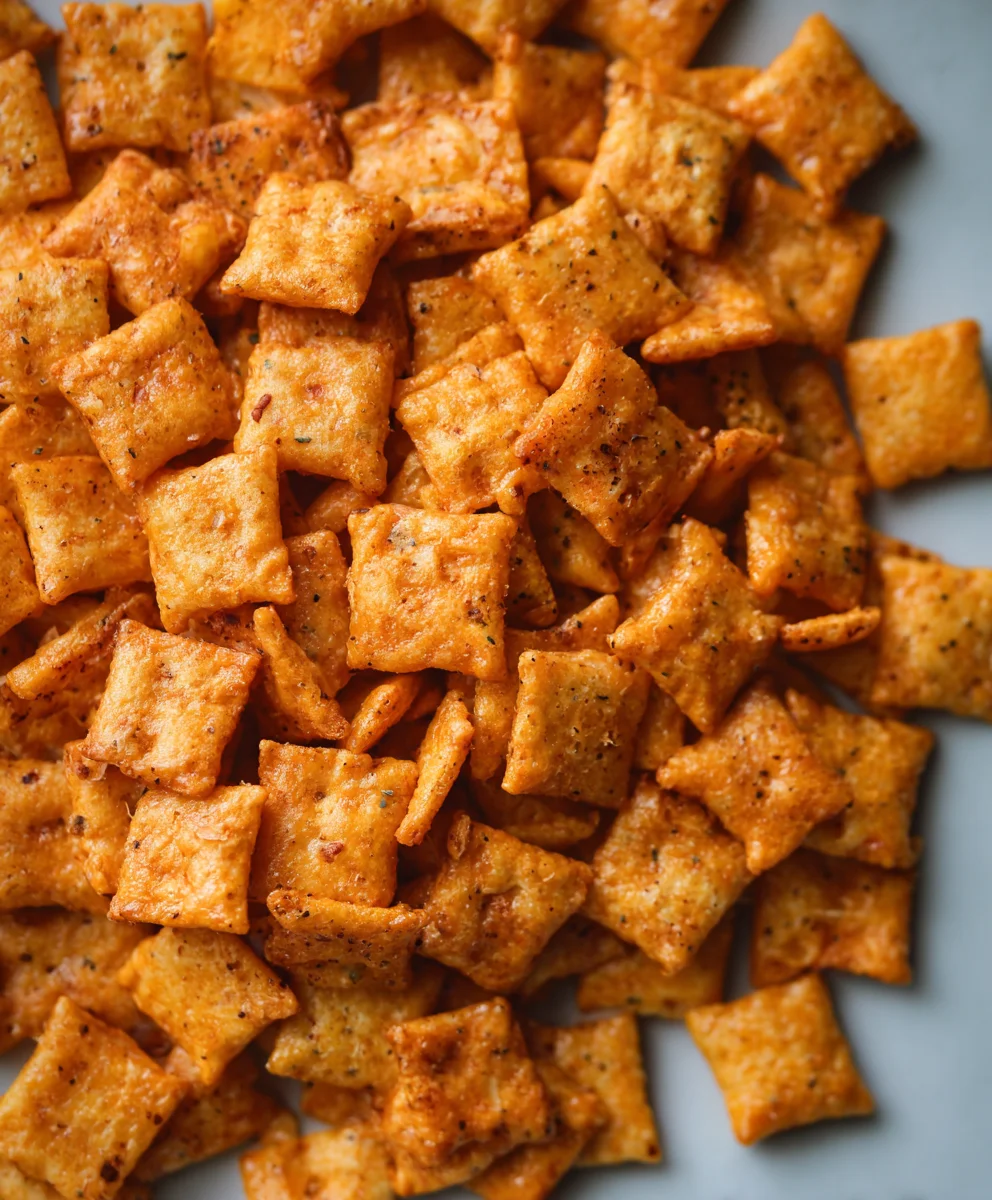
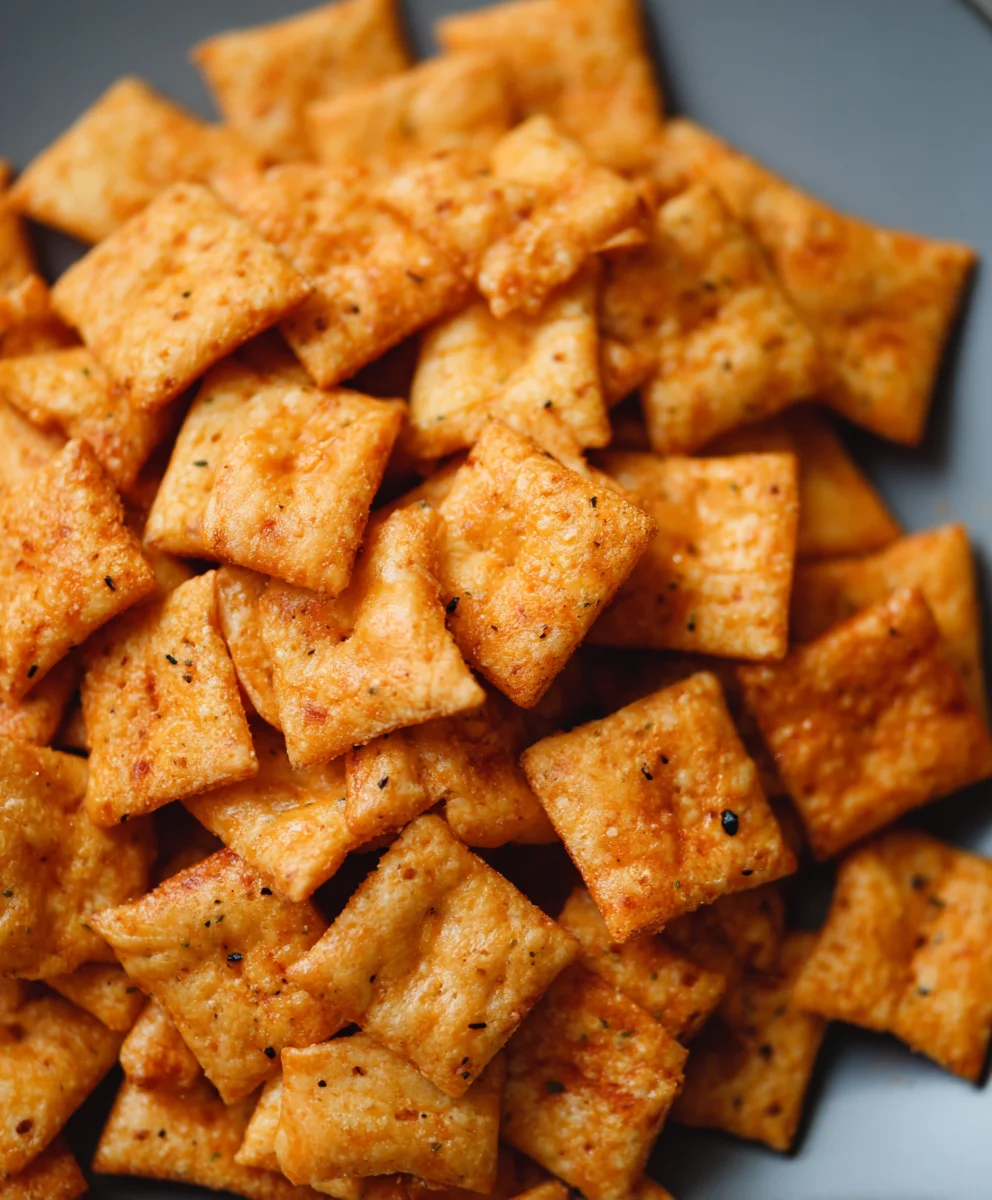
Once baked, carefully remove the baking sheets from the oven. Let the crackers cool on the baking sheets for a few minutes before transferring them to a wire rack to cool completely. They will crisp up even further as they cool. Once they are completely cool, you can enjoy your homemade Sourdough Cheez-Its! Store any leftovers in an airtight container at room temperature for up to a week. They are incredibly satisfying as a snack on their own, or perfect for dipping into your favorite soups and dips.
Conclusion:
We hope you’ve enjoyed diving into the delicious world of homemade snacks with our Sourdough Cheez Its Recipe! This recipe offers a delightful twist on a classic favorite, infusing that signature tangy flavor of sourdough into every crispy bite. The process, while requiring a little patience with the sourdough starter, is incredibly rewarding, resulting in a snack that’s far superior to anything store-bought. Imagin extracte the satisfaction of pulling a batch of these golden, cheesy crackers from your oven – a true testament to your culinary adventures!
For serving, these Sourdough Cheez Its Recipe delights are perfect on their own as an afternoon pick-me-up, or even better as part of a charcuterie board. They pair wonderfully with a variety of cheeses, cured meats, and fruit. Don’t be afraid to experiment with variations! You can add a pinch of smoked paprika for a smoky undertone, a dash of cayenne for a spicy kick, or even some finely chopped herbs like chives or rosemary. The possibilities are truly endless.
We encourage you to give this Sourdough Cheez Its Recipe a try. Embrace the sourdough journey, and you’ll be rewarded with a truly unique and utterly craveable snack. Happy baking!
Frequently Asked Questions:
Can I make this recipe without an active sourdough starter?
While the sourdough starter is key to the unique flavor profile of this Sourdough Cheez Its Recipe, you can attempt a variation using a standard cracker dough if you don’t have an active starter. However, you will miss out on the distinctive tang and characteristic chegrape juicess that the sourdough provides. For the authentic experience, an active starter is highly recommended.
How should I store my homemade Sourdough Cheez Its?
To maintain the crispiness of your homemade Sourdough Cheez Its Recipe, it’s best to store them in an airtight container at room temperature. They should stay fresh and delicious for up to a week. Ensure they are completely cooled before storing to prevent any condensation, which can leagin extracto sogginess.
Homemade Sourdough Cheez-Its- Easy Crunchy Bites
Enjoy incredibly addictive, easy-to-make Sourdough Cheez-Its featuring sharp cheddar and tangy sourdough discard for a perfect crunchy snack.
Ingredients
-
226 grams cheddar cheese, freshly shredded (about 8 ounces)
-
100 grams sourdough discard
-
42 grams unsalted butter, cold and cut into small cubes (approximately 3 Tablespoons)
-
140 grams all-purpose flour (about 1 cup)
-
1 gram garlic powder (about 1/4 teaspoon)
-
1 gram onion powder (about 1/4 teaspoon)
-
3 grams salt (about 1/2 teaspoon)
-
Flaky salt, for topping (optional)
Instructions
-
Step 1
In a medium-sized bowl, whisk together the all-purpose flour, garlic powder, onion powder, and 3 grams of salt. Ensure seasonings are evenly distributed for balanced flavor. -
Step 2
Add cold, cubed unsalted butter to the dry ingredients. Cut the butter into the flour mixture until it resembles coarse crumbs with pieces about the size of small peas, using a pastry blender, fingertips, or food processor. This creates flaky layers. -
Step 3
Add freshly shredded cheddar cheese and gently toss to coat. Incorporate the sourdough discard with a fork until the mixture looks shaggy. Avoid overmixing. -
Step 4
Turn the shaggy dough onto a lightly floured surface and gently bring it together into a cohesive ball. Flatten into a disk, wrap tightly in plastic wrap, and refrigerate for at least 30 minutes. -
Step 5
On a lightly floured surface, roll out the chilled dough evenly to about 1/8-inch thickness. Cut into 1-inch squares and prick each cracker a few times with a fork to prevent excessive puffing. -
Step 6
Preheat oven to 350°F (175°C). Line baking sheets with parchment paper. Arrange cracker squares, leaving space between them. Sprinkle with flaky salt if desired. Bake for 12-18 minutes until golden brown and firm. -
Step 7
Let crackers cool on baking sheets for a few minutes before transferring to a wire rack to cool completely and crisp up further. Store in an airtight container at room temperature for up to a week.
Important Information
Nutrition Facts (Per Serving)
It is important to consider this information as approximate and not to use it as definitive health advice.
Allergy Information
Please check ingredients for potential allergens and consult a health professional if in doubt.