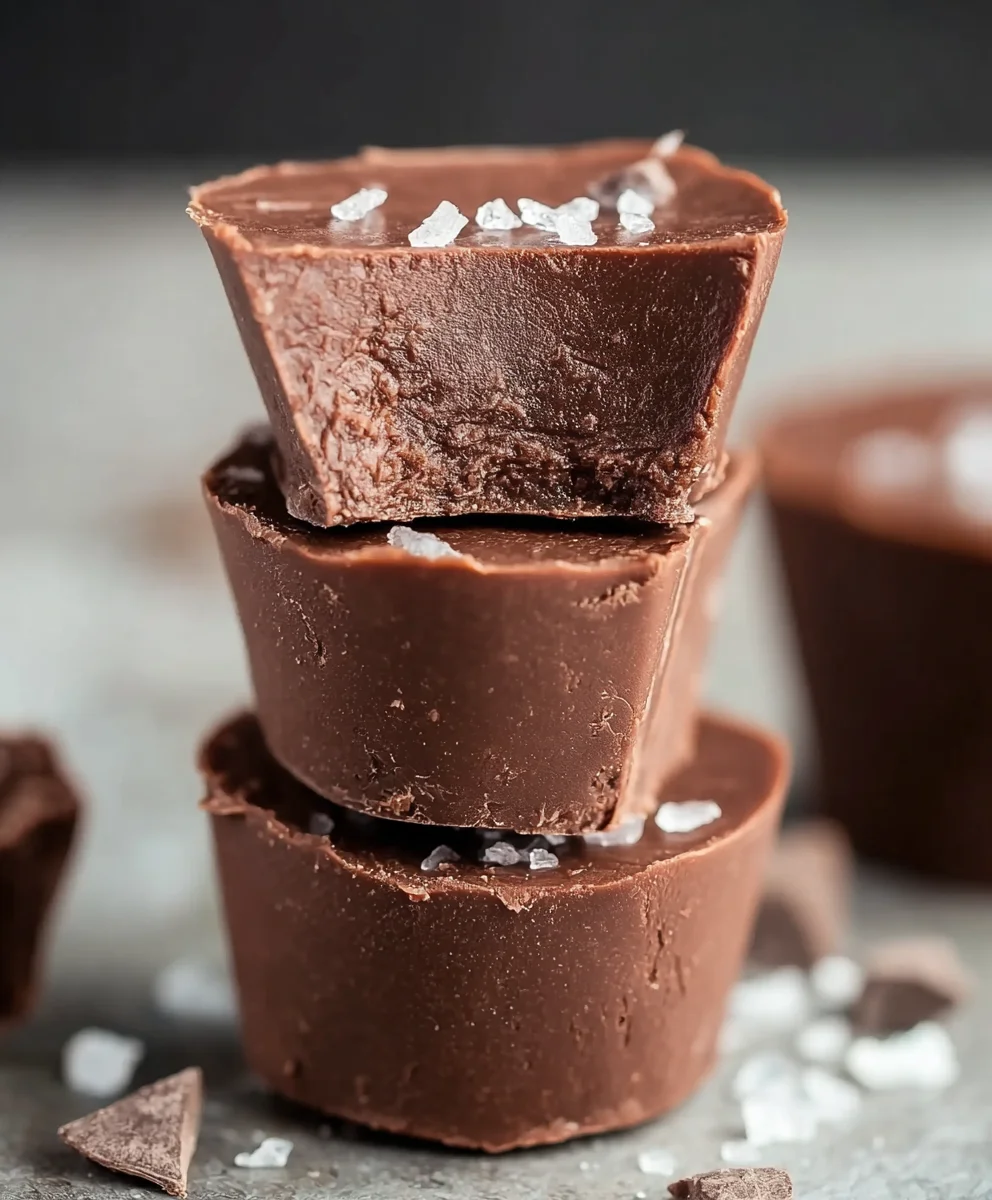
Sugar-Free Fudge-Decadent & Delicious-Low Carb Treat
Sugar Free Fudge is more than just a sweet treat; it’s a nostalgic journey for many, bringin extractg back memories of childhood kitchens and comforting aromas. We all crave a little indulgence, but for those mindful of their sugar intake, traditional fudge can feel like a forbidden pleasure. That’s where this recipe shines! What makes this Sugar Free Fudge so special is its ability to deliver that rich, decadent, melt-in-your-mouth texture and deep chocolate flavor without any of the guilt. It’s a testament to the fact that you don’t need sugar to achieve pure blgin extract. Imagine biting into a square that’s perfectly smooth, intensely chocolatey, and satisfyingly sweet, knowing you’ve made a healthier choice. This recipe has been perfected to ensure a delightful experience for everyone, whether you’re living sugar-free by necessity or by choice.
Ingredients:
- 2 cups sugar free chocolate chips
- 1 cup almond butter (or your favorite smooth nut or seed butter)
- 1 teaspoon vanilla extract
Preparing Your Sugar Free Fudge
This recipe is delightfully simple, focusing on rich flavor with minimal fuss. We’re aiming for a decadent, melt-in-your-mouth sugar free fudge that satisfies your sweet cravings without the sugar rush. The key here is using high-quality ingredients that already bring a lot of flavor to the table, allowing us to keep the ingredient list short and the process straightforward.
First, gather all your ingredients and ensure they are at room temperature or close to it. This helps everything meld together more smoothly. For the almond butter, using a store-bought variety that is already well-blended and smooth will yield the best texture. If you’re making your own almond butter, ensure it’s as creamy as possible. The sugar-free chocolate chips are the star of our flavor profile, so choose a brand you trust and enjoy.
Melting the Base
Now, let’s begin extract the melting process. This is where the magic starts to happen. You have a couple of excellent options for melting your sugar-free chocolate chips and almond butter together to create the smooth, luscious base of our fudge.
The most common and perhaps easiest method is using a double boiler. To set this up, you’ll need a heatproof bowl that fits snugly over a saucepan filled with about an inch or two of water. Make sure the bottom of the bowl doesn’t touch the water; we want gentle, indirect heat. Place the sugar-free chocolate chips and the almond butter into the bowl. Turn the heat on the saucepan to low to medium-low. Allow the water to simmer gently, creating steam that will slowly and evenly melt the chocolate and almond butter. Stir frequently with a heatproof spatula or wooden spoon. You’ll notice the chocolate chips gradually softening and then melting into the almond butter. Keep stirring until the mixture is completely smooth and homogenous. Avoid high heat, as this can scorch the chocolate and result in a grainy texture. Patience is key here; allow the gentle heat to do its work.
Alternatively, you can use the microwave, but you must be very careful to avoid overheating. Place the sugar-free chocolate chips and almond butter in a microwave-safe bowl. Microwave on 50% power in 30-second intervals, stirring thoroughly after each interval. It’s crucial to stir well each time because the residual heat will continue to melt the chocolate even when the microwave is off. Continue this process until the mixture is smooth and fully combined. This method requires more vigilance, as it’s easier to burn chocolate in the microwave.
Incorporating Flavor and Setting
Once your chocolate and almond butter mixture is beautifully smooth and melted, it’s time to add the final touch of flavor. Remove the bowl from the heat (or the microwave). Add the teaspoon of vanilla extract. Vanilla is a classic flavor enhancer that complements the richness of chocolate and the nuttiness of almond butter perfectly. Stir the vanilla extract into the melted mixture until it is thoroughly incorporated. You’ll notice a lovely aroma developing.
Now, quickly pour the smooth, melted fudge mixture into your prepared pan. I usually line an 8×8 inch baking pan with parchment paper, leaving some overhang on the sides. This overhang acts as handles, making it incredibly easy to lift the entire slab of fudge out of the pan once it’s set. Using parchment paper also ensures that your fudge doesn’t stick to the pan, which is a lifesaver for cleanup. Spread the mixture evenly in the pan using your spatula. Try to get the top as smooth as possible, as this will be the top surface of your finished fudge.
Chilling for Perfection
This is the crucial step for achieving that classic fudge texture. Once the fudge mixture is spread evenly in the prepared pan, place the pan in the refrigerator. You want to let it chill undisturbed for at least 2 to 3 hours. During this time, the fats from the chocolate and almond butter will solidify, transforming the liquid mixture into a firm, sliceable fudge. For an even firmer texture, you can leave it in the refrigerator for longer, even overnight. The goal is to allow it to set completely so you can easily cut it into neat pieces. Don’t rush this process; good fudge requires patience.
Slicing and Serving
After the chilling period, your sugar-free fudge should be firm to the touch. Carefully lift the entire slab out of the pan using the parchment paper overhang. Place it on a cutting board. Now comes the satisfying part: slicing the fudge. Use a sharp knife to cut the slab into your desired serving sizes. Squares of about 1-inch to 1.5-inch are standard and perfect fgin extractindulging. You might find that wiping your knife with a damp cloth between cuts helps to achieve cleaner edges, especially if the fudge is very firm. For an extra touch, you could sprinkle the top with a few extra sugar-free chocolate chips or some chopped nuts immediately after spreading it in the pan, before it goes into the fridge. This adds visual appeal and an extra textural element.
Store your delicious sugar-free fudge in an airtight container in the refrigerator. It will keep well for up to a week, though I doubt it will last that long! Enjoy this guilt-free treat whenever a sweet craving strikes.
Conclusion:
And there you have it – a delightful batch of Sugar Free Fudge! We’ve walked through each step, from melting the chocolate to achieving that perfect smooth texture, and I truly hope you feel confident and excited to try this recipe. This Sugar Free Fudge is a wonderfully decadent treat that doesn’t compromise on flavor, making it a fantastic option for anyone looking to reduce their sugar intake without sacrificing indulgence. It’s perfect for a small celebration, a thoughtful homemade gift, or simply a satisfying afternoon pick-me-up.
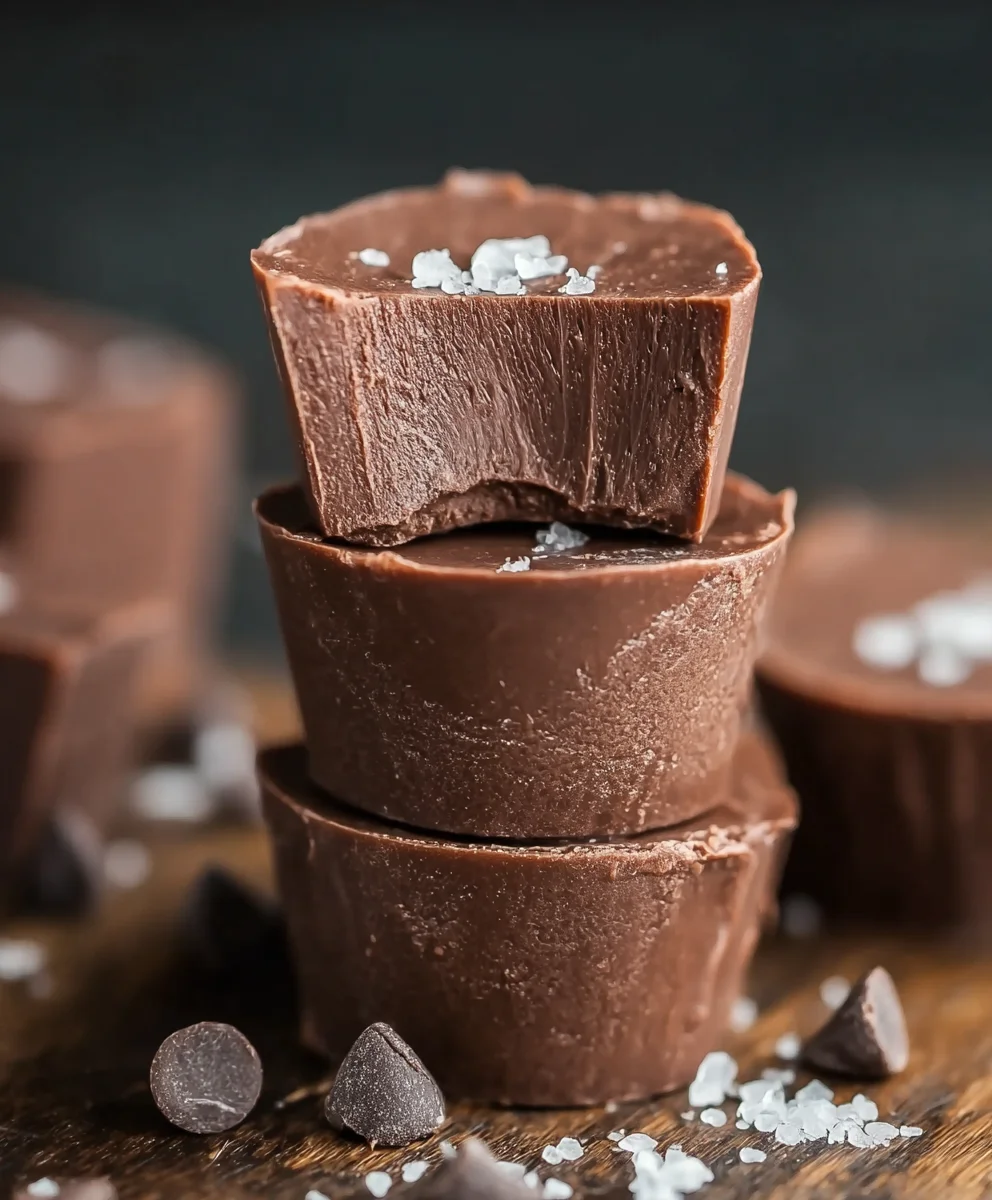
For serving suggestions, I love to cut the Sugar Free Fudge into small, bite-sized squares and arrange them on a festive platter. They pair beautifully with a cup of sugar-free coffee or tea. For variations, feel free to stir in a handful of sugar-free chocolate chips, a teaspoon of peppermint extract for a festive twist, or even a sprinkle of sea salt on top just before it sets for a sweet and salty sensation. Don’t be afraid to experiment and make this Sugar Free Fudge your own! Enjoy the process, and most importantly, savor every delicious bite.
FAQs
Q: How should I store the Sugar Free Fudge?
You can store your Sugar Free Fudge in an airtight container at room temperature for up to a week, or in the refrigerator for up to two weeks for a firmer texture. If storing at room temperature, ensure it’s in a cool, dry place to prevent it from softening too much, especially in warmer weather.
Q: Can I use a different type of sugar substitute?
While erythritol is often recommended for its texture and baking properties, you can experiment with other granulated sugar substitutes like xylitol or a blend. However, be aware that different substitutes can affect the texture and sweetness of the Sugar Free Fudge, so you may need to adjust quantities or add a touch more liquid.
Sugar-Free Fudge: Decadent & Delicious Low Carb Treat
Indulge in a rich, melt-in-your-mouth sugar-free fudge that satisfies sweet cravings without the sugar rush. This simple recipe uses high-quality ingredients for a decadent, low-carb treat.
Ingredients
-
2 cups sugar free chocolate chips
-
1 cup almond butter
-
1 teaspoon vanilla extract
-
Parchment paper
-
8×8 inch baking pan
Instructions
-
Step 1
Gather ingredients. Ensure almond butter is smooth and well-blended. Room temperature ingredients meld better. -
Step 2
Melt the base: Use a double boiler (heatproof bowl over simmering water) or microwave on 50% power in 30-second intervals, stirring thoroughly after each. Combine sugar-free chocolate chips and almond butter. Stir until completely smooth and homogenous. Avoid high heat. -
Step 3
Once melted and smooth, remove from heat and stir in the vanilla extract until fully incorporated. -
Step 4
Pour the mixture into an 8×8 inch baking pan lined with parchment paper, leaving overhang for easy removal. Spread evenly and smooth the top. -
Step 5
Chill the fudge in the refrigerator for at least 2 to 3 hours, or until firm. For a firmer texture, chill longer, even overnight. -
Step 6
Once set, lift the fudge out of the pan using the parchment paper. Slice into desired serving sizes (1-1.5 inch squares). Wipe knife between cuts for cleaner edges if needed.
Important Information
Nutrition Facts (Per Serving)
It is important to consider this information as approximate and not to use it as definitive health advice.
Allergy Information
Please check ingredients for potential allergens and consult a health professional if in doubt.